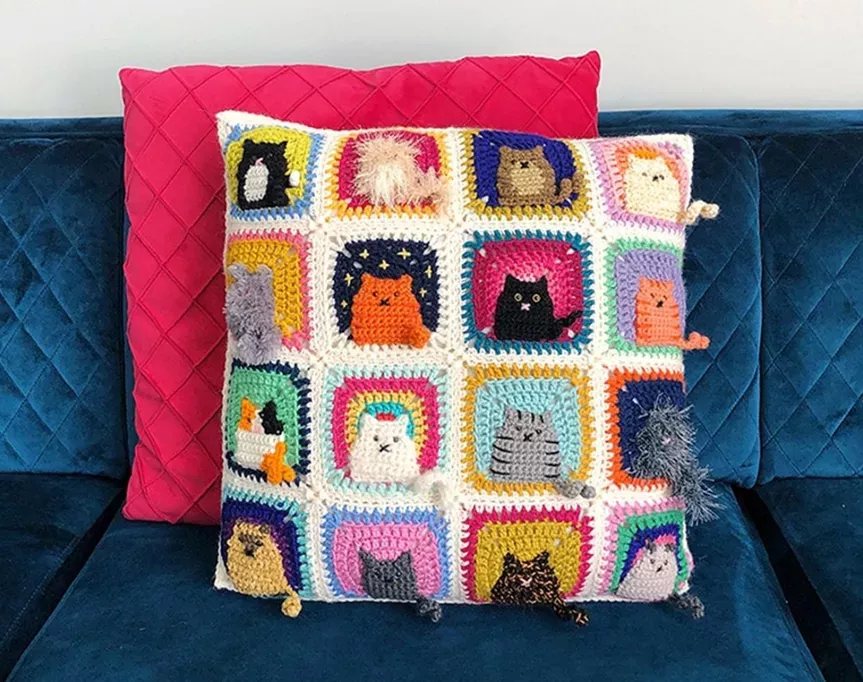
frankie exclusive diy: patchwork cushion
Craft a comfy cushion for your abode.
Get some cosy cabin vibes in your space with this simple patchwork cushion project! The design works best if you use fabrics which contrast in colour and tone. MATERIALS
1 fat quarter quilting weight fabric in cream
30cm x 40cm quilting weight fabric in green
20cm x 20cm quilting weight fabric in blue
1 fat quarter quilting weight fabric for the back
thread to match fabric
40cm x 40cm cushion pad
rotary cutter and cutting mat (optional)
standard sewing kit and sewing machine
NOTE: Seam allowance is 1cm
NOTE: It’s easiest to use a fabric without a directional pattern for this project
METHOD
1. Let’s start by cutting out the pieces for the front panel as follows:
Cream – one 12cm square, four 27cm x 9.5cm pieces
Green – four 9.5cm squares, four 9.5cm x 12cm pieces
Blue – four 9.5cm squares
Also cut out two 25cm (w) x 41cm (h) pieces for the back of your cover. Set these aside for now. 2. We’ll start to assemble the patchwork pieces into strips which can then form the front panel.
Lay out the pieces as pictured (you’ll have two longer white pieces spare for now, so just set those aside). 3. Turn the top pieces over face-down onto the pieces below, pin and sew along the top edge of each. Open out and press, then arrange in the same positions again. Now take the bottom pieces and turn these face-down onto the pieces above, pin and sew along the bottom edge. Open out and press. Lay out your pieces again in the same order.
 4. Now take the white pieces you didn’t use earlier and place one face-down along the top edge of the central square you’ve made, and one face-down along the bottom edge. Pin and sew along those edges. Unfold and press, laying out again. Take the long strips at either side and lay these face-down, one along the right edge and one along the left. Pin and sew as usual, then open out and press. You should now have a completed square front panel!
 5. Now return to the two back pieces you cut earlier. Fold one long edge of each over, right-side out, by 5mm twice, pinning in place. Sew along those edges.
 6. Finally, to assemble your cover, lay out the front panel face-up. Lay the back pieces on top so that the raw long edge of one lines up with the right edge of the front panel and the raw long edge of the other lines up with the left edge (they should overlap in the middle). Pin all the way around the edges and sew. Trim across the corners close to the seam. Turn your cover right way out through the gap in the back panels and stuff with your cushion pad.
 You’re all done!
 See more cool stuff from Anna Alicia over here.








.jpg&q=80&w=316&c=1&s=1)


.jpg&q=80&w=316&c=1&s=1)


