
frankie exclusive diy: handy tealight holders
This simple DIY might just light up your life (or at least the 20 minutes it takes to make it).
This DIY will light up your life with its quick and simple steps. In no time at all you can make a delightful tealight candle holder or two, which are perfect to give as a crafty gift or keep for yourself.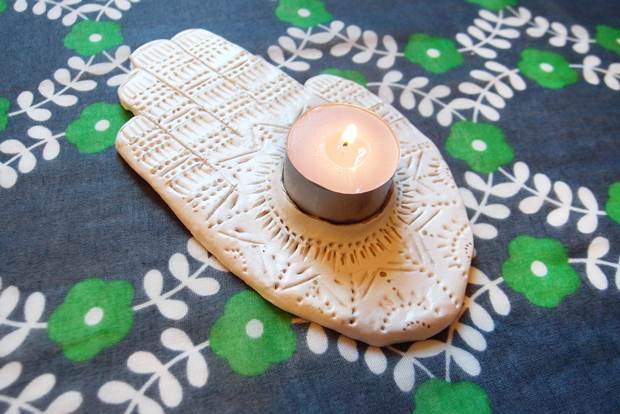
MATERIALS:
air-dry clay
tealight candle
clay tools – you can also use a knife, fork or toothpick to achieve similar results!
paintbrush
PVA glue
rolling pin
gold metallic pen
INSTRUCTIONS:
1. Roll out the clay so it is around 1cm thick and is the size of your hand. I used half a 500g block of air-dry clay for this and it was plenty.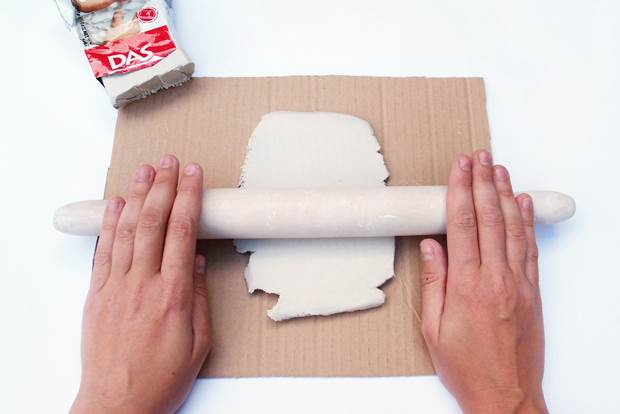
2. Using a cutting tool, trace around the outside of your hand and remove the excess clay. If the silhouette of your hand isn’t as dainty as you’d like, cut off a bit of extra clay around the wrist and thumb to create a nicer shape.
3. Using a little bit of water, smooth around the edge of your hand shape. Once this is done, position your tealight candle in the centre and use a small coil of clay to create a little wall around the candle. Smooth this out using your tools and water.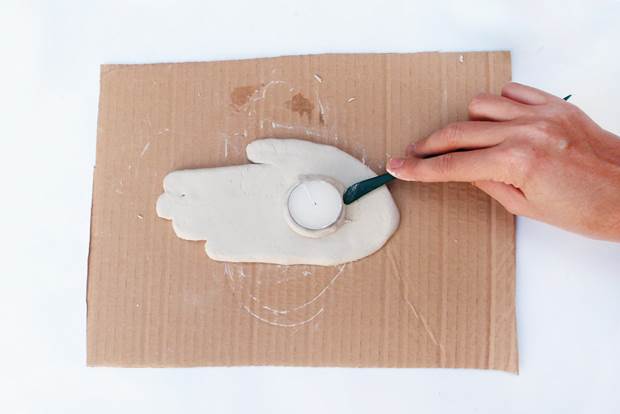
4. Now you can add some lines to make fingers and a thumb.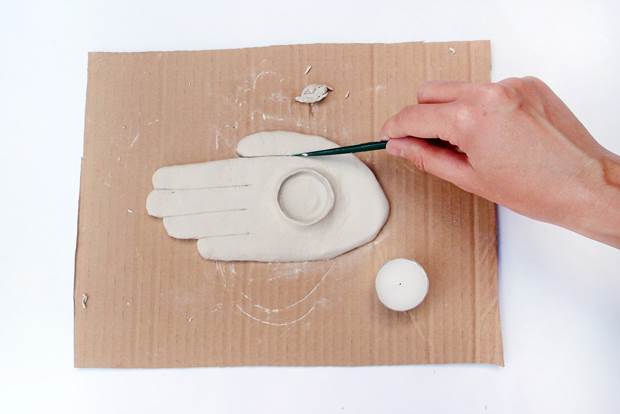
5. When the base of your hand is finished you can use whatever tools you have to decorate the surface. I used a series of dots and dash marks to create patterns around the candle holder and fingers.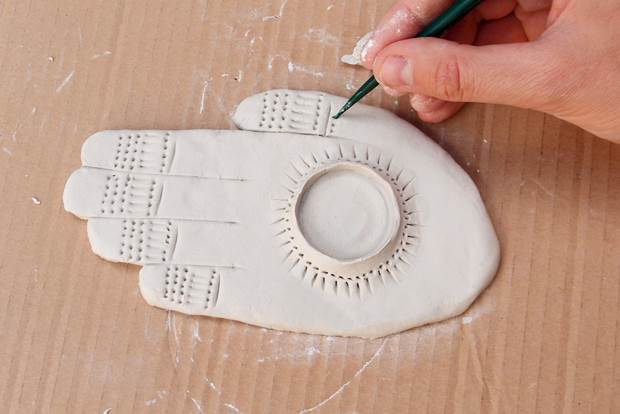
6. Once you have finished decorating you will need to leave your clay hand to dry for around 24 hours.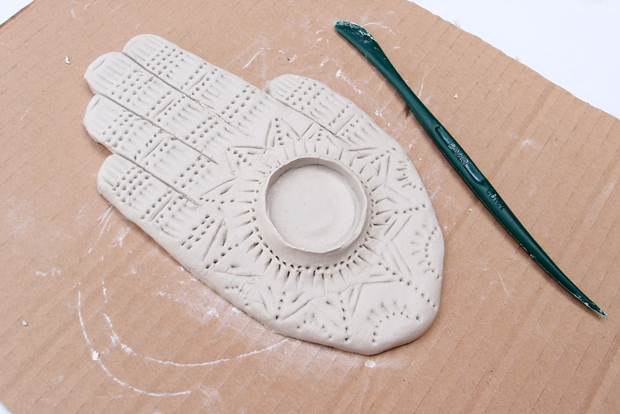
7. If you feeling being a bit fancy, add a few gold marks to the dry clay for a bit of extra detail, using a metallic paint pen.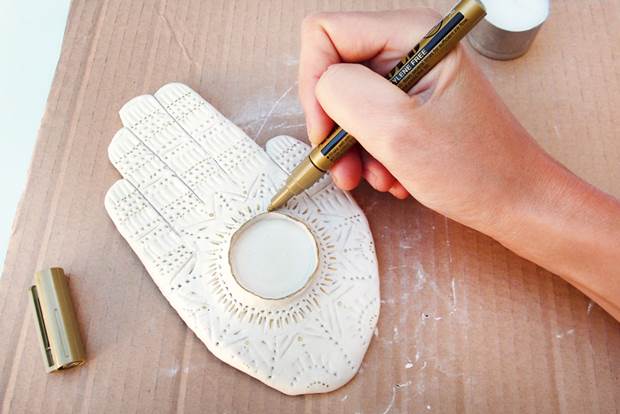
8. To create a glossy, glazed look mix some PVA glue with an equal amount of water and use this to paint all over the surface of the hand. Once this is dry your handy tealight holder is ready to use!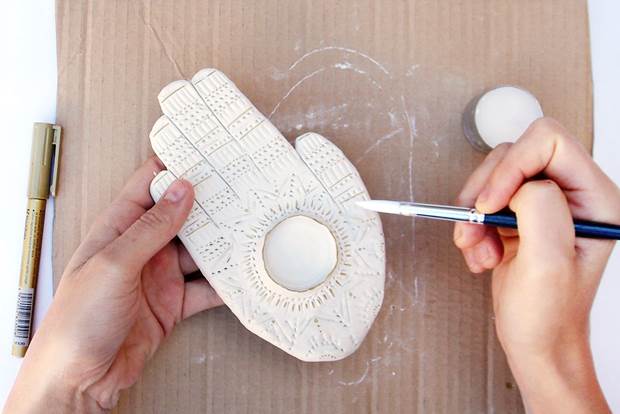
Photos and words by Esther Sandler, the clever lady behind Togetherness Design.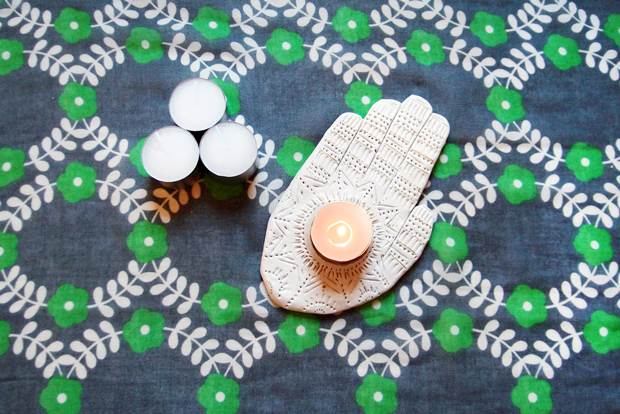


.jpg&q=80&w=316&c=1&s=1)


