
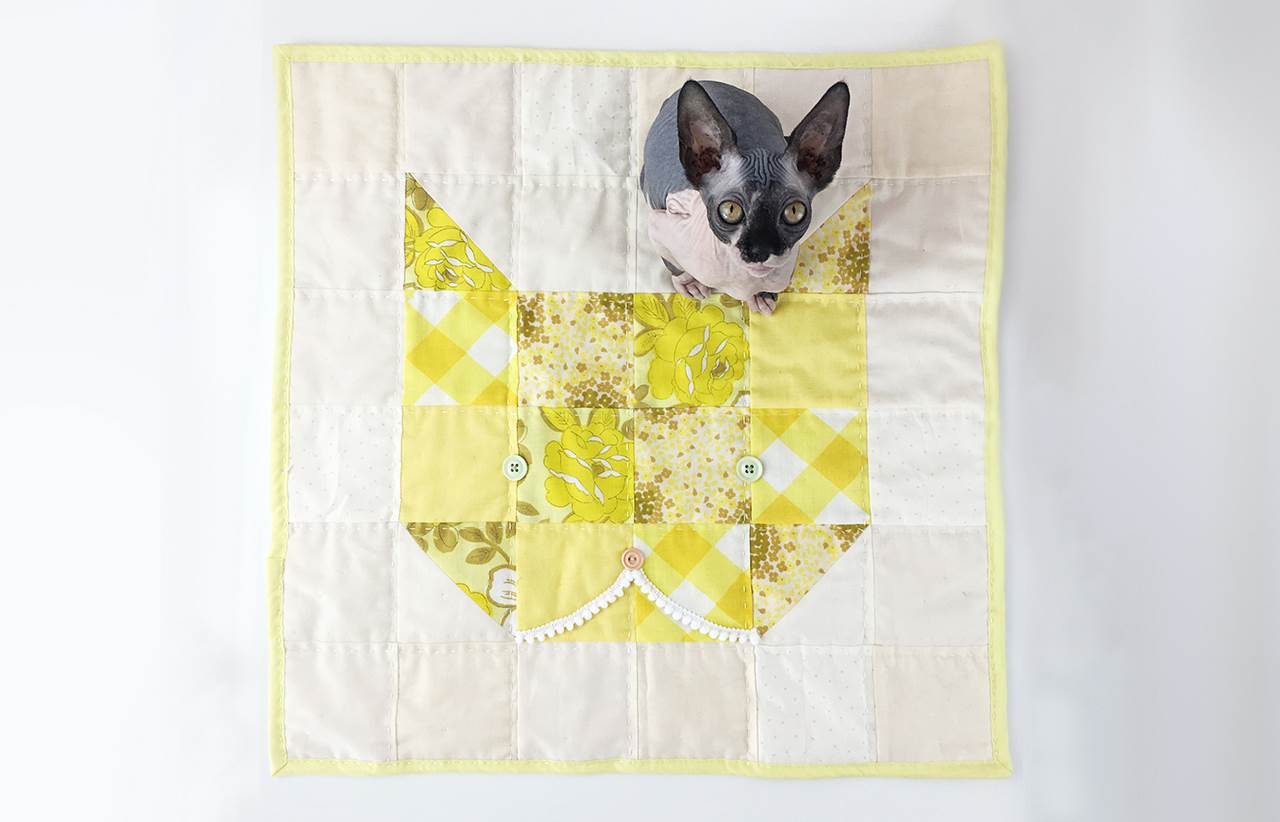
frankie exclusive diy: cat quilt
We’ve got a crafty project to keep your feline friend snug and purring.
If you’ve been feeling the cold in your ol’ bones lately, we don’t blame you. All these chilly days have got us shaking in our slippers, too. And we’re not the only ones – our kitty pals are feeling the chill as well. Luckily for them, we’ve got a crafty project you can whip up to keep them snug and purring.
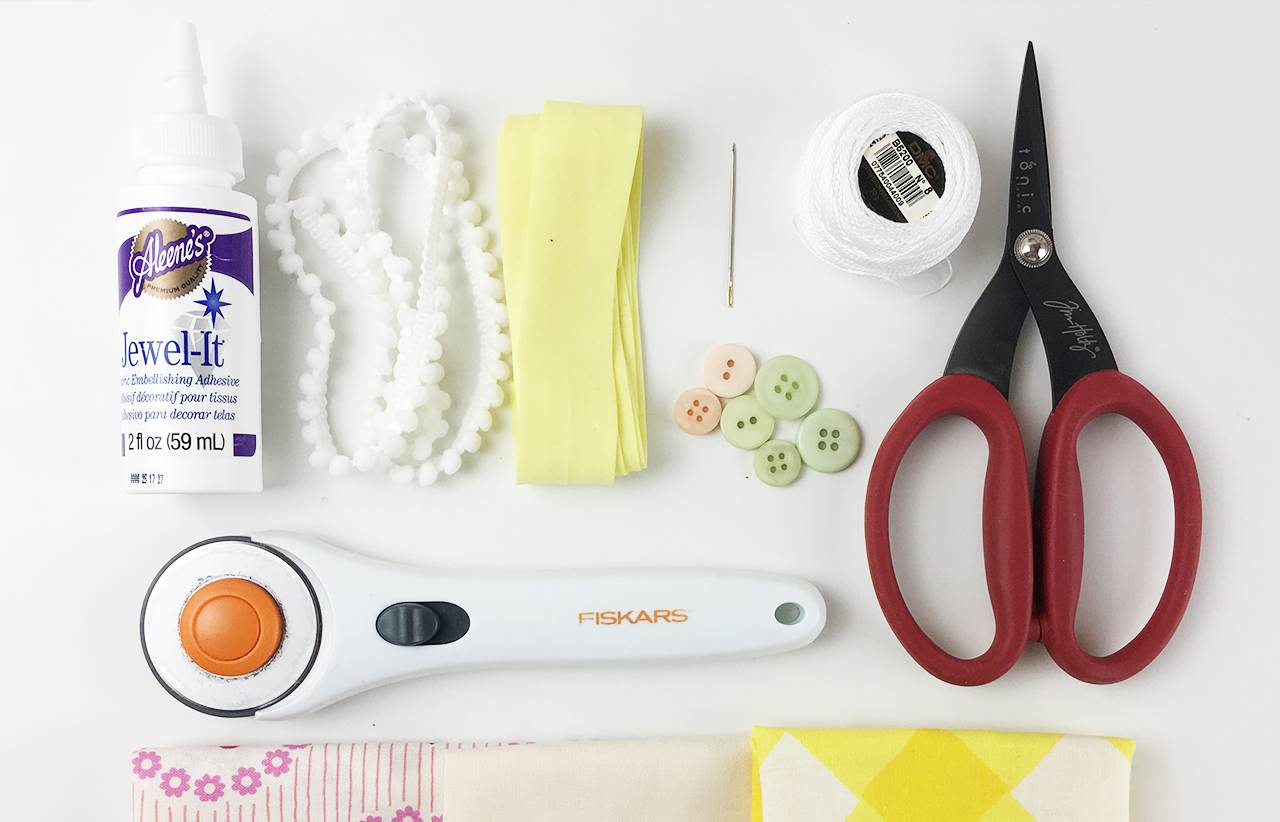
MATERIALS:
fabric scraps in two contrasting colours, or in different values of the same colour (the equivalent of two fat quarters will be ample)
a piece of quilting fabric no less than 24 inches* square
eraseable fabric marker
a sewing machine with coordinating thread
perle eight cotton thread in coordinating colour/s
a piece of quilt batting no less than 24 inches square
quilting pins
a rotary cutter, cutting mat and quilting ruler
sticky tape
sewing needle
a few buttons
mini pom pom trim
fabric glue
scissors
bias binding
* We know that most of you live in a metric world, but the quilting world uses inches.
INSTRUCTIONS:
1. Decide which colour you want to use for your background (fabric one), and which colour you want to use for your cat (fabric two).
2. Cut 22 squares measuring 3.75 inches, and two squares measuring 4.25 inches from fabric one.
3. Cut 10 squares measuring 3.75 inches, and two squares measuring 4.25 inches from fabric two.
4. Take one of the larger squares of each different fabric, and lay them (right sides together) on your workspace. Take your quilting ruler and mark a diagonal line between two opposite corners. Then mark a line 0.25 inches to the left of the central line, and one 0.25 inches to the right of it.
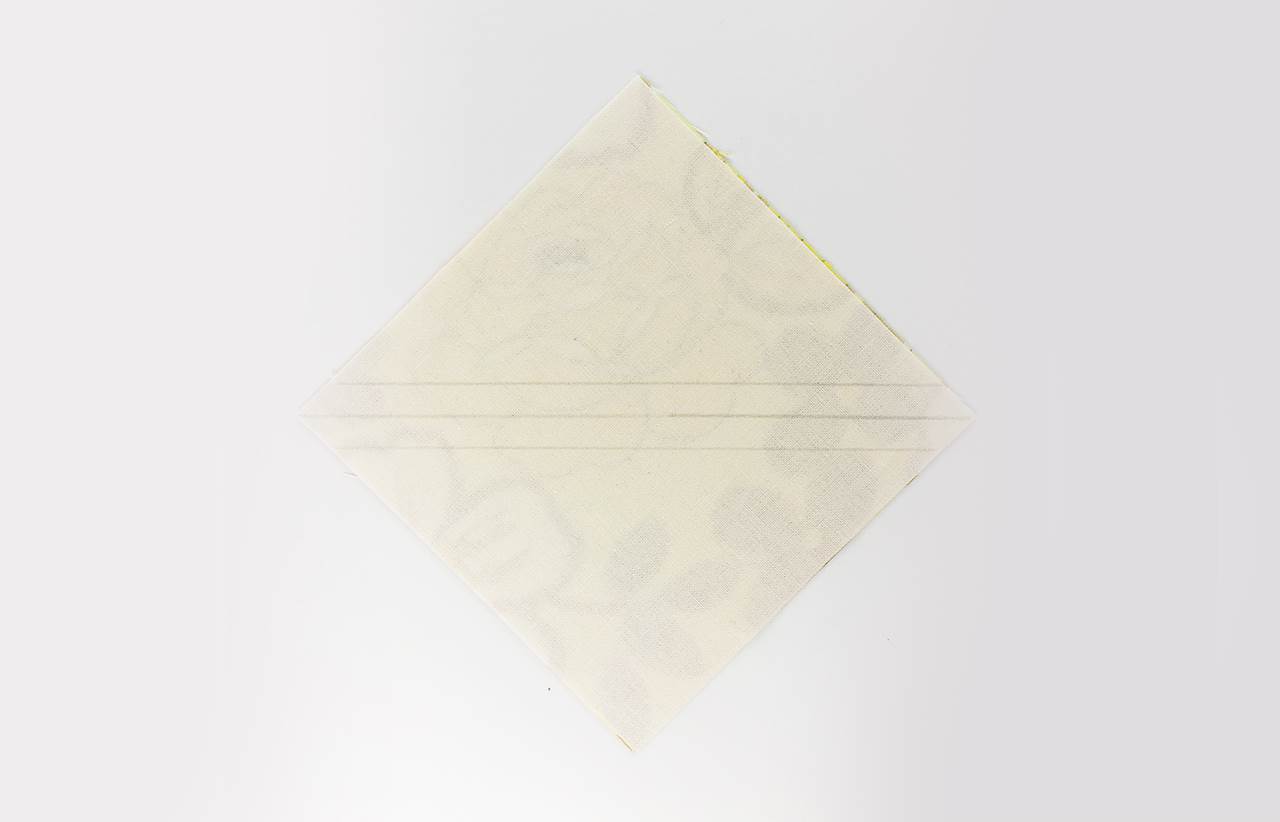
5. Sew over each of the outer lines you just marked, then cut down the middle line.
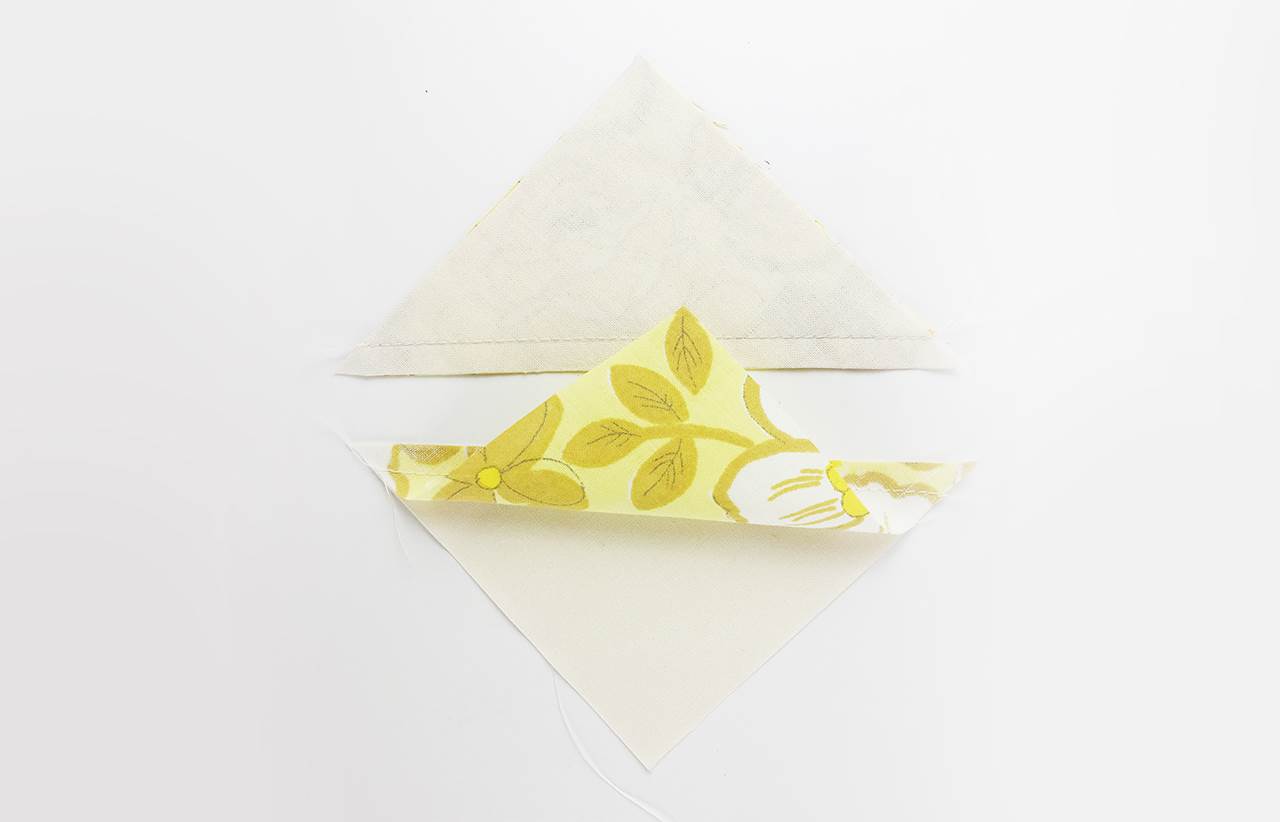
6. Open out and press.
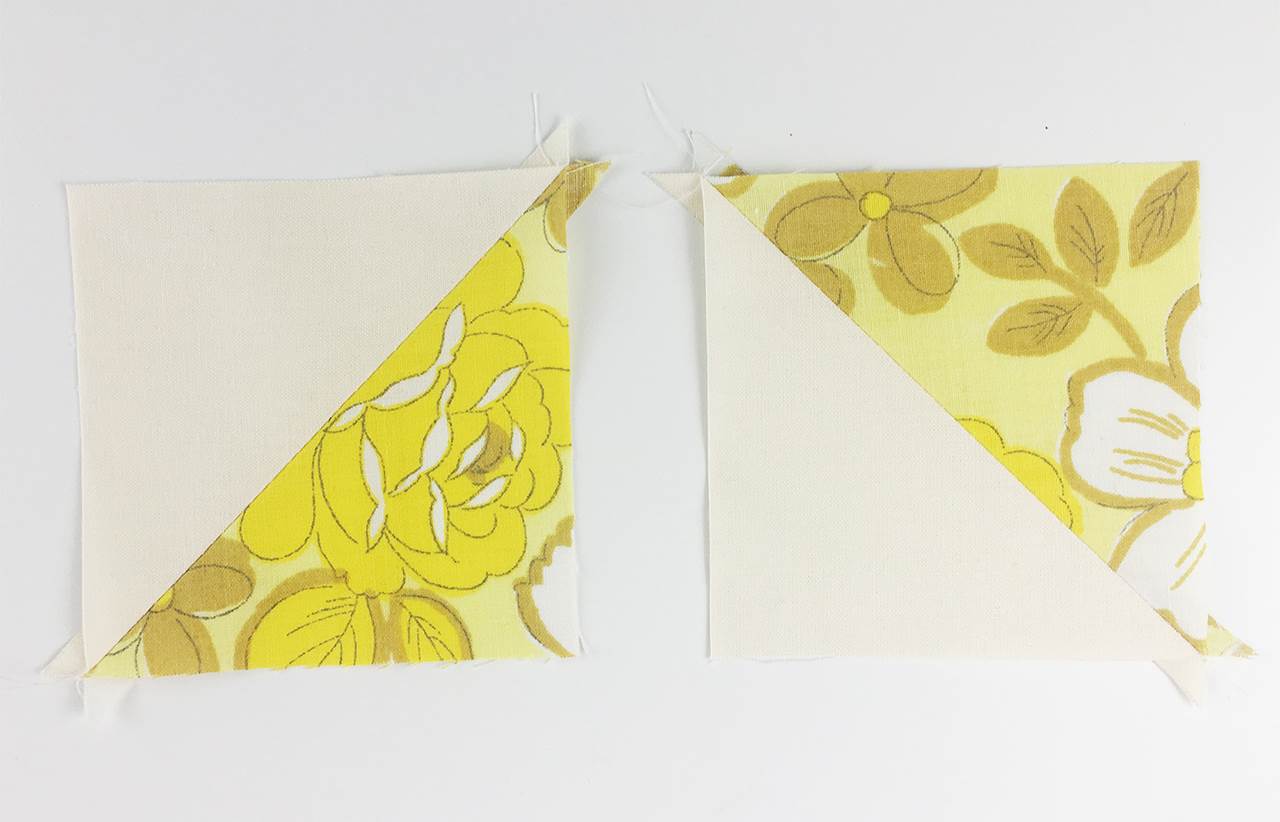
7. Repeat steps four to six with the other two larger pieces of fabric.
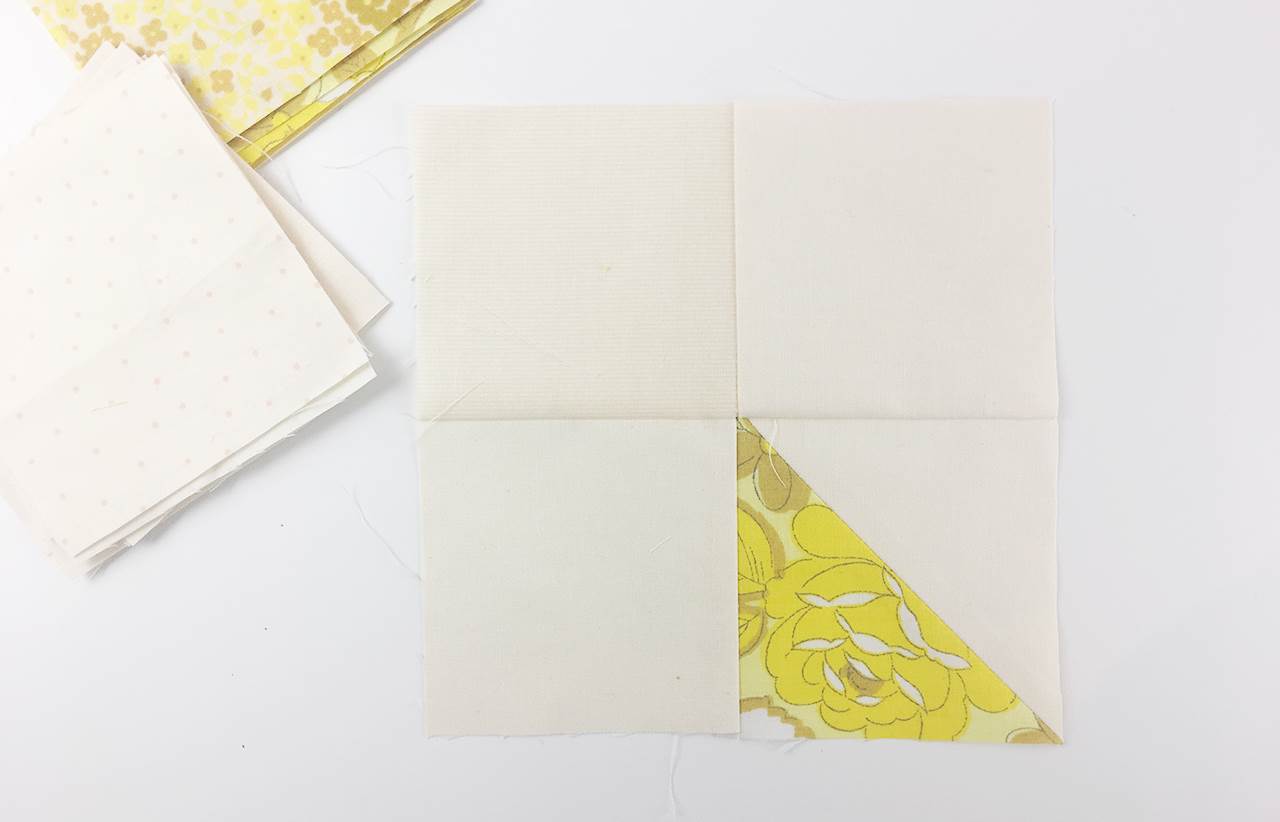
8. Using a 0.25 inch seam allowance, assemble your quilt, first by sewing blocks of four squares as pictured.
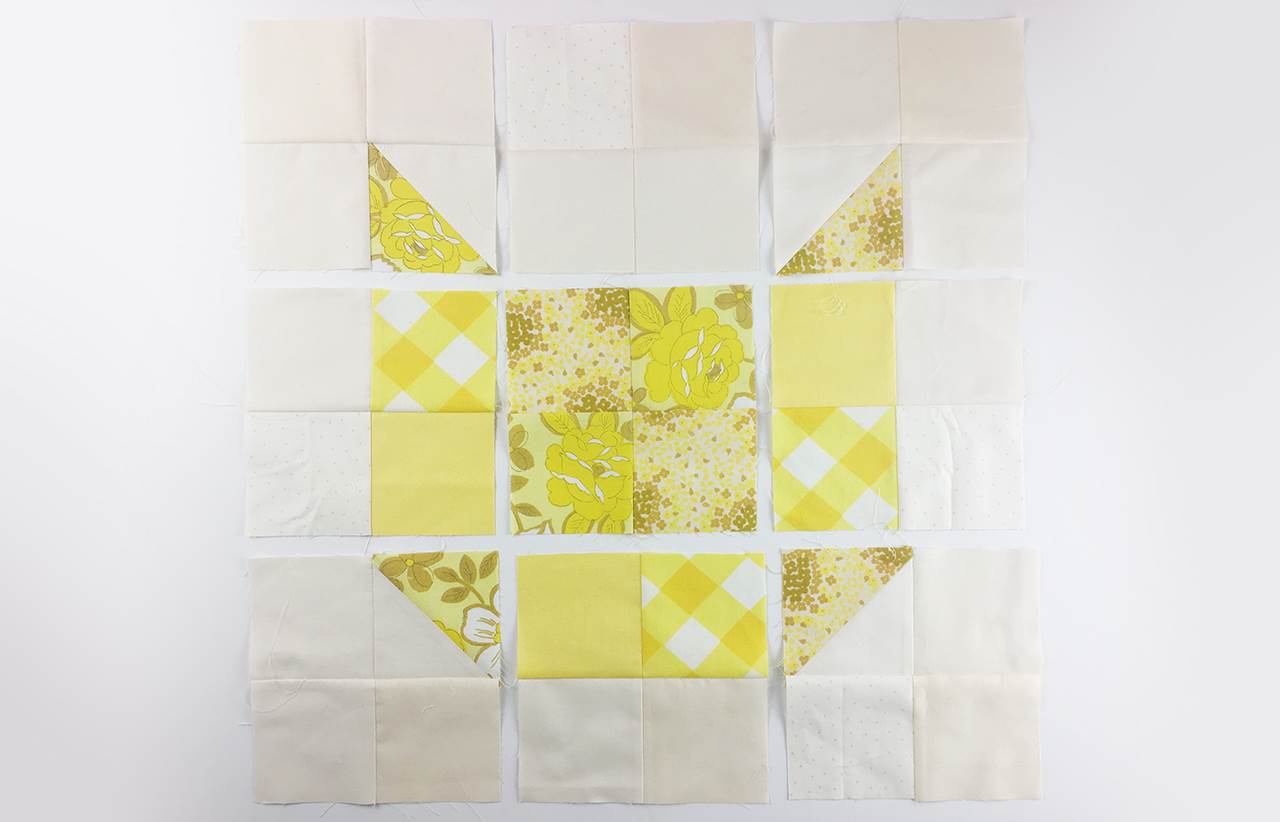
9. Sew the blocks into rows, and the rows together into a finished quilt top.
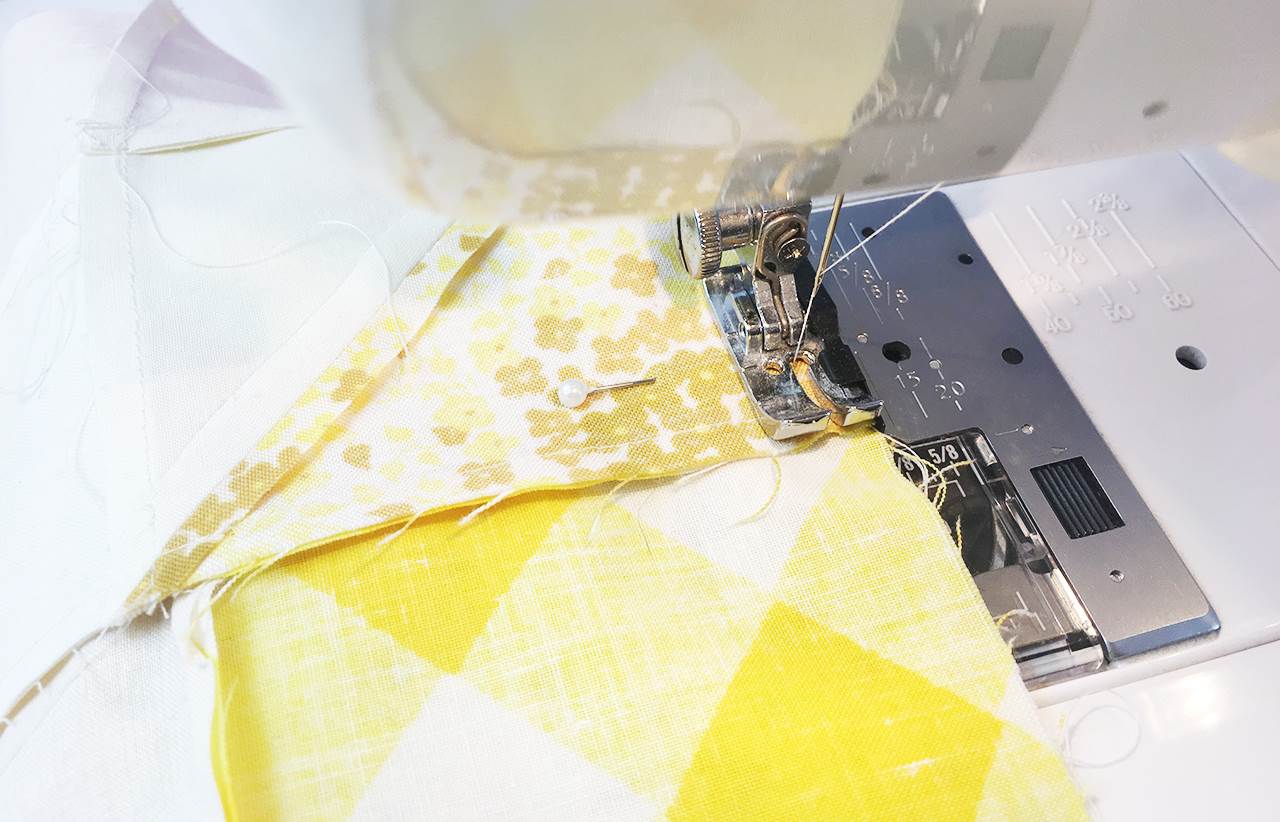
10. Trim any tail ends of cotton left over from the piecing process.

11. Decide on the positioning of your cat’s nose and eyes, and sew them securely in place.
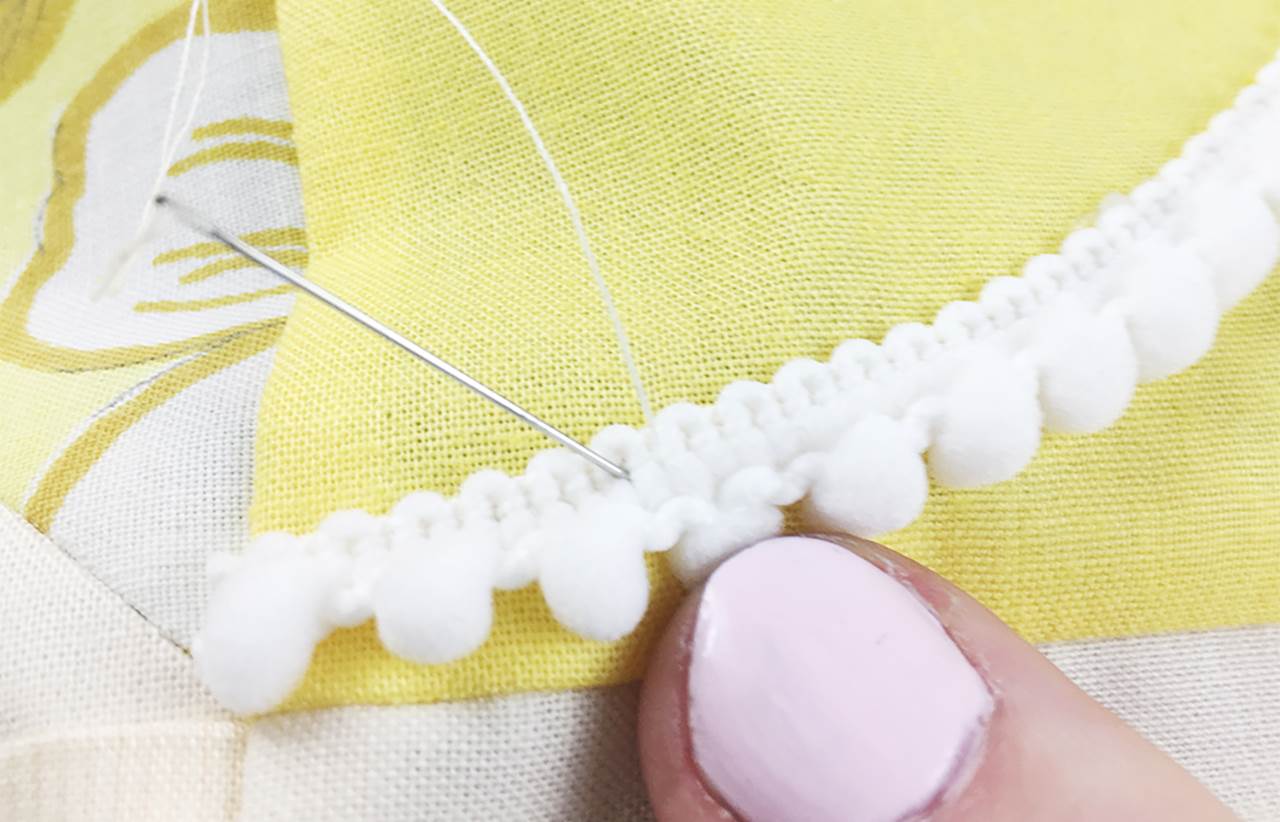
12. Decide on the positioning of your cat’s mouth, then glue the pieces of pom pom trim in place.


13. Once the fabric glue is dry, sew them on securely with a simple backstitch.
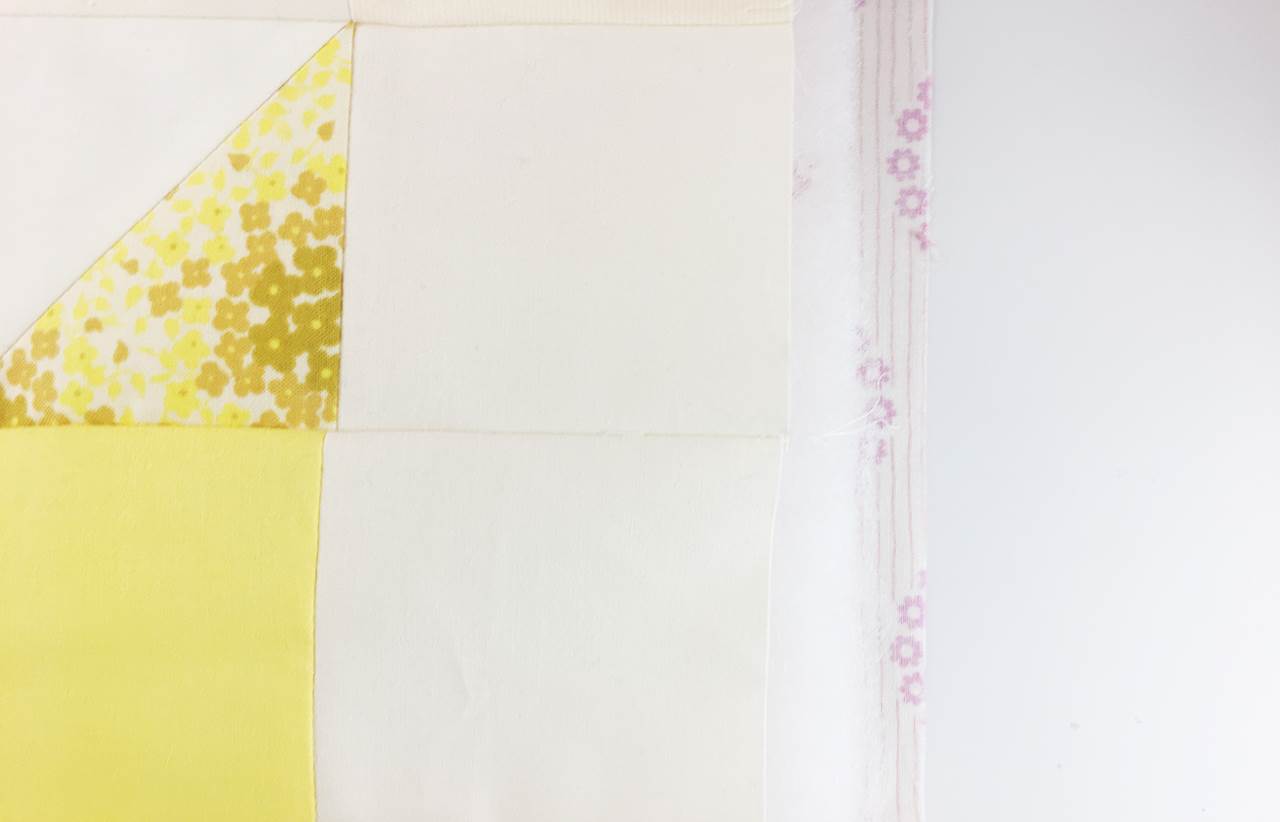
14. Cut your backing fabric to a size that overhangs the edge of your quilt top by at least an inch in all directions. Do the same with your batting.
15. Place your backing fabric right side down on a smooth, hard surface and tape it in place so that it’s secure, but not pulled tight. Lay your batting square on top of it, then place your quilt – top right side up – on top of that. Smooth out carefully with your hands.
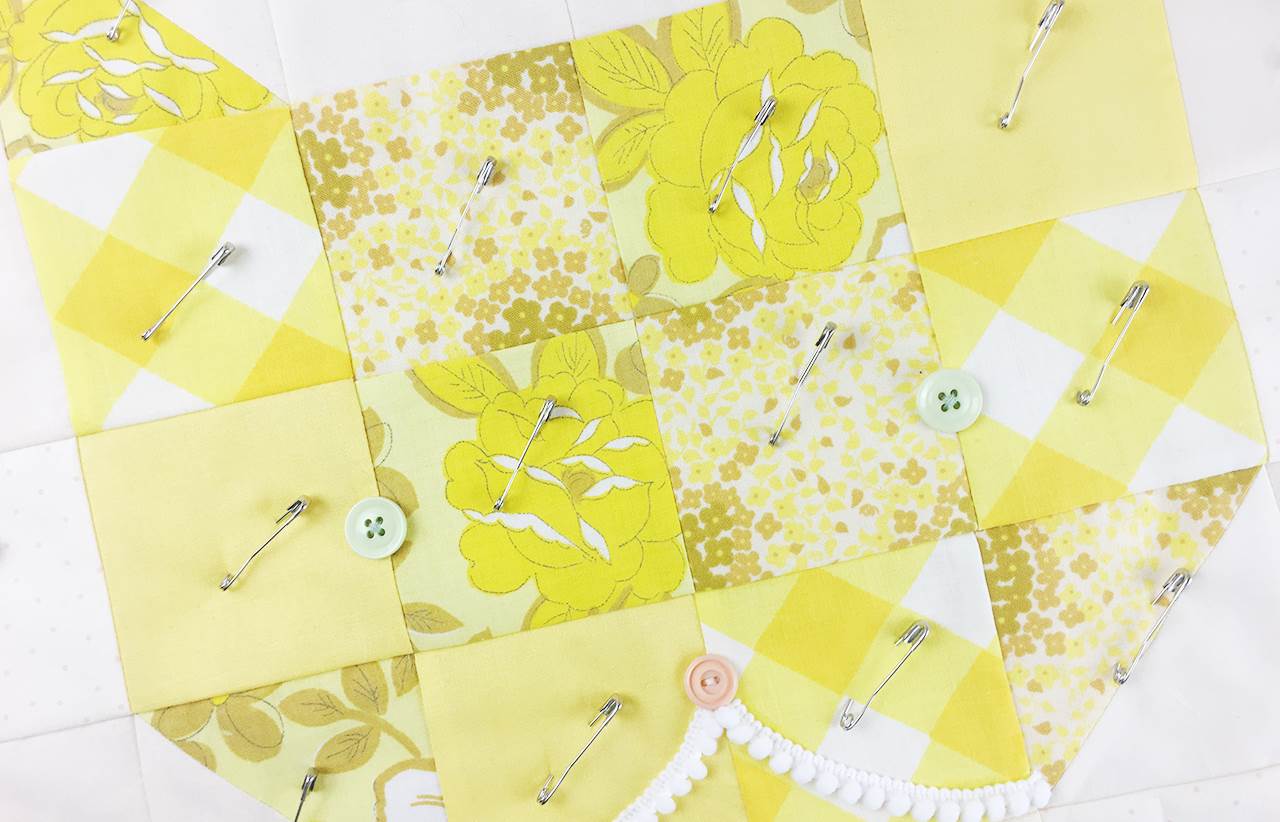
16. Use your quilting pins to ensure that all layers of your quilt are securely held together. One pin per square of fabric should be sufficient.
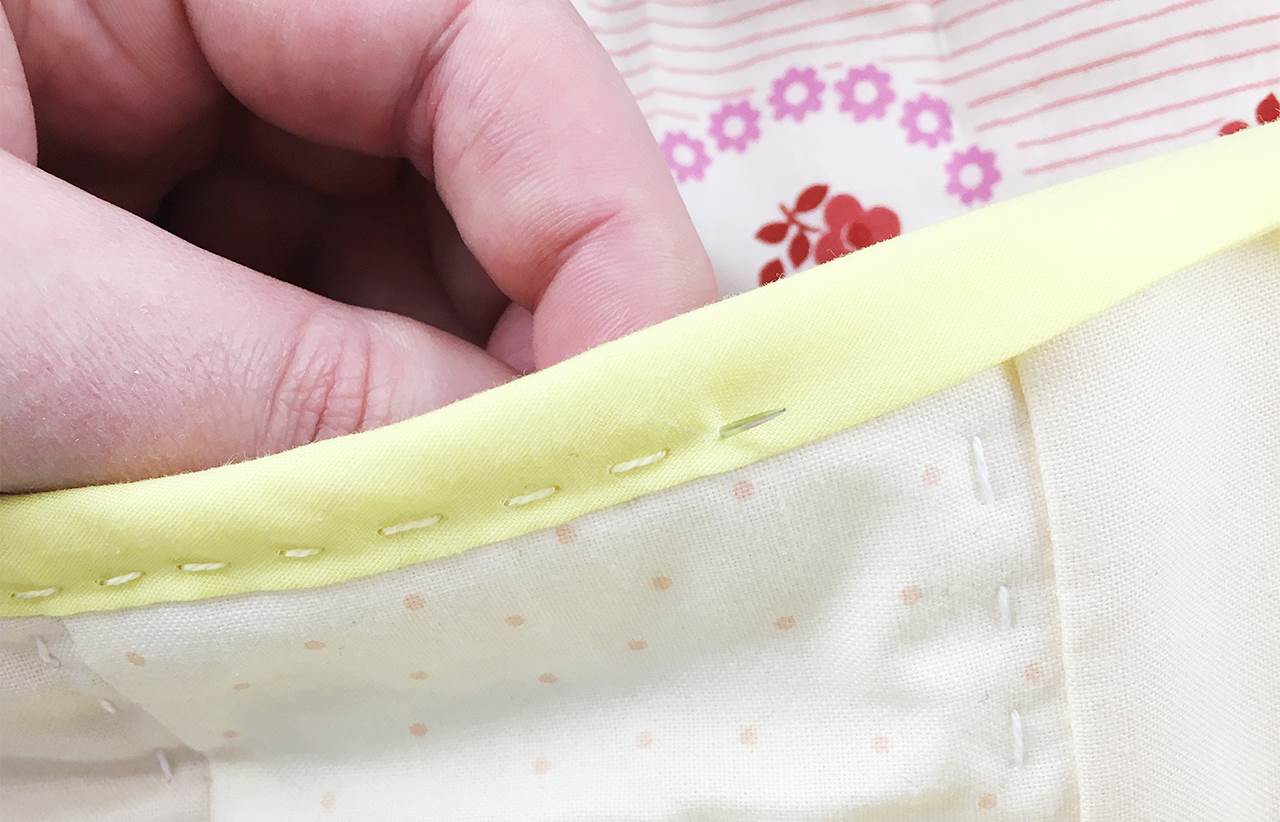
17. Now you have a choice of options for quilting. You can either put a walking foot on your sewing machine and quilt the layers together (this is the quicker option), or you can use the perle eight cotton to hand-quilt them. We chose this second option for our quilt, because we like the chunky, rustic look it gives. We did a line of quilting parallel with each seam of the quilt.

18. Remove the pins, and trim the overhanging edges of backing fabric and batting so they are flush with the edge of your quilt top.
19. Sew bias binding around the edge of your quilt to finish.
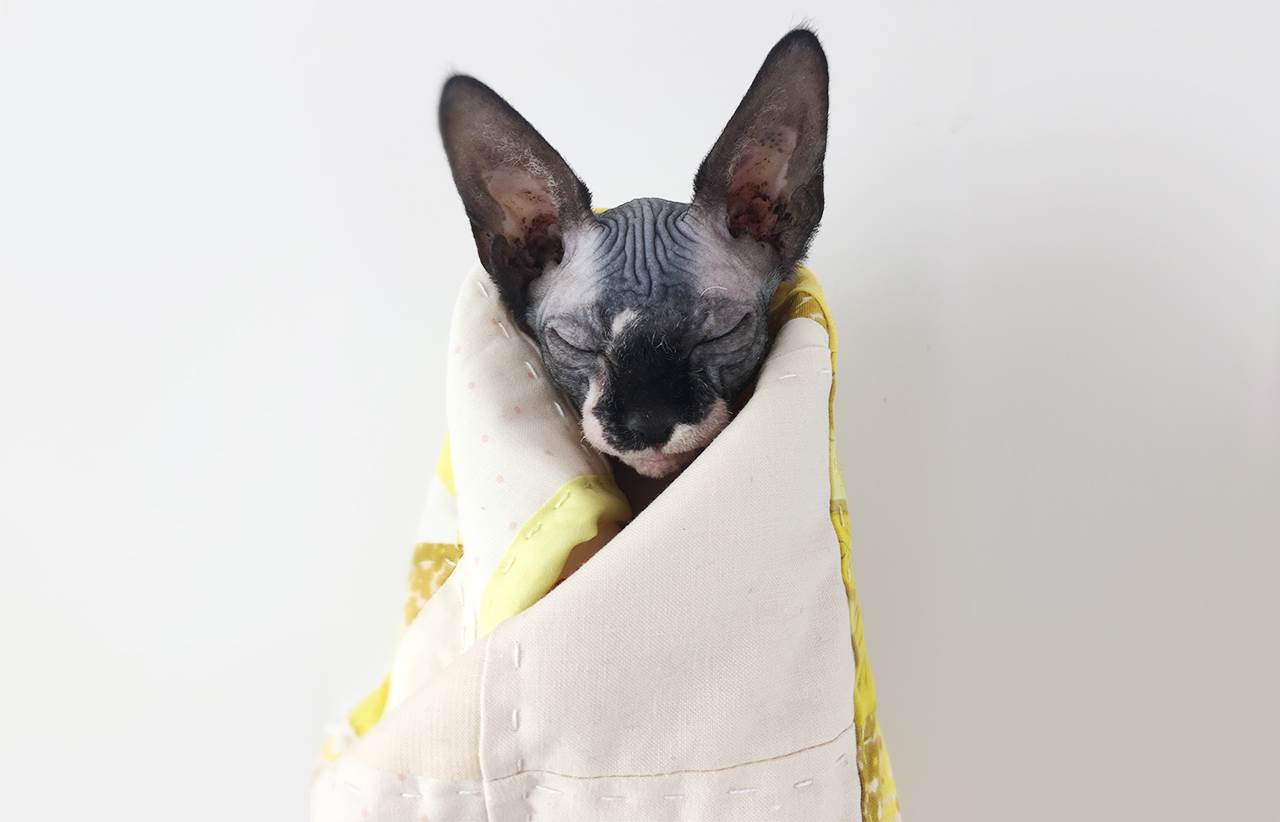
Now all that remains is to wrap your kitty into an adorable purr-ito, and snuggle them till spring.
For more sweet projects by Essie, check out her website.


.jpg&q=80&w=316&c=1&s=1)


