
get fancy: a bold lip how-to
A strong lip can look spring-time fresh with bright simple daytime eyes, and can also add the foxiest glamour to sultry evening make-up.
A strong lip can look spring-time fresh with bright simple daytime eyes, and can also add the foxiest glamour to sultry evening make-up. It adds colour to your face, and with the right shade for your skin tone and eye colour it can become the staple item in your cosmetic bag. Many lady-folk claim to have never found a bold lipstick colour that suits, but with the right advice, everyone can add amp to their kisser. Blood orange, coral and deep brick tend to work best with pale skin and make blue eyes pop, whereas olive or golden skin tones confidently carry off the cooler reds – such as crimson, raspberry and plum. But, hey – there are no rules! It's all in the trial and error, and often, once it's on your lips you'll be pleasantly surprised.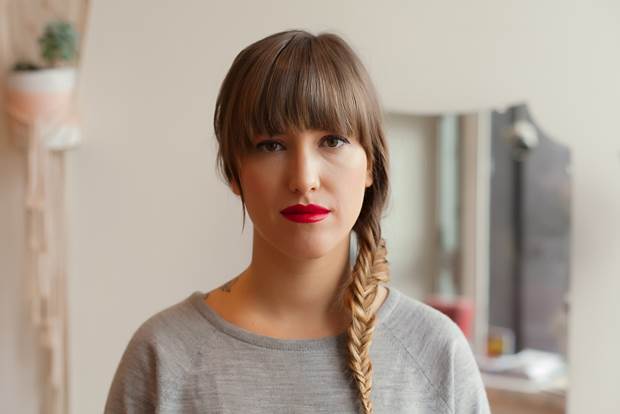
MATERIALS:
lipstick (in your colour of choice)
lip liner (in same colour as your lipstick, or slightly lighter)
lip brush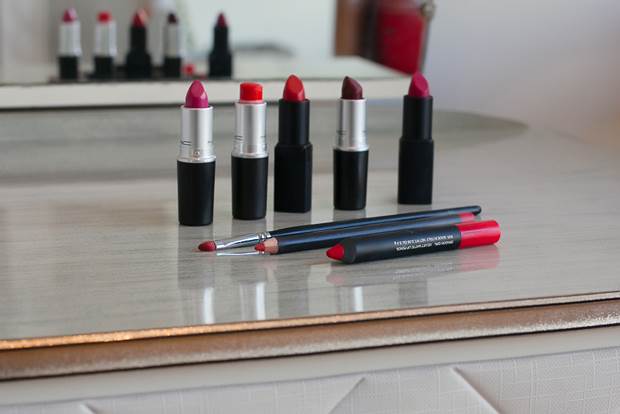
INSTRUCTIONS:
1. A sharpened lip liner is your friend. Start with outlining the shape of your top lip. Take comfort in the fact that not many of us are blessed with perfectly symmetrical lips, but armed with lip liner we can overcome this! If you are a beginner, try drawing exactly along the edge of your natural lip line and focus first on getting your cupids bow peaks nice and even.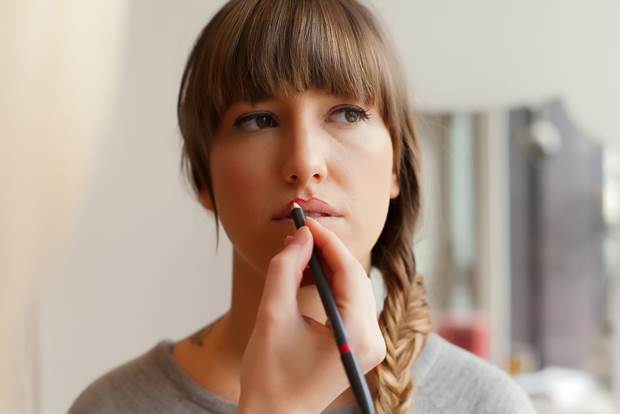
2. The next step is to find the centre of your bottom lip line, and either side of this point, draw a 1cm line along the curved edge. At this point, aside from having a giggle at your geisha lips, it is a good idea to stand back from the mirror a bit to admire your work and assess the balance so far.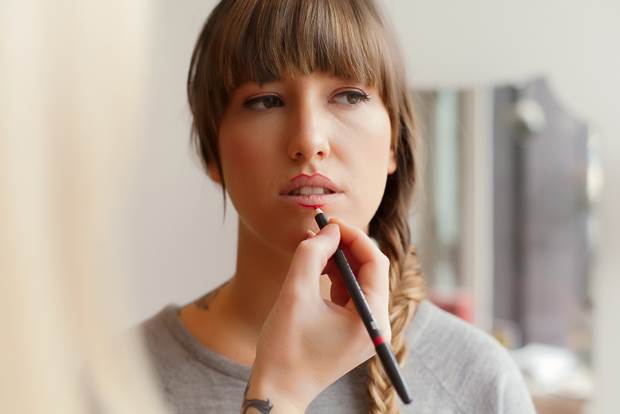
3. With your lips closed, continue drawing along your bottom lip line until you reach the corners of your mouth. For the bottom lip, the trick is to draw just outside the lip line in the centre and move the tip of the pencil slightly inside the natural lip line the closer you get to the corners. Again, stand back and check your balance.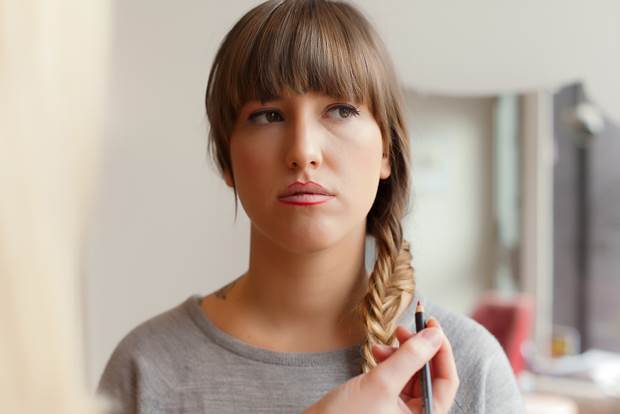
4. Back to your top lip. With a light back-and-forth feathering motion, continue your lip liner to the corners. Opposite to the bottom lip trick, try sticking to the natural lip line for the centre of the top lip and then very slightly over-draw from the bow point down to the corner of the mouth. This is called "rounding out" the top lip. The result is a fuller shape for a classic Hollywood movie-star smile.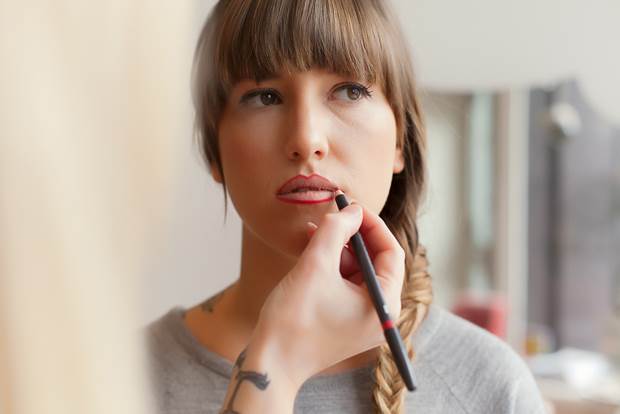
5. The last job of the lip liner is to fill in the corners of the mouth. There is nothing worse than bare corners when you are talking, singing or being photographed! TIP: Applying lip liner all over your lips can be a great base and make your lipstick last longer, but if it's not a great colour match, it may change the final shade of your lipstick.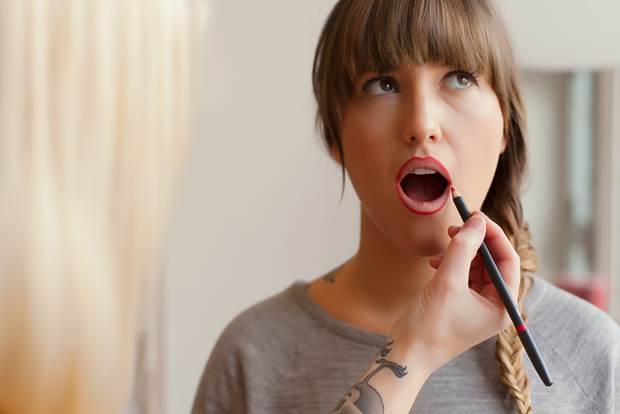
6. The fun part is here! Take your lip brush and lipstick and paint inside the lines. If your lip liner shape is done well and the colour is a perfect match, you shouldn't need to paint too near to the edge of your lip line. You may need to paint the lipstick all the way to the outer edge of the lip liner if it doesn't match. To achieve excellent coverage and a good coat of product, stretch your mouth into a smile and paint into the crevices and slightly inside the lips, too.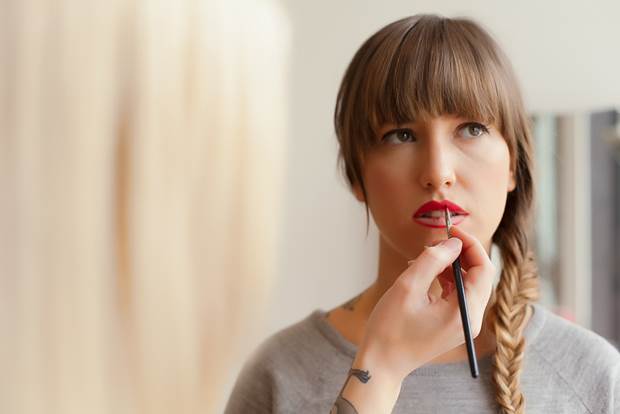
7. Once you have your pout perfected, over-drawing IS allowed. For this you will need your lip brush to have a fine, firm tip. It's best to draw only slightly outside your natural lip line, but if you are in glam rockstar mode, then who are we to hold you back? The key is to have a balance of thickness between the top and bottom lips.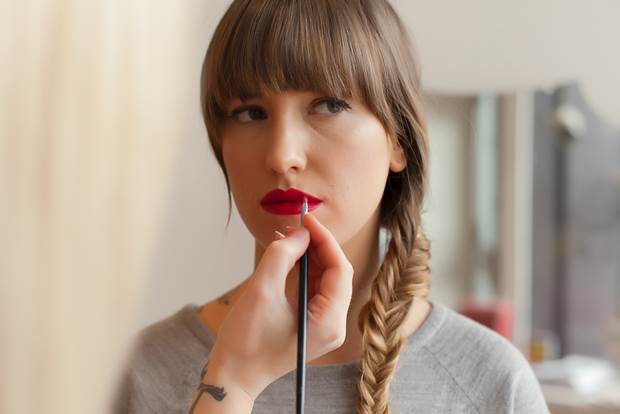
The pretty piccies of model Vanessa Poulin-Cantin were snapped by Kate Berry. Words are by Dana Leviston.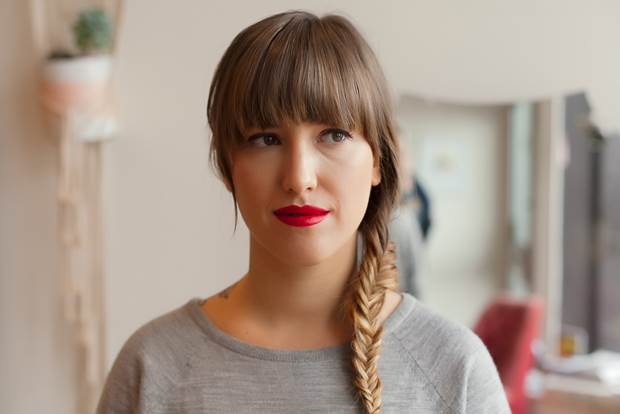


.jpg&q=80&w=316&c=1&s=1)


