
frankie fodder: layer cake how-to
Discover how to make a layer cake that’s rather splendiferous (and sure to make folks’ eyes pop out of their face a tiny bit).
All your cake-layering prayers have been answered! Follow this step-by-step process to achieve a delightfully even and professional-looking layer cake for your next party, celebration, or regular old Wednesday night.

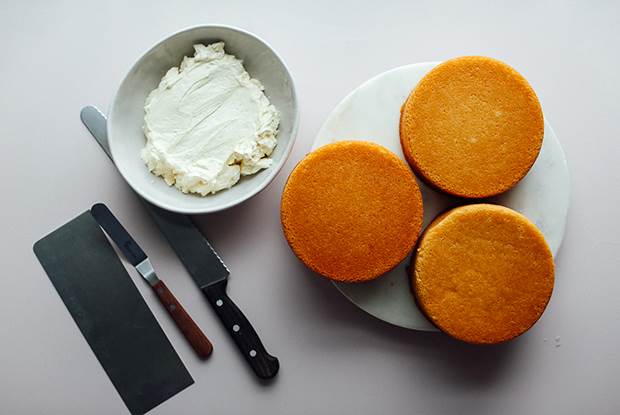
INGREDIENTS:
3 (or more!) layers of your favourite layer cake (this recipe is my favourite, baked over three 6-inch tins)
1 batch of Italian meringue buttercream (or any other buttercream that you love – I absolutely swear by this recipe)
serrated knife
small offset spatula
cake scraper
turning cake table (or an IKEA Lazy Susan)
optional: piping bags, piping tips and cake board
INSTRUCTIONS:
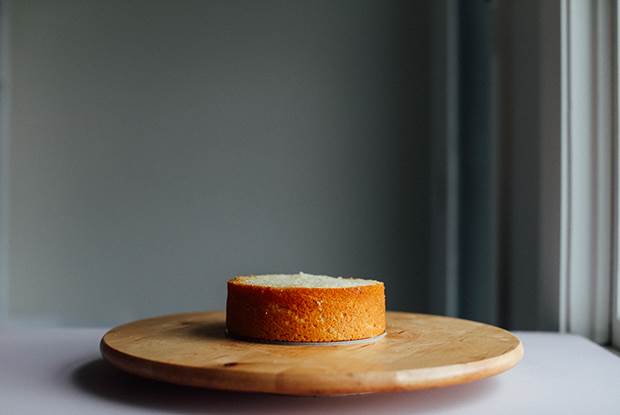
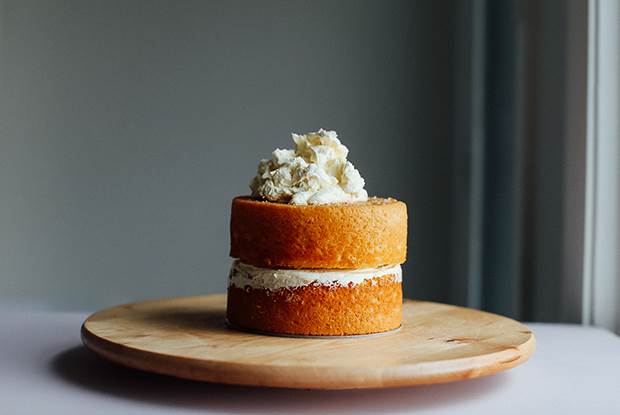
1. Once you have baked and cooled the cakes, they need to be trimmed. Place the cake on the cake table. Insert the knife’s edge into the top edge of the cake, where the dome begins.
2. Spin the cake table, with the knife still in the cake to cut a shallow incision all the way around the cake. Insert the knife deeper, about 3cm, then spin another rotation.
3. Now drag the knife all the way through the cake to remove the dome. Repeat with remaining cakes.
4. Place the cake on a cake board and place on the centre of the cake table.
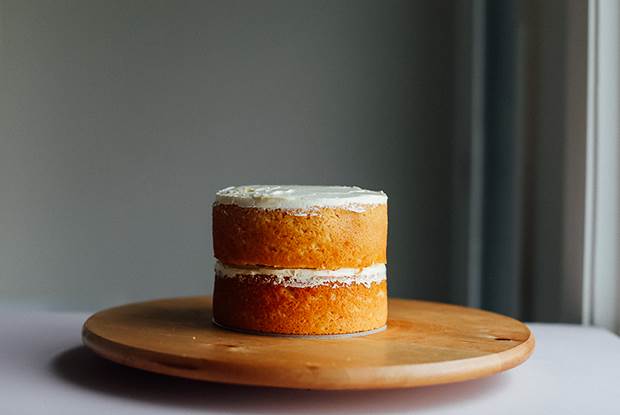
5. Place 1/2 cup of buttercream on top of the cake (more if the cake is larger) and spread evenly over the cake.
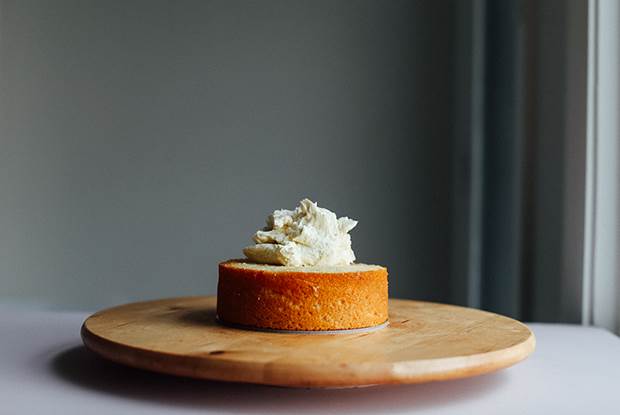
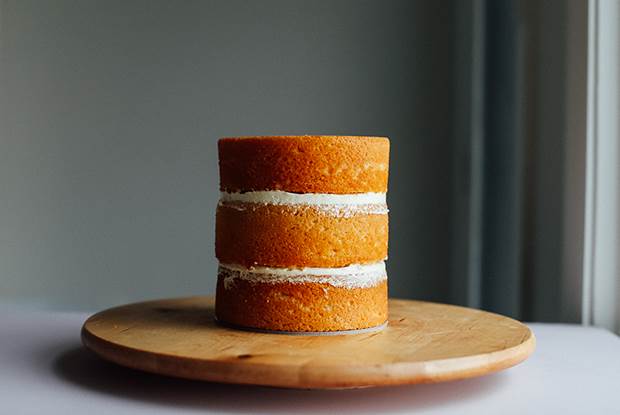
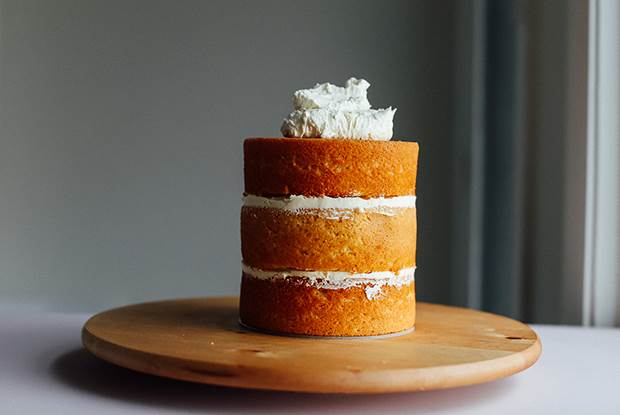
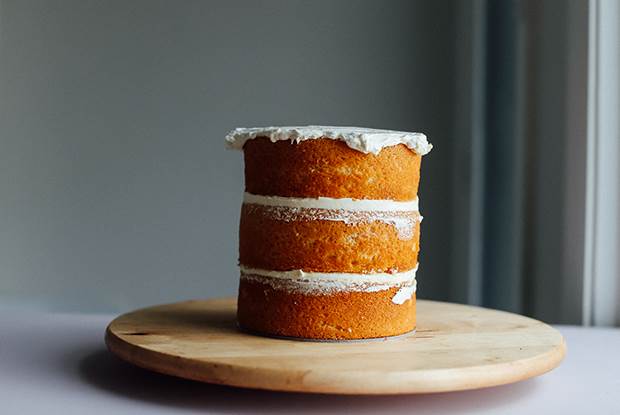
6. Top with the second cake, then repeat. Top with the third cake, then chill until set (this should take around 30 minutes).
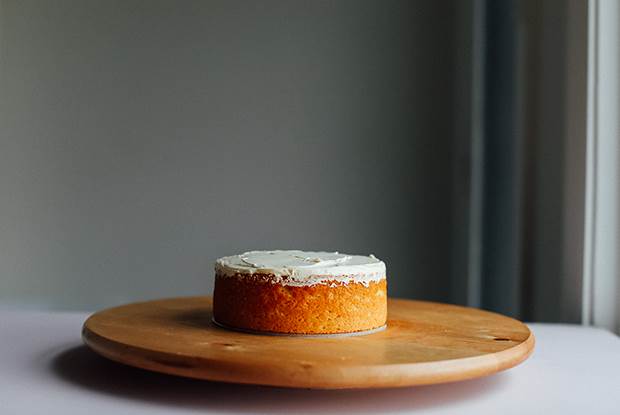
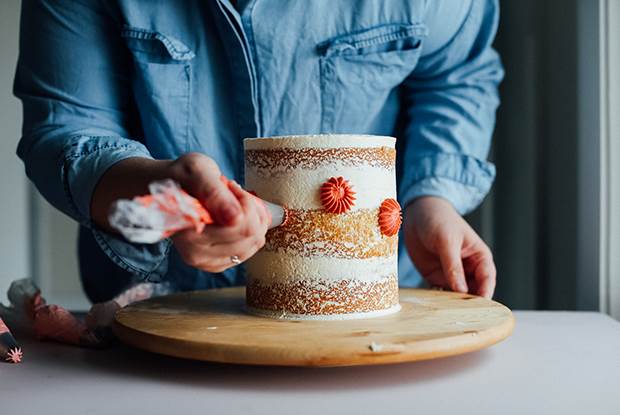
7. Place the cake on the centre of the cake table and top with 3/4 cup of buttercream (more if the cake is larger), then spread evenly with the offset spatula, not being too concerned with the edges – we’ll take care of them later.
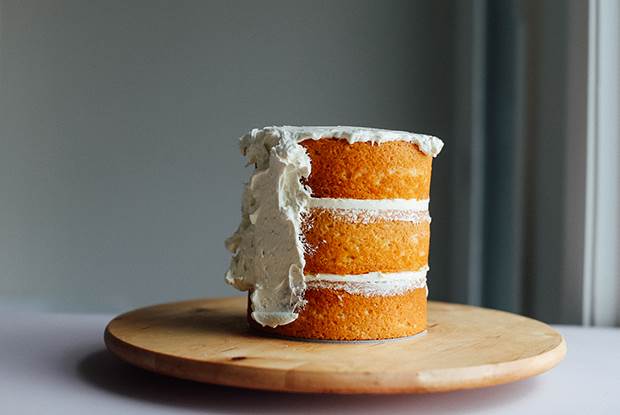
8. Using the offset spatula, spread rough patches of buttercream all over the sides of the cake.
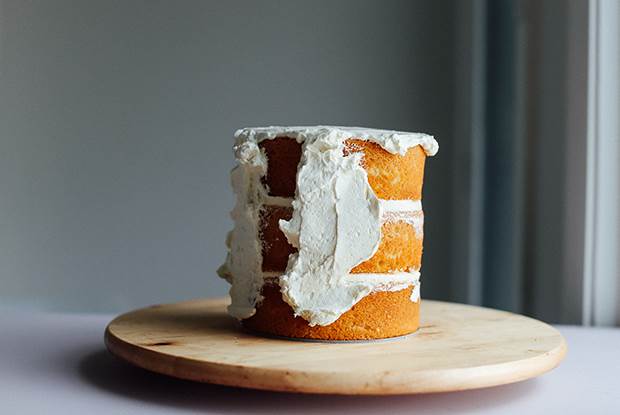
9. Using the cake scraper, spread the frosting all over the cake, while turning the cake table.
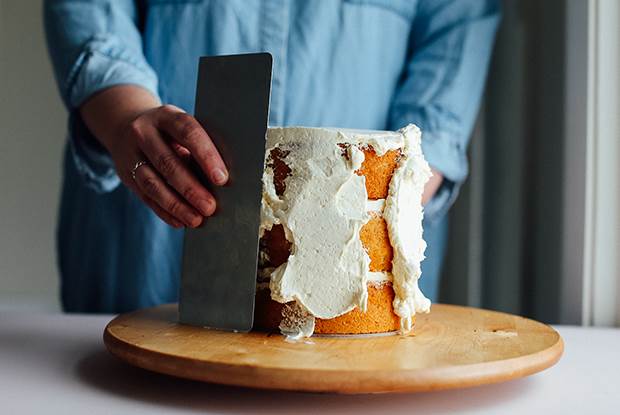
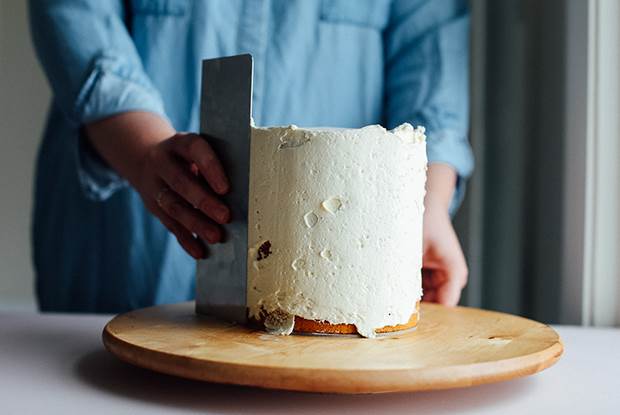
10. Continue turning and scraping the buttercream off, filling all the holes as required.
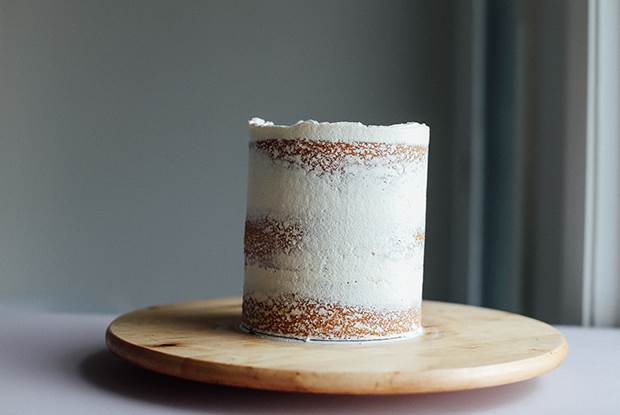
11. Use the offset spatula to swipe in the “lip” of buttercream that formed at the top of the cake. Chill the cake until set (again, this should take around 30 minutes).
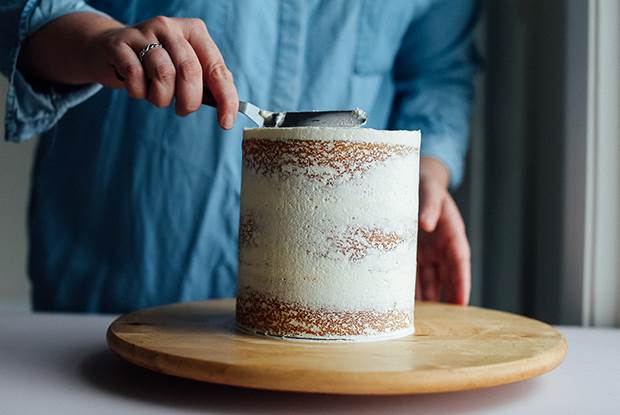
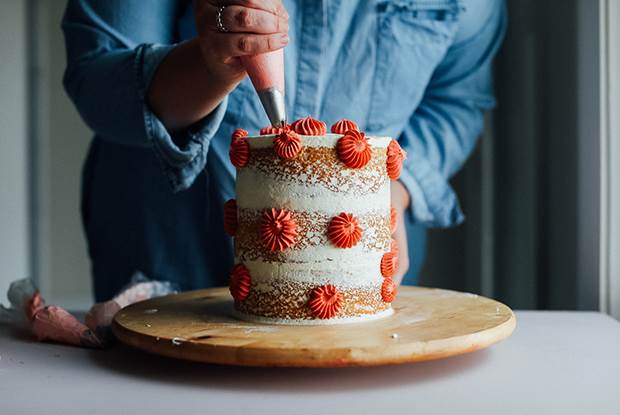
You could stop here and you would have a “semi-naked” cake. If you’d like a completely iced cake, repeat step 9, but do not “scrape” the icing off. For the cake you see here, I simply divided the buttercream over 5 bowls, and coloured each one lighter than the previous one.
12. Divide the buttercream over 5 separate piping bags that are fitted with a range of different fluted piping tips.
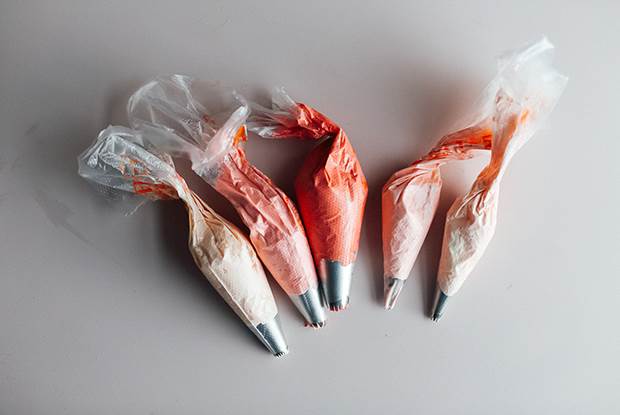
13. Pipe randomly over the cake with each colour until you achieve the desired look.
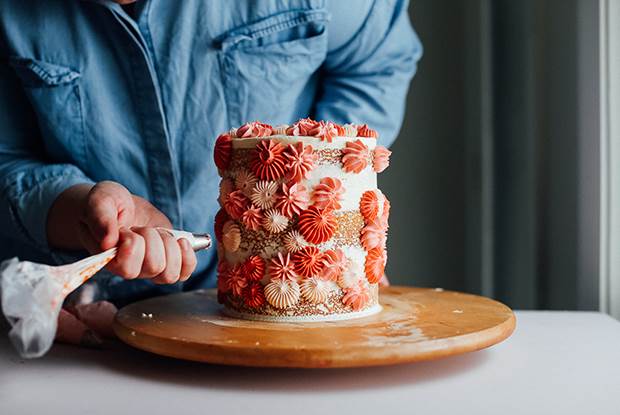
14. Chill until set (around 30 minutes), before transferring the cake to a cake stand or plate.
15. Serve at room temperature.

For more yummy treats by Erin, be sure to check out her blog: Erin Made This.


.jpg&q=80&w=316&c=1&s=1)


