
frankie exclusive diy: sweet treat doormat
This welcoming Nice biscuit doormat will put a skip in your step every time you return home after a long day at work.
This welcoming Nice biscuit doormat will put a skip in your step every time you return home after a long day at work. Or then again, with just a bit of cutting and spraying it could make the perfect handmade housewarming present for your bickie-loving friends and family. (As long as they don’t try nibbling on it in a sugar-craving induced state.)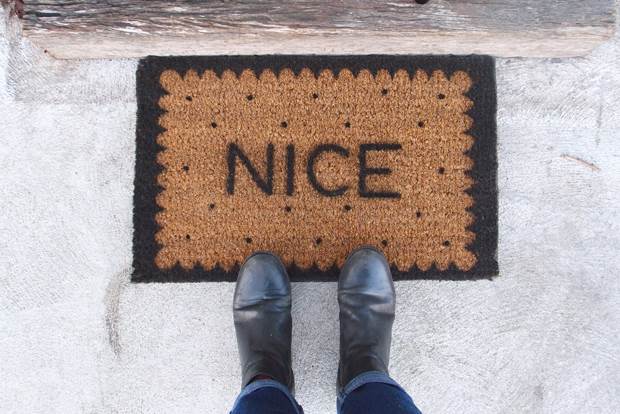
MATERIALS:
coir doormat – available from any hardware store
black spray paint
large piece of card
scalpel & cutting mat
scissors
ruler
pencil
newspaper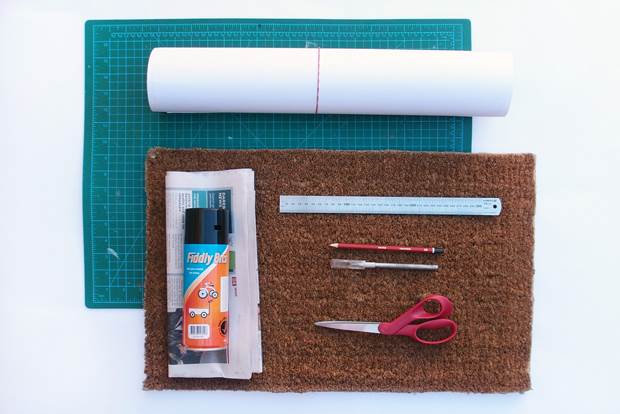
INSTRUCTIONS:
1. First of all you will need to make your stencil! Measure the doormat and cut the card down so that it is 1.5cm smaller than your doormat on all sides. I also cut a little bit extra off the width of my card so that it was more in proportion with a Nice biscuit shape.
2. Measure in 2cm from the edge of the card on all sides and rule lines to form a border area where you will draw the scalloped edge of the biscuit. Next, measure 4cm in from all corners and draw a mark to make room for the larger corner scallops. Measure out 3cm intervals between these marks. It’s OK if your 3cm scallop markings don’t fit exactly – just increase or decrease the size slightly so that it looks even.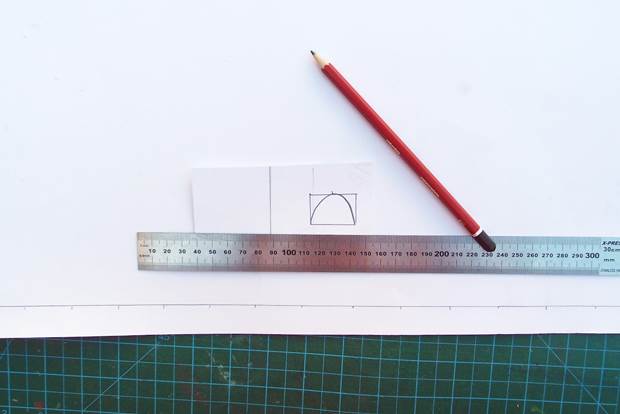
3. To draw in the scallops evenly I made up a quick template to trace by drawing a 3cm x 2cm rectangle and cutting out one single scallop. Use this shape to trace around for the main scalloped border and then hand-draw in the larger corner scallops.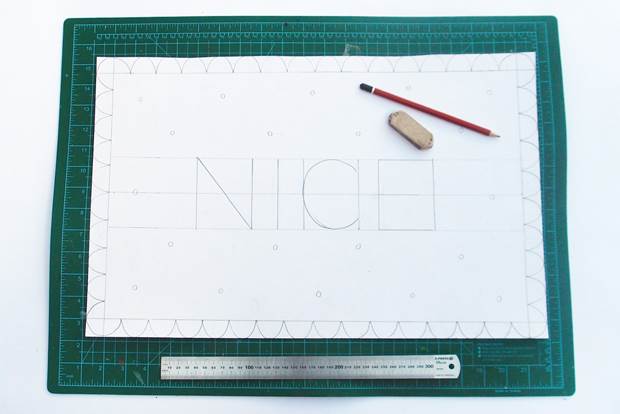
4. To add the writing to the centre of the biscuit, draw in a central line across the width of the card and add 4cm to either side so you end up with an 8cm wide strip. I ended up making my text about 28cm across. Once your letter outline is drawn in you can add some small dots evenly around the biscuit.
5. To make the letters easier to cut out, drawn over them with a thick marker, making them about 1cm wide.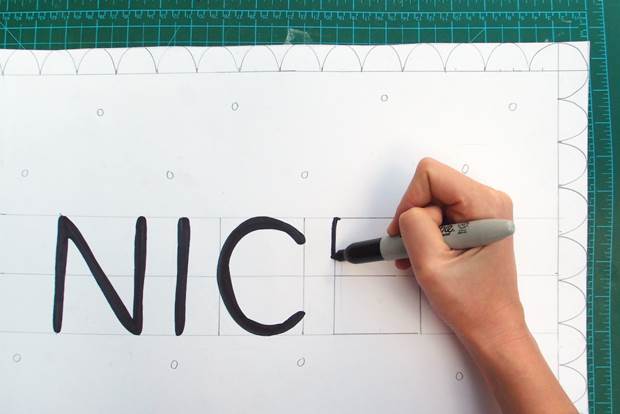
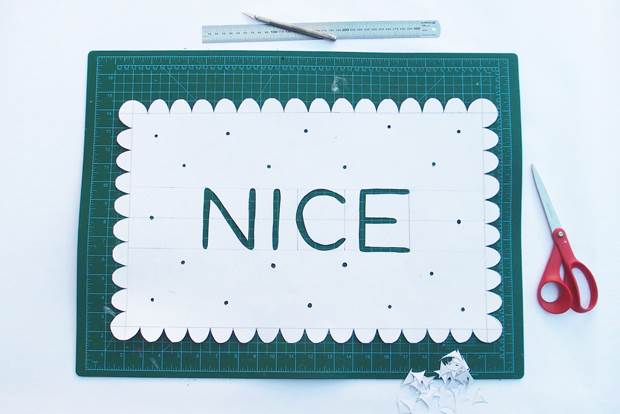
6. Now it’s time to cut out the stencil! Use a scalpel to cut out the lettering and the small dots. Then you can easily cut out the scalloped outline using scissors.
7. Lay down some newspaper and place the stencil carefully in the middle of your doormat, making sure the borders are equal. You may find it helpful to use some double-sided tape on the underside of the stencil to really stick it down securely. Using your spray paint, paint the mat evenly, ensuring the can is held about 20cm directly above the mat and using even strokes. Once you have painted one layer, wait a few minutes for the paint to absorb and then paint a second layer. It’s important to keep the stencil in place to avoid any blurring or shadows on the second layer. Wait a few more minutes and then remove the stencil and leave to dry.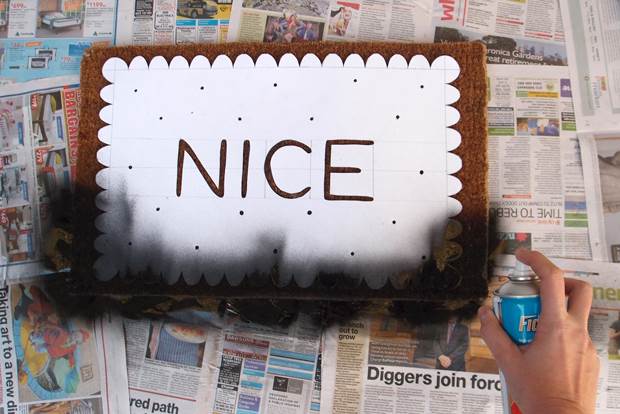
8. You can use a small paintbrush to touch up any areas that aren’t dark enough. I found this worked really well for adding more definition to the small dots. Just spray some paint onto the newspaper and use an old brush to dab it carefully.
Photos and words by Esther Sandler, the clever lady behind Togetherness Design.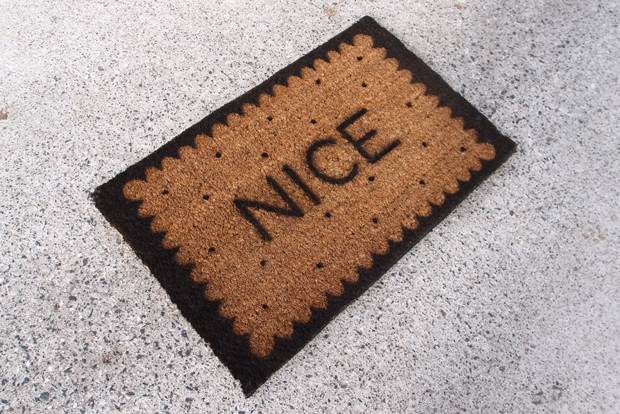


.jpg&q=80&w=316&c=1&s=1)


