
frankie exclusive diy: scalloped leather clutch
Ready to stuff with official papers or a night out's essentials, this envelope clutch is surprisingly easy to make with super spiffy results.
Hi there, and welcome to the first frankie DIY of the year!
I tend to have a lot of paperwork with me and like to keep it spick and span at the bottom of my tote bag. And I was recently not too thrilled with my options when I went to an office supply store to look for a plastic sleeve to carry them around in. Some of the plastic sleeves on the shelves were already cracked, and some were just too bulky. So I decided to make my own out of faux leather. You can use real leather if you'd like, but vinyl is inexpensive, durable, easy to find and easy to wipe clean. Not to mention vegan!
I kept the clutch unlined and I embellished it with a scalloped edge that reminds me of a sugar biscuit. Even though I use my clutch as a glorified office supply, I think it's cute enough to use on a night out!
MATERIALS
Faux leather (half a metre is plenty)
A button stud (or a button, or a metal snap), which can be found in sewing notion sections of craft stores or leather supply shops
Awl
Ruler
Pen or marker
Rotary cutter or sharp scissors
Cutting mat
Paper clips or tape
A sewing machine or needle and thread
Scalloped pinking shears or cardboard to make a template
Embellishments such as pom poms and paint

INSTRUCTIONS
1. Cut your material. I wasn't too precise about this, although feel free to measure more carefully than I did. Most of the papers I carry with me are around A4, which happens to be roughly the size of a frankie magazine! I used an issue as a rough guide. I marked straight edges at the side of the magazine and marked two long edges along the top and bottom, making sure I had enough material to wrap around the magazine three times. I then marked an edge on the opposite end. Once I had marked the material, I cut it with a rotary cutter. When cutting the vinyl (or real leather for that matter), cut very carefully as the cut edge will show on the outside.
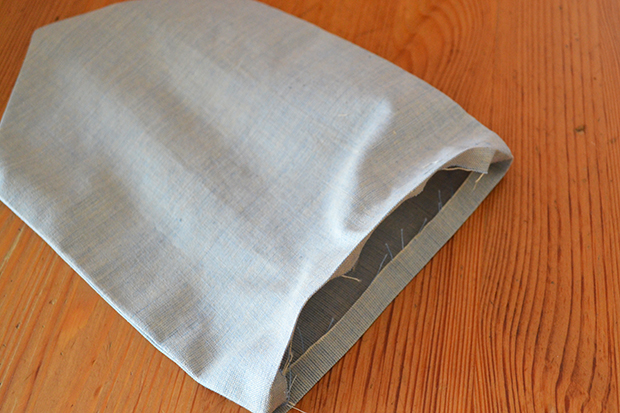
2. To cut the outer flap, make a mark in the middle of the material by folding the two edges towards each other, and then cut an edge on a diagonal. I used the cut piece as a template to mark my diagonal edge on the other side.
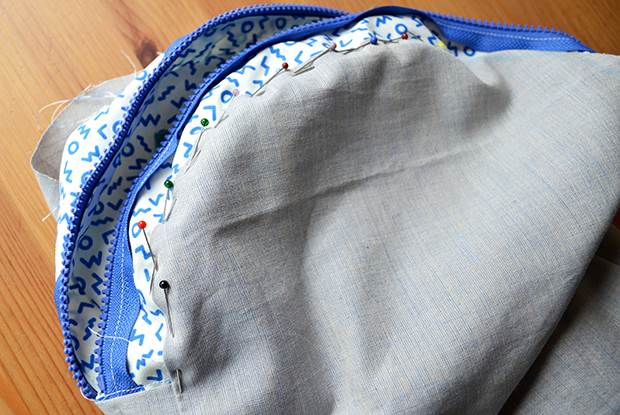
3. Once I had my edge, I cut a clean edge on a piece of vinyl that was larger than my pointed edge. This was to make a sort of lining for the flap so it would be more sturdy. I attached the two pieces of vinyl together, insides facing each other. Use paper clips or tape to hold them in place as pins will make holes in your material. I sewed a straight line along the flap in a 'V' shape.
4. I used my scalloped pinking shears to cut along the edges of the flap. If you don't have scalloped pinking shears, you can make a cardboard template using a round object. Trace the bottom half of it and cut it out. Then use that template to make a scalloped template to trace an edge on your material. You can have tiny scallops as I had, or larger scallops, which would be easier to cut by hand.
5. I also cut a small scalloped loop to attach some pom poms, which I inserted in between the edges of my fabric.
6. To sew the sides, fold up your material and hold the sides with paper clips or tape (of course the only paper clips I have are cat-shaped!) Carefully sew along the sides.
7. I made two clutches: one that I left plain and one that I embellished with polka dots. I used the eraser from a pencil to make dots with paint all over my material before I cut it.
8. A button stud is a two piece metal fastener that attaches with a screw. Mark where you'd like to attach your fastener, and make a hole through the flap and the top piece of your material using the awl. Insert the screw part of the button stud through the inside of the clutch, and screw the top part of the stud on the outside. You might have to make the hole you made on your flap slightly bigger with a few tiny cuts around it. You want the button stud to pass through the hole snugly! If you don't have a button stud, stitch a button to the body of the clutch and make a slit on the flap. You can also use a metal snap as a fastener, attaching it by following the instructions on the package. I used a button on my polka dot clutch.

9. I attached some pom poms to one of my clutches to make it more fun. Not all office supplies have to be boring!


.jpg&q=80&w=316&c=1&s=1)


