
frankie exclusive diy: abstract quilted placemats
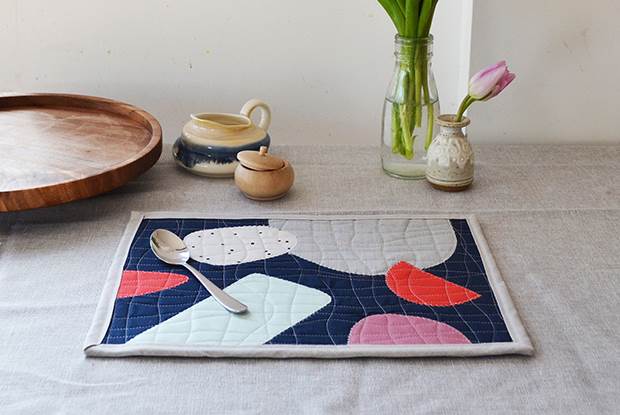
Like tiny abstract artworks for your table, these placemats will brighten every meal (while also doing a sterling job of protecting your table).
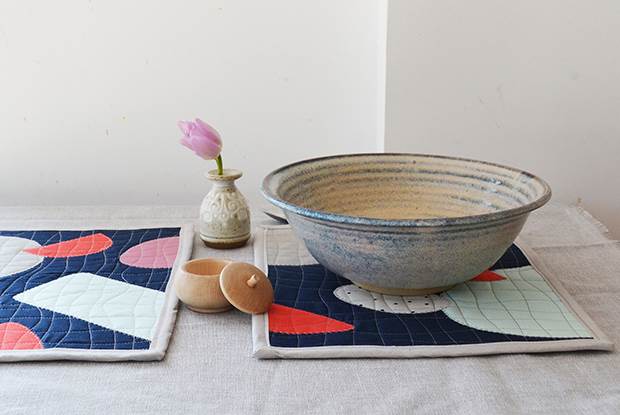
I firmly believe that quilting isn’t just for quilts. And if you don’t believe me, have a go at making these super-cute quilted placemats – then tell me you don’t just want to quilt EVERYTHING! Like tiny abstract artworks for your table, these placemats will brighten every meal (while also doing a sterling job of protecting your table with their felt bottoms). They’re a great way to use up scraps of fabric, and did I mention they’re quilted? Which is why they look so adorably squidgy and plump! Enjoy!
MATERIALS:
1/4m plain cotton fabric (I’ve used a dark blue)
scraps of plain or patterned cotton fabrics
1/4m thick felt (I’ve used 3mm thick felt; if you can’t get hold of this, you can use two layers of thinner felt)
1/4m double-sided interfacing (like Bondaweb)
3m bias binding in a contrasting colour to your main fabric
thread to match your binding
thread that contrasts with your main fabric
pins
scissors
tailor’s chalk
ruler
sewing machine
INSTRUCTIONS:
1. Start by measuring and cutting out two 25cm x 32cm rectangles from your main fabric. Next cut an assortment of abstract shapes from your scraps of different fabrics. Play around with arranging these on your plain fabric rectangles until you have a design you’re happy with.

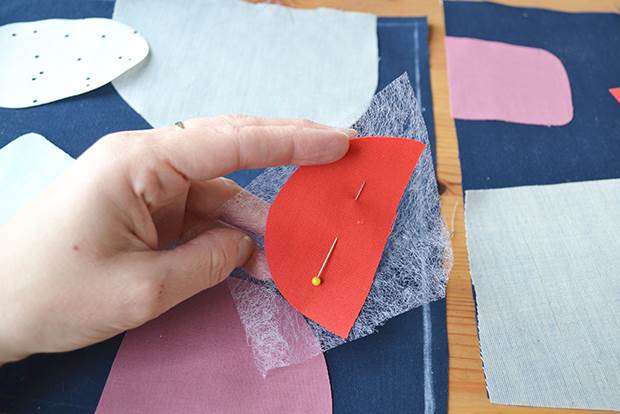
2. Take each fabric shape in turn and pin to a piece of double-sided interfacing. Carefully cut around your shape, so the interfacing is the same shape. Put your shape (with the interfacing underneath) back where it was on your main fabric and carefully remove the pin.
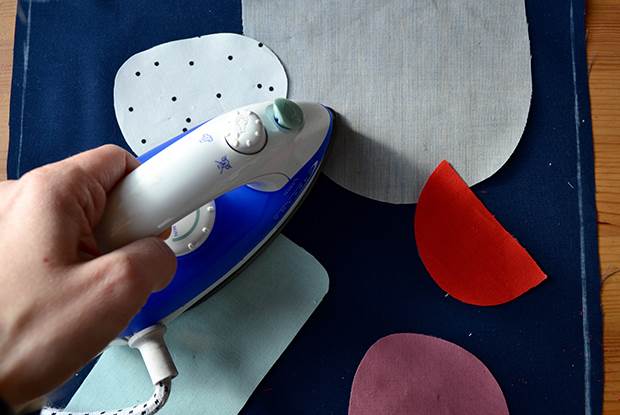
3. Once all your fabric shapes are in place and backed with interfacing, carefully press with a hot iron to seal them to the main fabric.
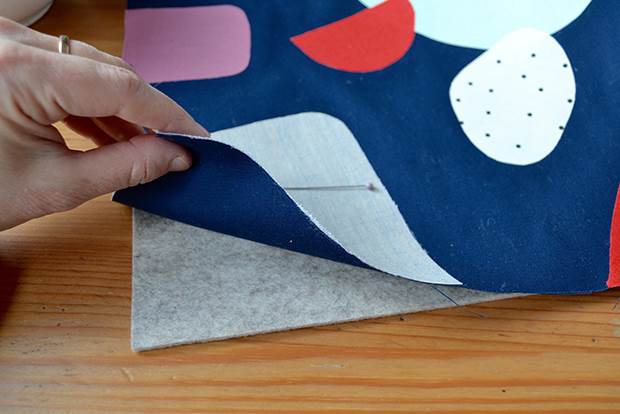
4. Take your thick felt and cut two rectangles 25cm x 30cm. Lay one of your fabric collages face up on top of each piece of felt and pin together.
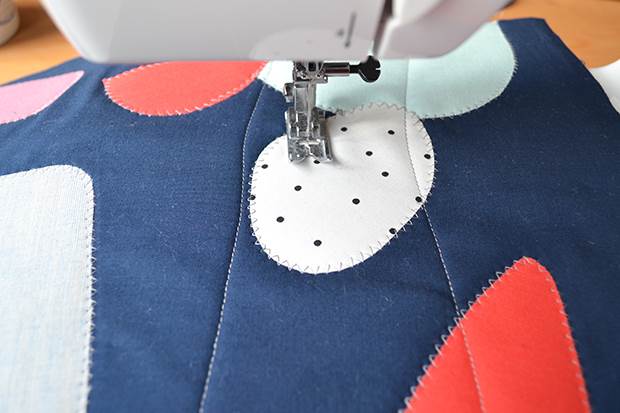
5. Using a zig-zag stitch, sew around the edge of each of your shapes (use a thread colour that contrasts to your main fabric).
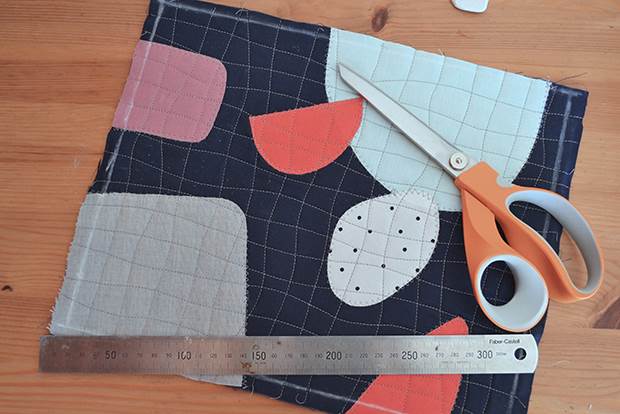
6. Next, quilt your mats by sewing across from one long edge to the other (I’ve made my lines wavy) at roughly 2cm intervals. Repeat this from short edge to short edge, creating a criss-cross quilted look.
7. Once you’ve quilted your mats, re-measure and trim them, so that they’re 24cm x 30cm each.
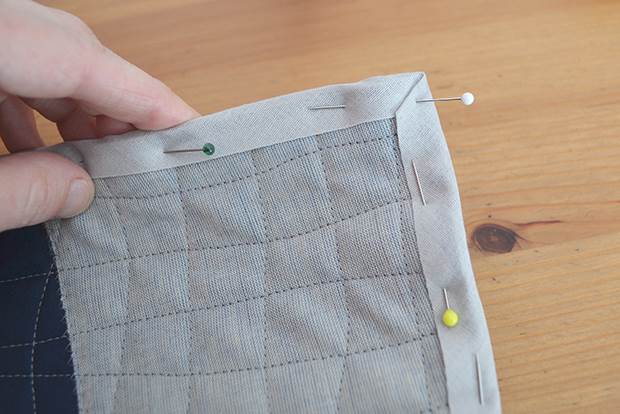
8. Now it’s time to add your binding! Fold over the end of your binding by about 1cm. Now fold your binding in half along its length and pin it in place over the edge of your placemat, starting at one corner. Fold it neatly at the corners. When you get to the end cut about 1cm extra, fold this under and then fold to form a neat corner, overlapping where you started. Repeat for your other mat.
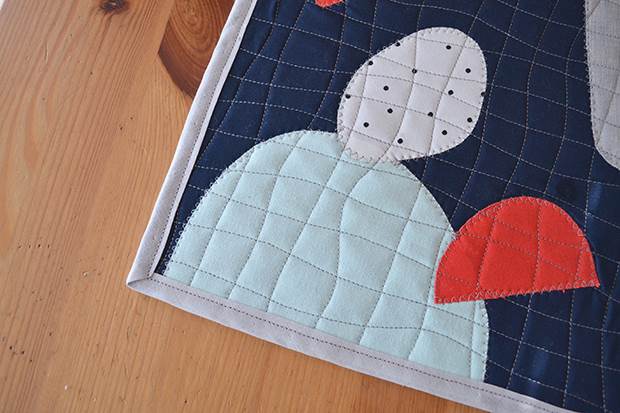
9. Sew your binding in place about 2mm from the inner edge, and you’re done!
To see more cool stuff from Anna Alicia, head over this way.


.jpg&q=80&w=316&c=1&s=1)


