
get fancy: a guide to brows
Do you have bushy, bold Brooke Shields-eat-your-heart-out brows, or so-fair-they're-not-even-there Twiggy-esque brows? No matter what your shape and shade, here's a little guide on how to tidy and groom.
When it comes to eyebrows, we all have our own story. Do you have bushy, bold Brooke Shields-eat-your-heart-out brows, or so-fair-they're-not-even-there Twiggy-esque brows? Maybe you plucked them out 'til they were super thin in the '90s or have a scar from a piercing. No matter what your shape and shade, here's a little guide on how to tidy and groom. 
TOOLS:
eyebrow powder or eye shadow to match your brow colour
small, firm, flat angled makeup brush
grooming tool – brush comb or clean mascara wand
Optional:
eyebrow pencil to match your brow colour
eyebrow gel or wax
You can also buy a brow grooming kit which usually includes a brush, a grooming tool, tweezers, powder and gel. They come in different shades of blonde and brunette!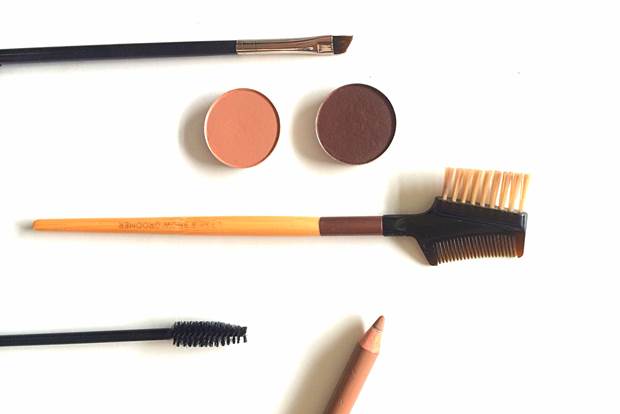
INSTRUCTIONS:
Jade has strong, bold, incredibly beautiful eyebrows that are near perfect. Her mother banned her from any kind of hair removal when she was younger, which resulted in her having a monobrow for the entirety of her teenagehood. These days she maintains them by regularly visiting a suburban beauty parlour run by some fab Indian ladies who are experts in threading.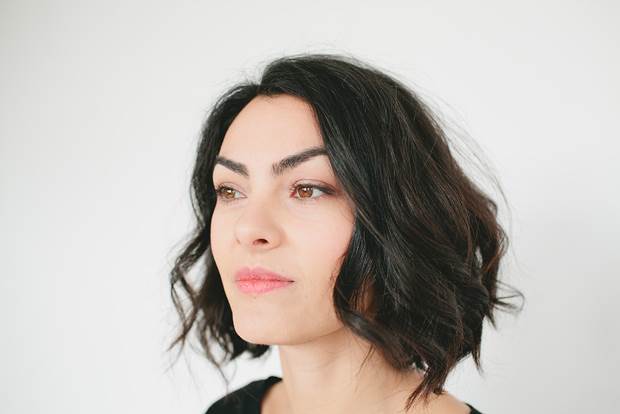
Once dark, thick, bushy eyebrows have been manicured, they can be brushed out for that gorgeous wild look, or tamed down to perfectly frame your peepers. Using a small angled brush with a brown shade of powder subtly applied through the gaps is all that's needed to complete these beauties – perhaps some brow gel too, so that they stay in place.
1. A really great way to determine the points where your brows should start, arch and end is to take a tool (such as a makeup brush or pencil) and use it as a four-step guide. Hold the tool directly vertical alongside your nose for where your brow should begin. The second image is where your brow should arch. Look straight in the mirror and hold your guiding tool to the outside of the iris of your eye – the tool will direct you to where the arch will ideally be at its highest point.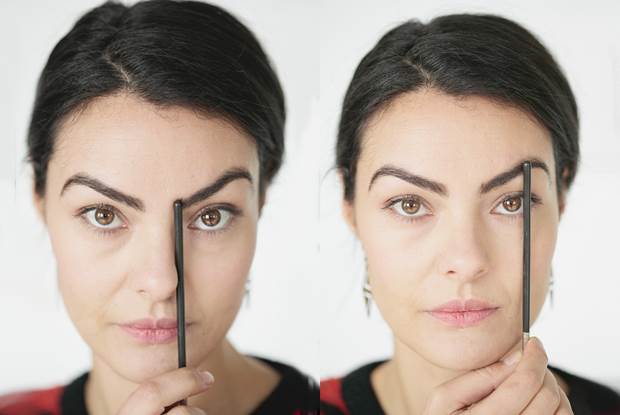
2. To find where your brow should end, hold the tool from the nostril to the outer corner of the eye. The tool will angle up to where the outer tip of your brow should taper off. With the tool horizontal, both the inner and outer points should touch relatively evenly along this guide line.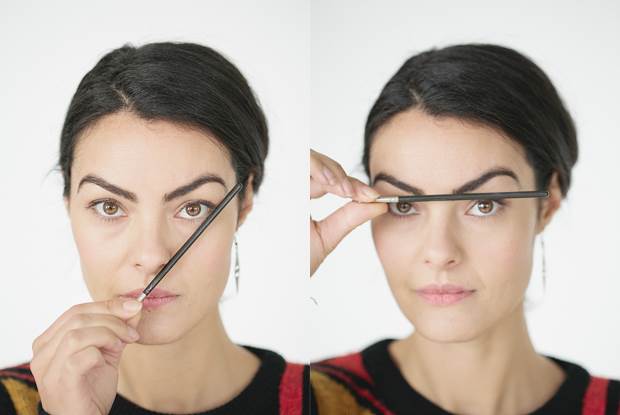
Looking at Jade's brows could help if you're planning on shaping your own with a hair removal method or adding makeup to shape or fill. But remember – nobody's face and brows are ever symmetrical! Our eye shapes come in many different dimensions, and eyebrows can change the way our eyes look, our makeup sits and can flatter the entire face shape.
On the other end of the scale, Hollie has super fair brows that tend to disappear in photos and look great with a little definition when she wears a bit of makeup. Without removing any hair or re-shaping, the steps below show how to groom and fill. 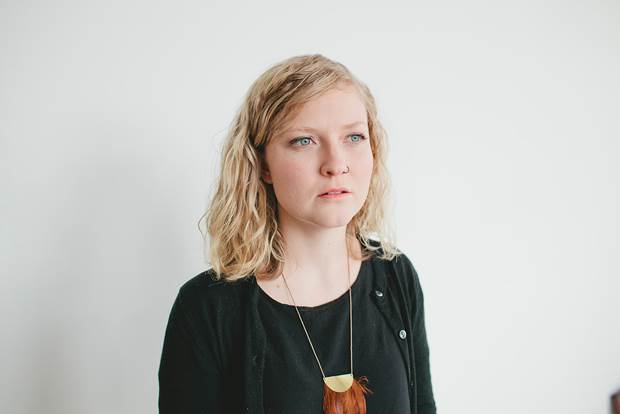
1. Use the grooming tool to brush the brows into shape. Usually the inner part of your brow will grow upwards and toward your temple and from the arch to the outer end the growth will be in the direction of your earlobe. Don't fight it! Just neaten them up a bit and nudge any stray hairs up that fall into your arch.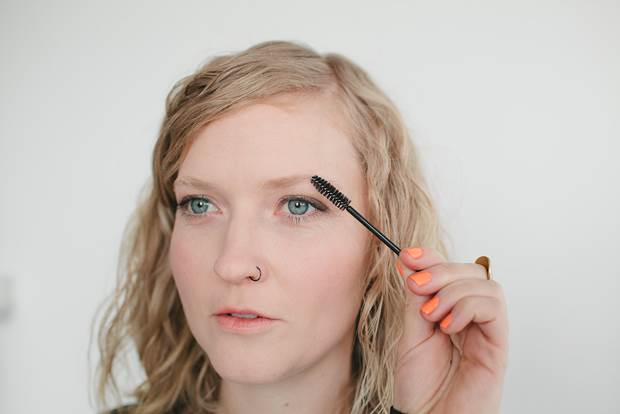
2. Use a sharpened eyebrow pencil (or your powder and angled brushed) to apply a base line and a top line up to the arch. Then take your grooming tool again and brush through the lines to soften and blend them. We are trying to avoid that "drawn on" look by replicating real eyebrow hair and depth.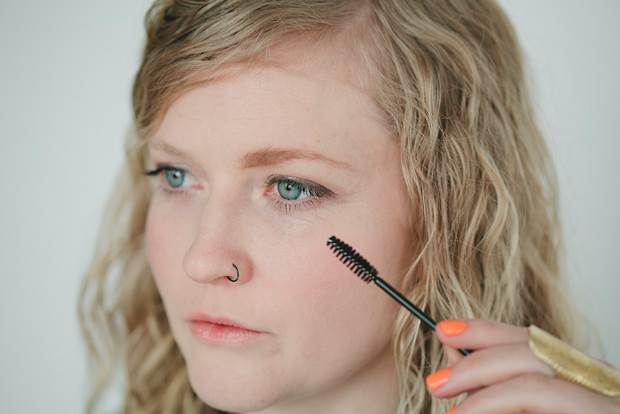
3. Use the brow powder and angled brush to finish filling the brow in. Use light featherweight strokes in the direction that the natural hair is growing. (You can also do this with your pencil and grooming tool.)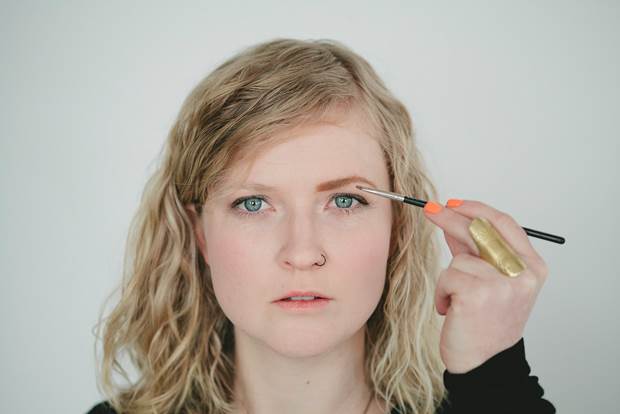
4. Brow gel or wax can be added last – this helps the brow hair to stay in place and also works as a gap filler. Kits are a great way to start being friends with your brows, and are a subtle non-scary way to approach making your first mark. The general rule is to choose a colour about half a shade darker than your hair, and make sure to test some different shades out in natural light before you buy if you're not sure!
The pretty piccies of models Jade and Hollie were snapped by Katherine Soutar. Words are by Dana Leviston.


.jpg&q=80&w=316&c=1&s=1)


