
get fancy: a fishbraid how-to
Some days we wake up and a plain old ponytail just won't do.
Some days we wake up and a plain old ponytail just won't do. Our locks are calling out for a fancier coiffure, and this fishbraid is a neat way to add some pizzazz without needing hours and a truckload of hairspray. 
TOOLS:
scissors
pins
hair ties
brush
hairspray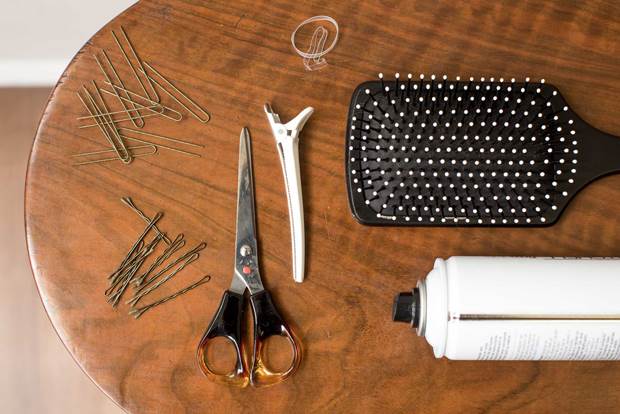
INSTRUCTIONS:
1. Begin with clean, brushed hair.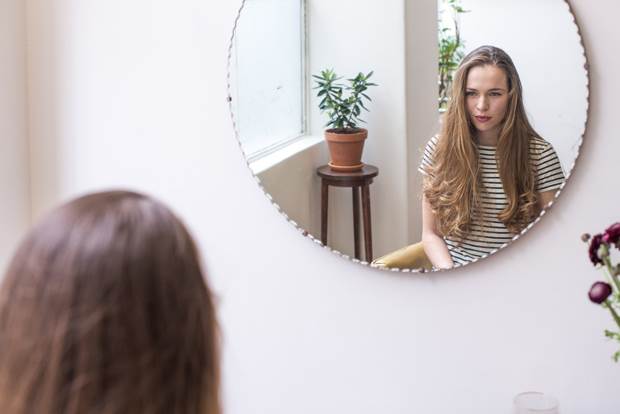
2. Section the front of your hair, top of ear to the other ear, and secure this on top, out of the way, so you can work on the rest of your locks easily.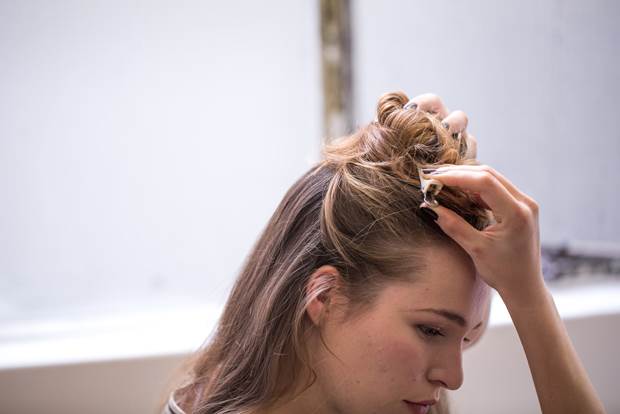
3. Collect the loose hair over one shoulder and brush it so it’s smooth and tangle free. Then tie loosely with a hair elastic (one that you don't mind cutting).
4. Divide your side pony into two even sections and take a small amount of hair from the outer edge of one of the two sections. Pass it over to the middle and add it to the other section.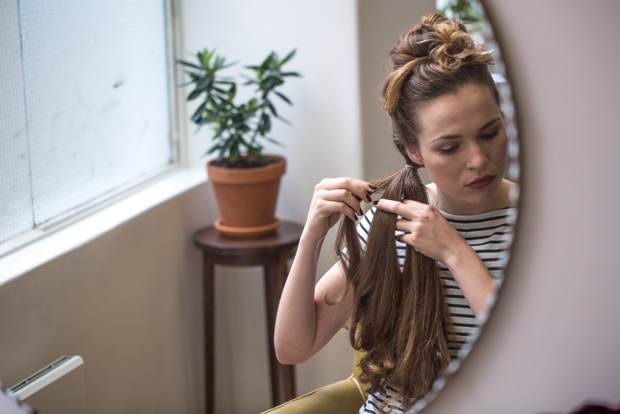
5. Next, take a small amount of hair from the outer edge of the other section, cross it over to the middle and collect it into the weft of hair in the other hand.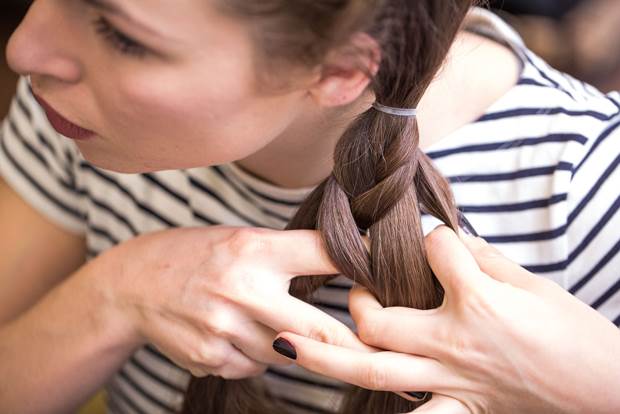
6. Continue doing this, taking from the outer edge of one section and adding it to the other of your two sections. The smaller your sections, the more amazing your fishtail braid will look, though it will take a bit longer to do. If you're in a hurry, you can speed up the process by taking larger pieces from each section. And don't worry about pieces of hair sticking out – you’ll be messing it up a bit anyway.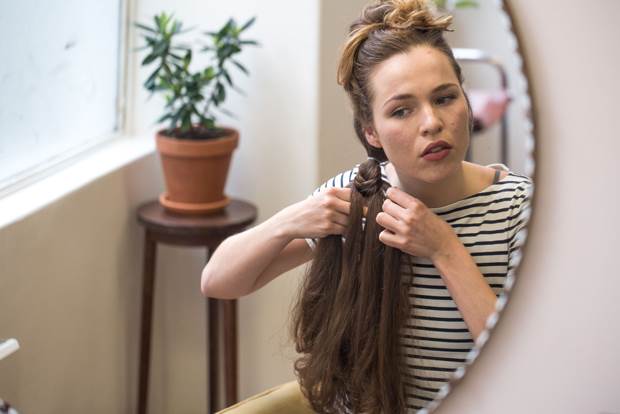
7. Tie your braid once you get about 7cm from the end.
8. Here's the fun part: Massage your braid between your fingers so that you have it looking looser and wilder. Pull it apart, spreading the braid out, going from bottom to top. You don't want to be too rough, but you've got to keep splaying it apart to get that lived-in look.
9. Now you can cut the top elastic, the one you first tied, closer to your head (being careful not to chop your precious locks!).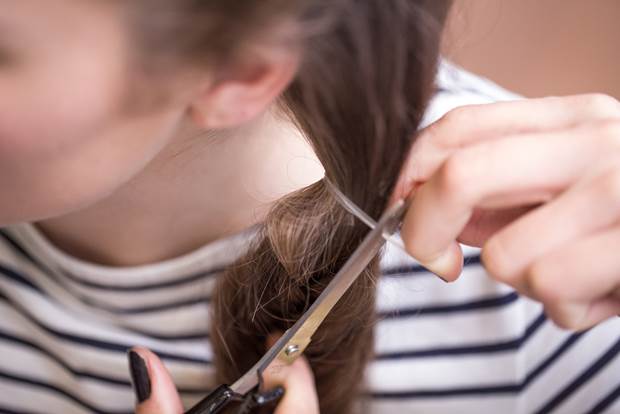
10. Work the hair behind your ear with the same massage technique you used for the rest of the braid, then release the loose hair from on top.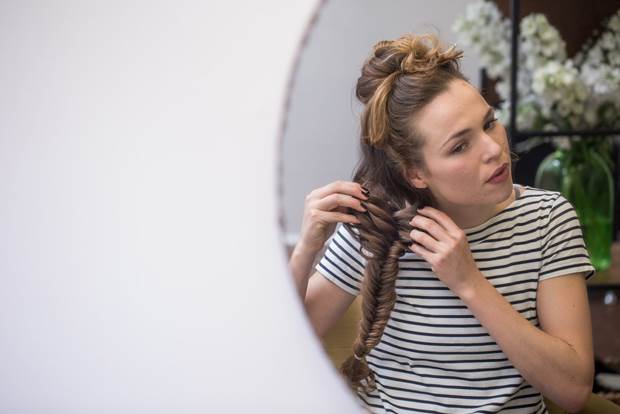
11. Have a play with it, moving it towards your ear and twisting it loosely around to form a rose-like bun.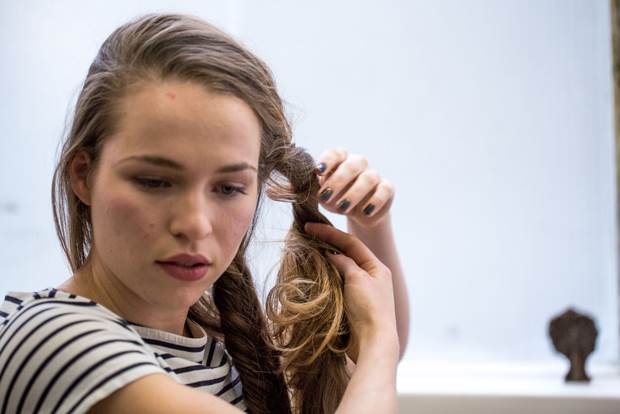
12. Secure with bobby pins and fringe pins – anything you have handy really. Be loose, let tendrils fall out and don't be scared to make it big and soft. Go for carefree and easy!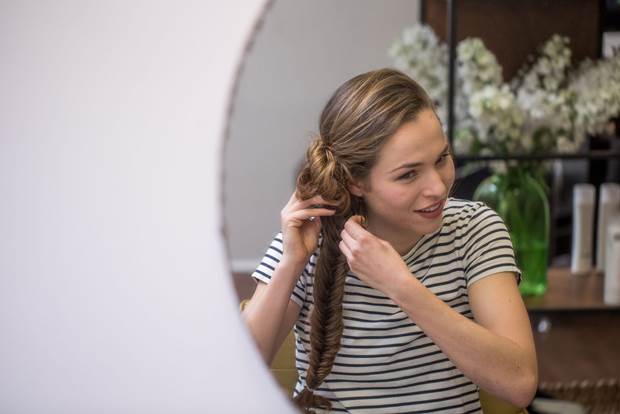
13. For a variation on this look, try wrapping your braid around your head and placing it either back along your hairline and securing it on the other side, or, as we did, along the same side as your bun and across your forehead like a braid hairband.
The pretty piccies of model Thea were snapped by Kris Paulsen. Words and makeup are by Dana Leviston, hair by Jay Magee.


.jpg&q=80&w=316&c=1&s=1)


