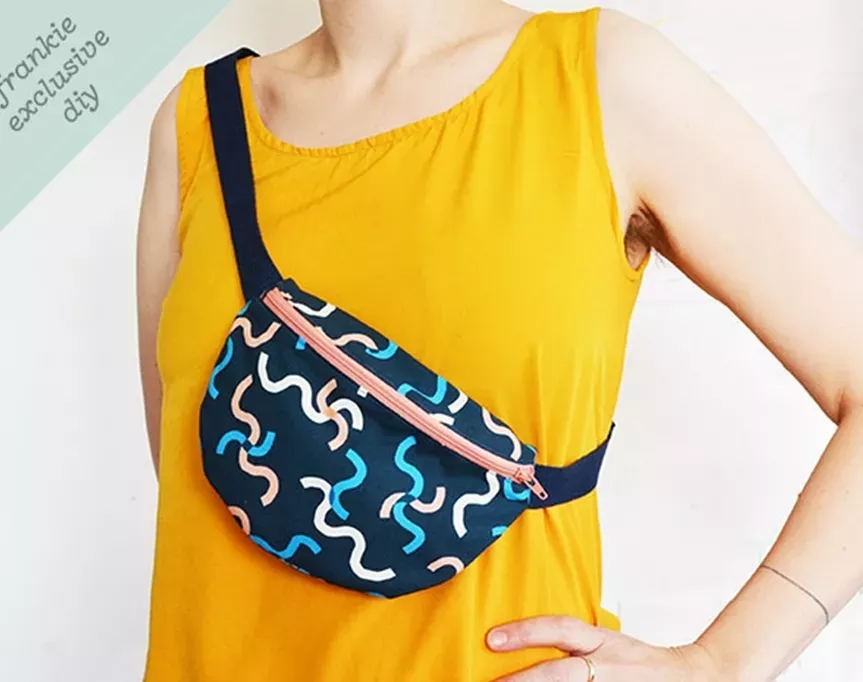
frankie exclusive diy: bow bag
Tote-ally adorable.
You'll look like a walking, talking gift with this tote bag on your shoulder. A plain, bright-coloured bow works well for this style, though you can always experiment with prints and patterns if that's more your thing.
MATERIALS
1/2m patterned fabric (this needs to be a pattern that works both ways up as the body of the bag is one continuous piece of fabric)
1/2m plain fabric in a contrasting bright colour
1/2m lining fabric (I’ve used a canvas fabric to give the bag a bit more body, but you can use a lighter fabric or the same fabric as one of your outer)
Sewing machine
Basic sewing kit
METHOD
1. Cut out the following pieces:
Patterned fabric – one piece 77cm (h) x 32cm (w)
Plain bright fabric – two pieces 37cm (h) x 7cm (w), four pieces 70cm (h) x 7cm (w)
Lining fabric – one piece 77cm (h) x 32cm (w), two pieces 37cm (h) x 7cm (w) 2. Take one of the long strips of your plain fabric and lay it out (face up if it has a right side). Lay another of the long strips on top (face down if it has a right side), lining up all the edges. Repeat with the other two long strips so you end up with two pairs. Pin along the middle of each pair.
 3. Sew along both long edges and one of the short edges of each pair, with a 1cm seam allowance. At the sewn short edge, trim across the corners. Now turn your pairs right way out (this is a bit fiddly, but just take your time). Give your strips a good press. These will form the strap of your bag.
 4. Lay out your patterned fabric rectangle face up and fold in half so that the shorter edges meet (right sides in). To form the sides of your bag, pin one of your shorter plain strips inside each side of the folded piece, as shown below. You will have pinned along the edges of the strips, but not along the base yet.
 5. Sew along the edges you’ve pinned, with a 1cm seam allowance, stopping 1cm from the bottom edge of the strip (the edge closest to the folded part of the patterned fabric). Make an 8mm snip into the patterned fabric at the point where your stitching stops. Line up the narrow bottom end of each strip with the unsewn area of patterned fabric (the snips you made will make this easier to do), pin and sew with a 1cm seam allowance. Repeat steps 4 and 5 with your lining pieces.
 6. With your bag outer still wrong way out, take one of your strap pieces and pin the unsewn edge to the inside top edge of one of the side panels (the red parts) of your bag. Do the same with the other strap piece at the other side edge. Your strap pieces should now be tucked inside the outer part of your bag.
 7. Turn your lining piece right way out and tuck it inside your outer piece, lining up the top edges. Pin all the way around the top edges. When you reach the side pieces move the pins from the strap pieces so that they now go all the way through the outer, strap and lining layers. Sew around the edge you pinned, with a 1cm seam, leaving a roughly 8cm gap (make sure this gap isn’t on one of the red parts or your straps won’t be help in place!).
 8. Turn your bag right way out through the gap your left then tuck the lining down into the outer. Give your bag a good press.
 9. Pin around the top edge and sew along the patterned front and back sections of the bag, about 2-3mm in.
 10. Tie the two strap pieces together to form a large bow.
 Anna is a freelance craft-writer, designer-maker and mother based in East London. Anna’s latest craft book (out now through Quadrille Publishing) is all about one of her favourite things to sew –‘Bags’!





.jpg&q=80&w=316&c=1&s=1)


.jpg&q=80&w=316&c=1&s=1)


