
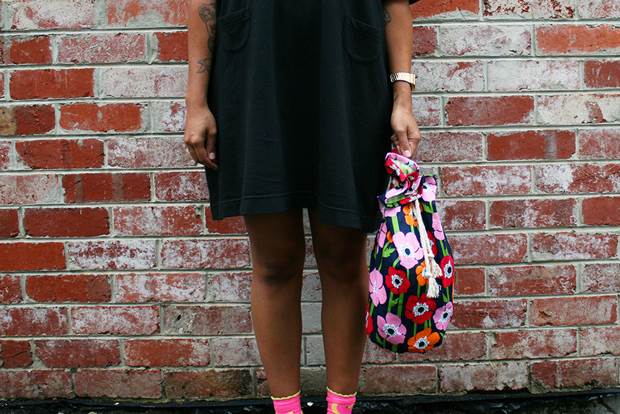
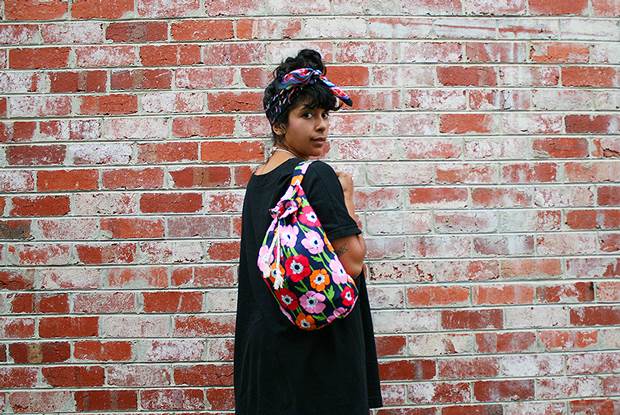
frankie exclusive diy: summer bucket bag
When you're racing out the door to your next sun-drenched adventure, why not chuck all your essentials into one easy-sew carry-all?
It's summer and we're working ourselves into a tizzy, packing our days full of beach trips and other outdoor pursuits. When you're racing out the door to your next sun-drenched adventure, why not chuck all your essentials (sunglasses, towel, coconut, trashy poolside romance novel) into one handy carry-all? That way everything's at arm's length from your deck chair.
This easy-sew bucket bag will keep your stuff stored whilst looking mega cute in the process. It's so quick to make that you could even whip up one to match every summer outfit!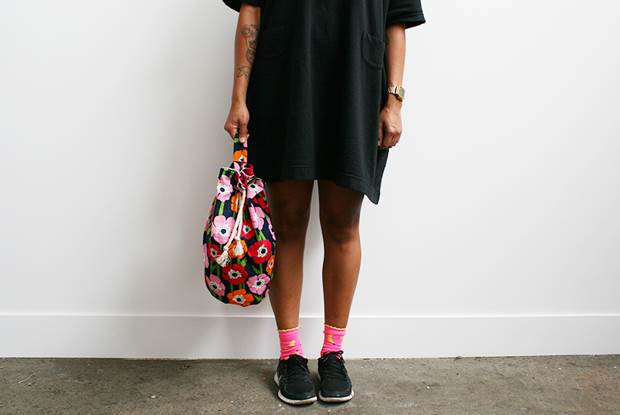
MATERIALS:
1.5 metres of stiff, colourful fabric (try canvas, or even some large, cute tea towels)
1.5 metres of stiff cotton for lining fabric
small plate for base template (approx 15cm in diameter or close to)
fabric scissors
smaller, sharp-nosed scissors
sewing machine
pencil or tailor's chalk
medium-sized eyelet kit (you can buy them from craft stores)
turning tool (for turning tubes of fabric inside out) or paper clip
pins
1.5 metres of rope (thin enough to fit through your eyelets)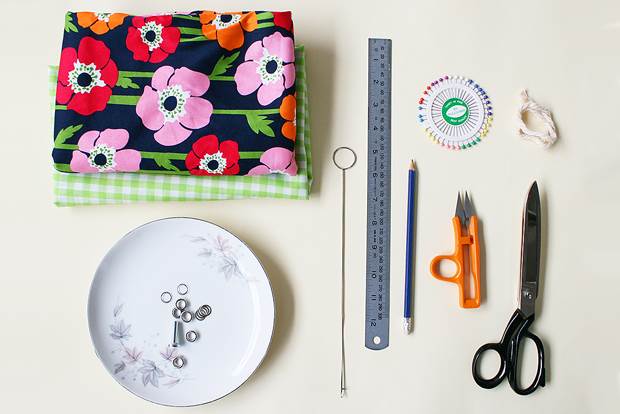
INSTRUCTIONS:
1. Trace around the small plate onto the back of one piece of the fabric. Cut the shape out, leaving 0.5cm space around the traced line as you cut for your seam allowance.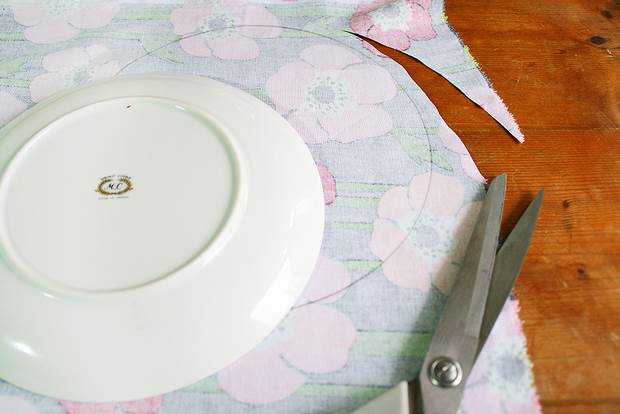
2. Measure the diameter of the traced circle and multiply it by 3.14 to get the circumference of the circle (old school maths!). For example, if your diameter is 15cm, the calculation will be as follows: 15 x 3.14 = 47.1cm (circumference).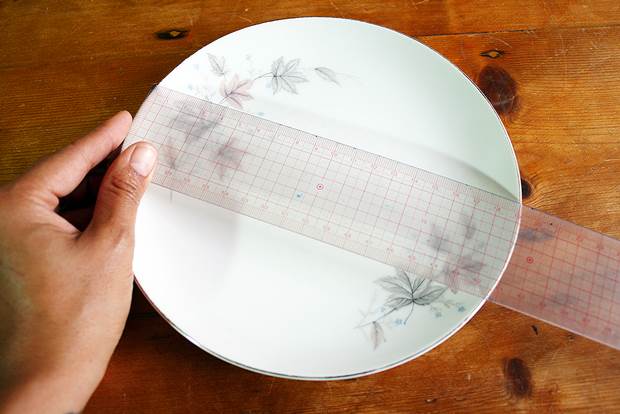
3. Measure and mark up a rectangle on the back of the fabric that has a length equal to the circumference of the circle, and a width of approximately 40cm. Make sure to leave a 0.5cm seam allowance around all edges. Cut this out.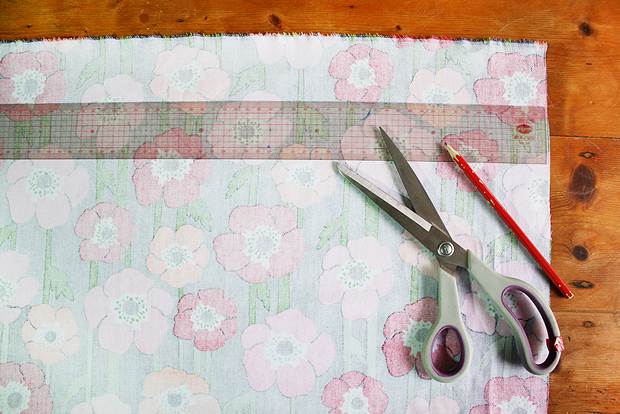
4. Fold the rectangle in half with right sides facing in, and sew the short edges together (remember your 0.5cm seam allowance for this). This will form a tube.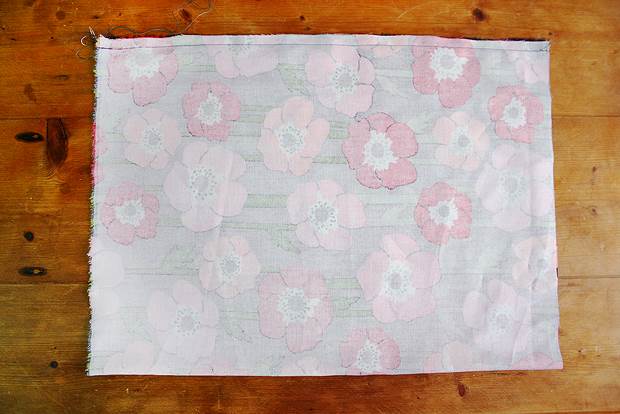
5. With everything still inside-out, pin the circle to the bottom opening of the tube and carefully sew around it using the 0.5cm seam allowance, pulling out the pins as you go. Make little snips around the curve of the circle, making sure not to cut through your sewing. This helps create a neater circle shape.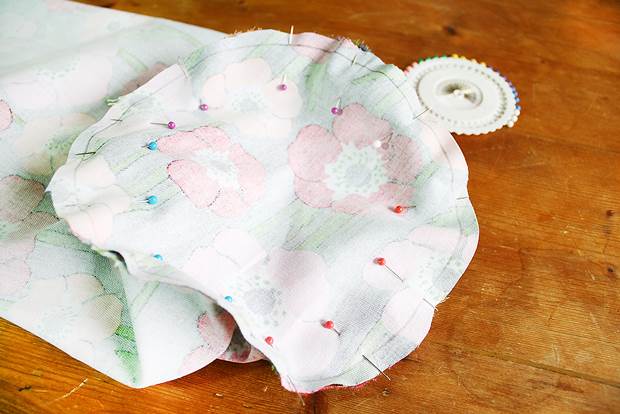
6. Cut a thin strip of fabric approximately 8cm wide and 40cm long (it depends on how long you want your strap to be). Fold this in half with right sides facing in, and sew down the long edge using a 0.5cm seam allowance. Turn this inside-out. You could use a special turning tool for this, which is available at most craft stores. Otherwise, attach a paper clip to one end and work it bit-by-bit up through the tube to the other side. Fold each end over and sew it down to make a neat edge. Sew the strap onto the bag, approximately 6cm from the top and 2cm from the bottom.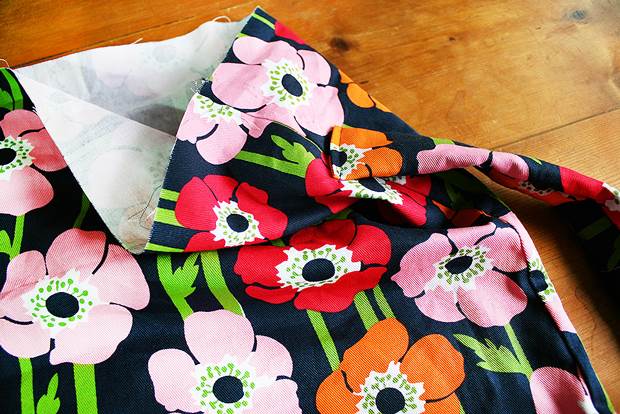
7. Repeat steps 1-5 with the lining fabric. When this is done, keep the lining inside out and slot it into the outer bag. Make sure the open edges are lined up, then sew all the way around the opening with a 0.5cm seam allowance.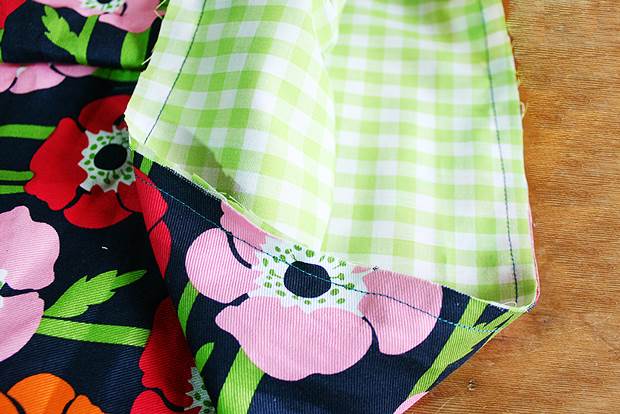
8. Fold this seam inside the bag and press with an iron. Then, carefully fold it over again to hide the raw edge and press with the iron. This bit could be a bit fiddly as you try to get the fabric to fold neatly around the curve of the circle, so pinning it down may help. Sew along the edge of this fold to complete the seam.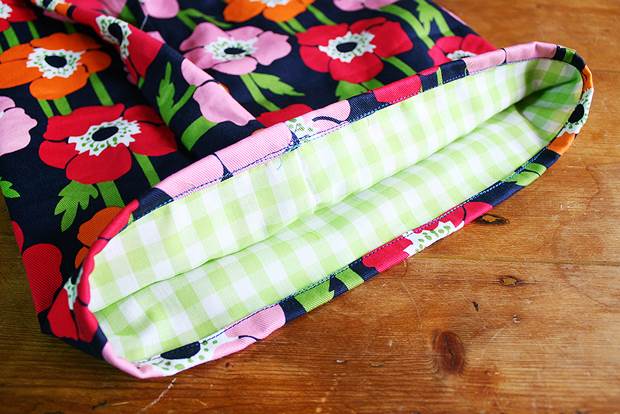
9. Affix seven eyelets around the bag (through both layers), approximately 4cm down from the open end, using the instructions on the packet. Using the small sharp-nosed scissors, cut any excess fabric out from the centre of each eyelet.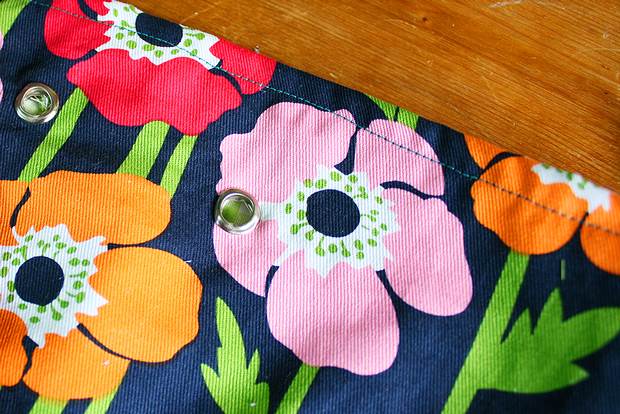
10. Starting from the outside and threading in, thread the rope in and out through each hole until it comes from inside to outside on the last hole. Knot the ends of the rope and fray the edges. And you're done!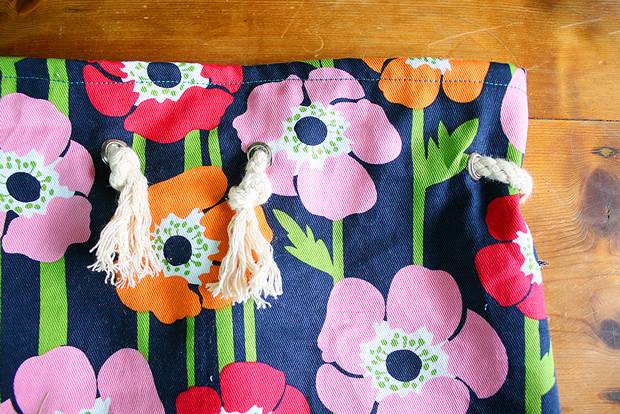


.jpg&q=80&w=316&c=1&s=1)


