
frankie exclusive diy: raindrop cushions
Nothing says cute for your couch better than little sleepy raindrop cushions (with bow ties). If you've never embroidered before this is a great beginner's project too.

Nothing says cute for your couch better than little sleepy raindrop cushions (with bow ties).
This is a super easy sewing project and you could whip up a whole bundle of these babies for popping onto chairs and shelves all over your house.
If you've never embroidered before this is a great beginner's project too.
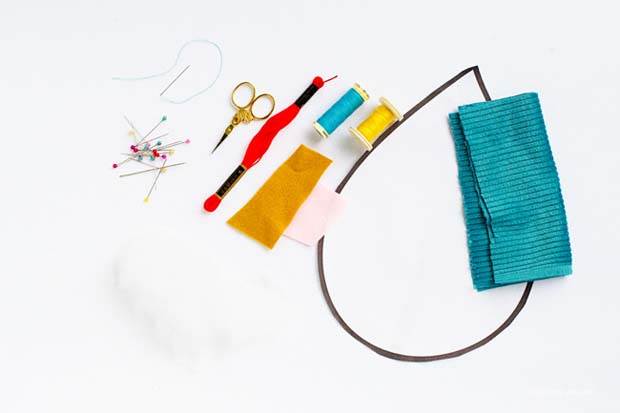
MATERIALS
Fabric
Felt scraps for cheeks and bow tie
Cotton to match
Embroidary needle
Stuffing
Sewing machine
Pins
Template of a raindrop (you can draw one on a piece of paper and cut it out)
You could also stitch a mini raindrop by hand if you don't have a sewing machine.
INSTRUCTIONS
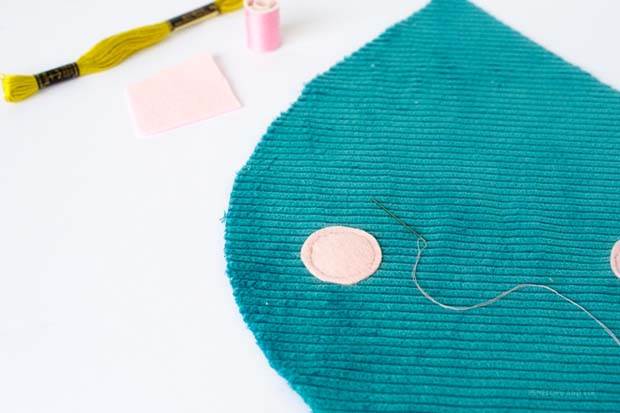
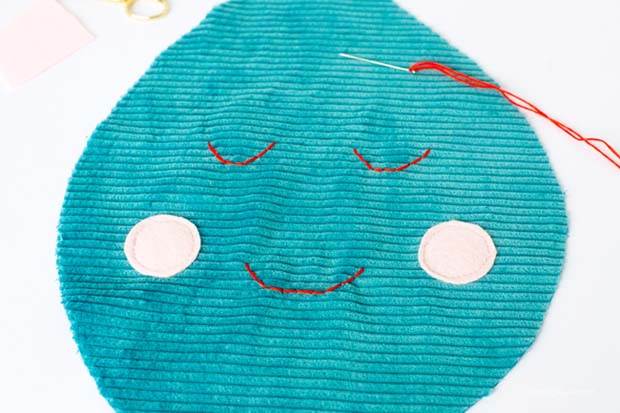
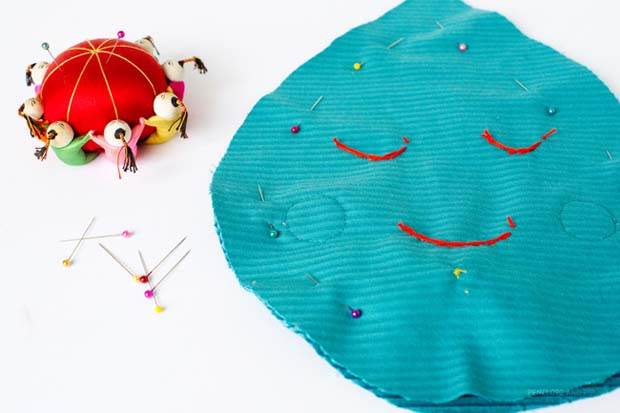
1. Fold your fabric over and cut out your drop shape. Fold over your pink felt scraps and cut two circles for cheeks. On the right side of one of the raindrop shapes, sew on your cheeks (make sure you come in far enough from the edge to allow for the seam).
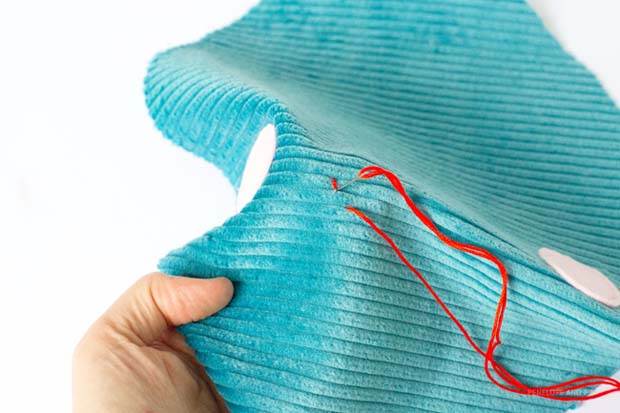
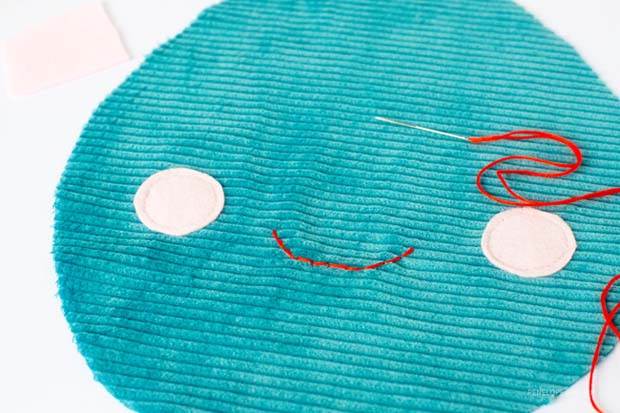
2. Thread your embroidary needle and tie a knot in the end of the thread. Starting on one side near a cheek make a small, straight stich starting from the wrong side of the fabric. Continue stitching until you have an arc that makes a mouth.
A good trick is to count your stitches for the upturned smile part of the mouth and make sure there are the same number of stitches on the other side of the mouth too. You could draw a mouth with chalk to follow as well.
Repeat this for the two sleepy eyes, making them smaller.
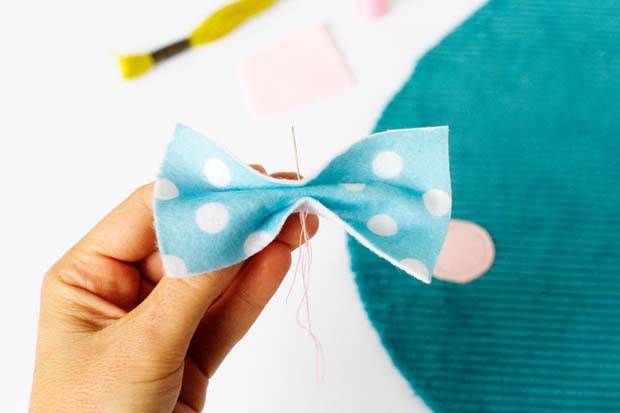
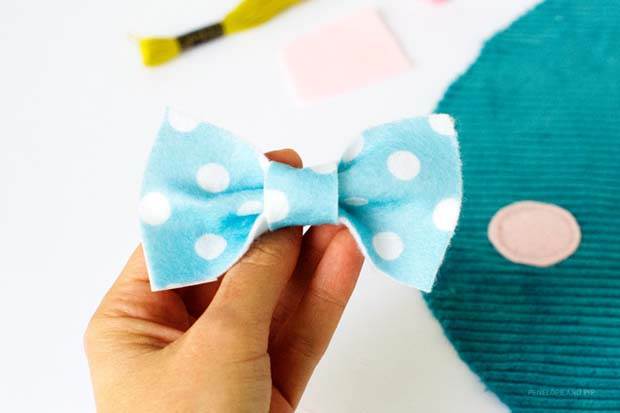
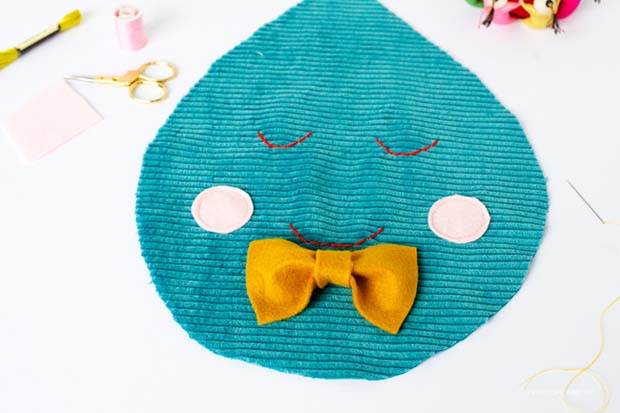
3. Make your bow tie by cutting a rectangle from your felt. Squeeze it in the middle and sew through the middle to form your centre. Cut another thin strip of the felt, wrap it around the middle of the bow tie and sew the whole bow tie onto your rain drop below the mouth.
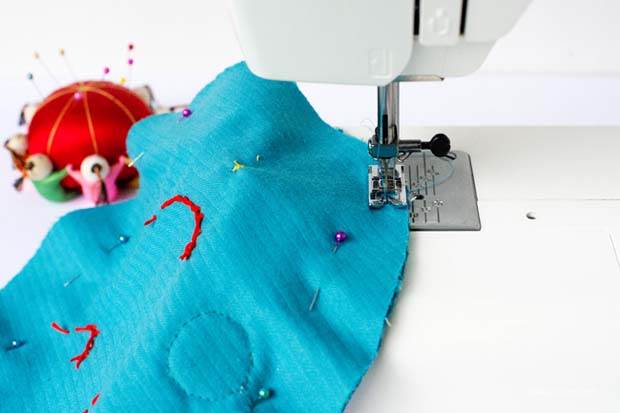
4. Pin your right sides together. Sew around the edge of the raindrop, making sure your follow the shape. Leave a gap at the bottom for your stuffing.
5. Turn your raindrop back out the right way so its cute little face and bow tie are on the outside. Stuff it with filling and hand sew the bottom closed.
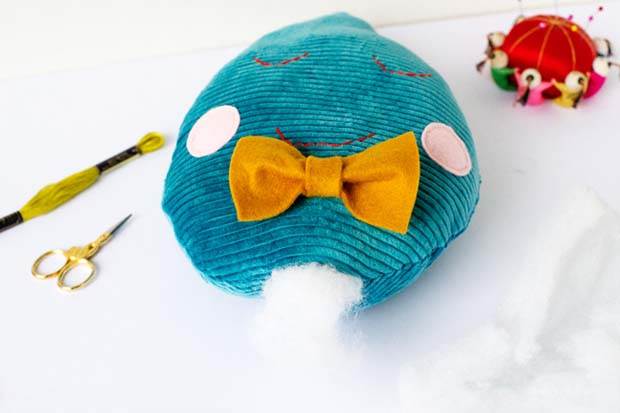
You now have an adorable little new friend!


.jpg&q=80&w=316&c=1&s=1)


