
frankie exclusive diy: easy peasy bow tie
Enjoy a little taste of the good life with this dainty bow tie. It's so easy to make that you could probably whip one up just in time for afternoon tea.
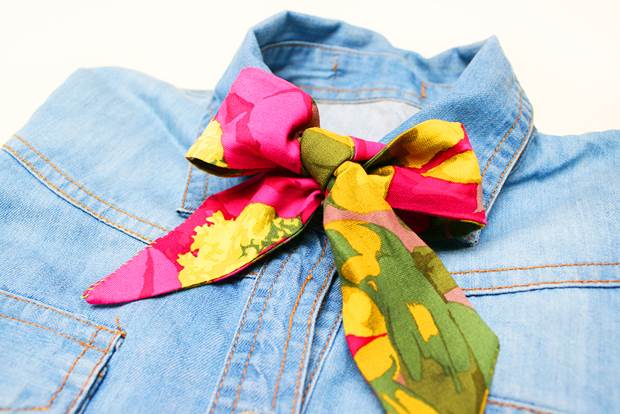
In an ideal world, dapper ladies and gents dressed in taffeta frocks and pinstripe suits would stroll the streets enjoying the sunshine. They'd picnic in parks from wicker baskets filled with cucumber sandwiches, and carry bouquets of flowers (and maybe even puppies) under their arms at all times. While real life may not be exactly like this, at least you can enjoy a little taste of the good life with this dainty bow tie. It's so easy to make, in fact, you could probably whip one up just in time for afternoon tea.
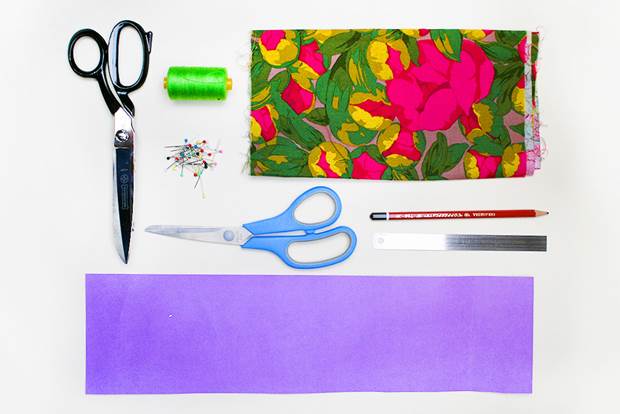
MATERIALS:
Patterned fabric (at least two metres in length) You could even try two different types of fabric, one for each side!
Card stock (at least 70cm in length)
Pencil
Ruler
Sewing thread
Sewing needle
Dressmaking pins
Fabric scissors
Paper scissors
Sewing Machine
Iron
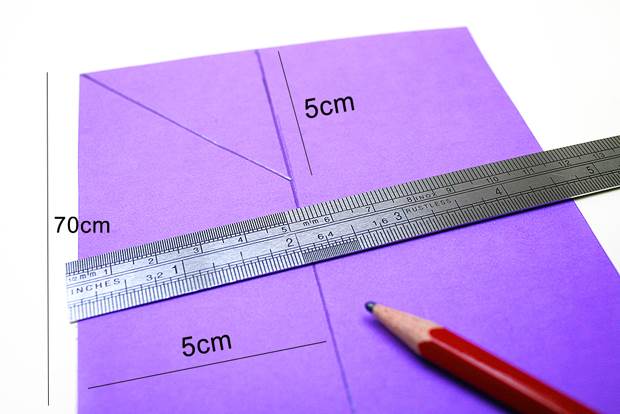
INSTRUCTIONS
1. Create a template for your bow tie on a piece of card. Measure and draw a long thin rectangle (70cm x 5cm). Measure from the top edge of the rectangle down 5cm along one long side. Draw a line from the opposite top corner to the 5cm mark. This will form a nice slanty edge to your bowtie. Cut the template out.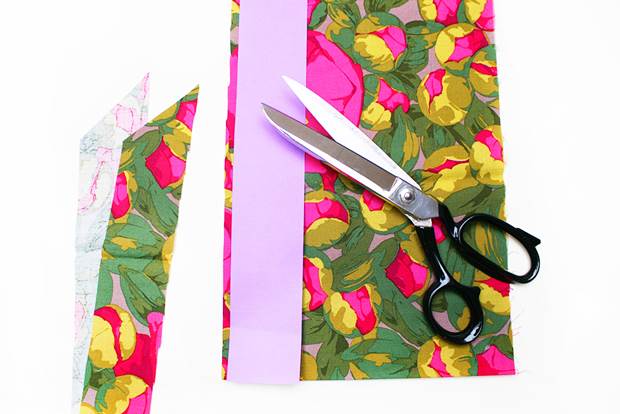
2. Fold fabric in half and place the flat short edge of the template on the fold. Trace around the template with a pencil and cut out. This forms one long strip of fabric with two slanty edges. Trace and cut again from the template so you have two identical pieces of fabric.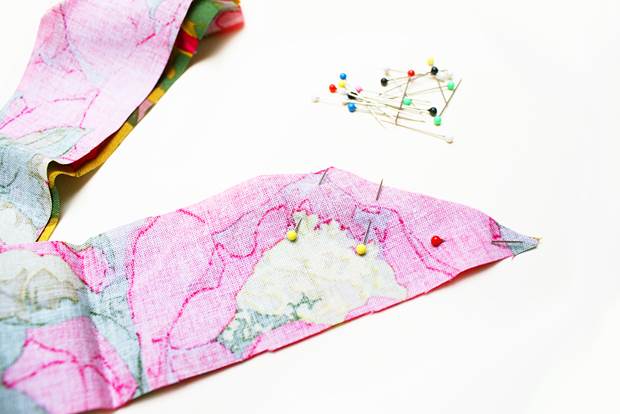
3. With right sides facing in, pin all the way around the bow tie so that the pieces will stay together when you sew them.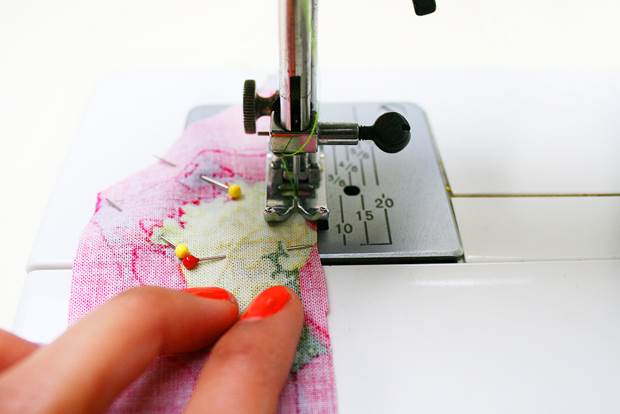
4. Sew the two pieces together, leaving a half centimetre seam allowance. Leave one slanty edge unsewn so you can turn the bow tie right-side-out and press the edges with an iron.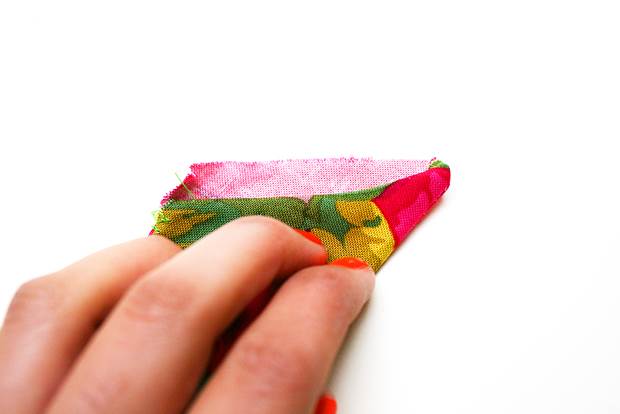
5. Fold the loose ends of the unsewn slanty edge inside and secure with pins.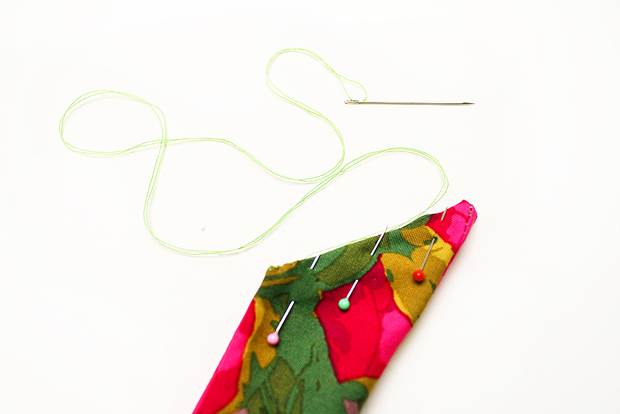
6. Use a teeny tiny overhand stitch to sew the edge closed.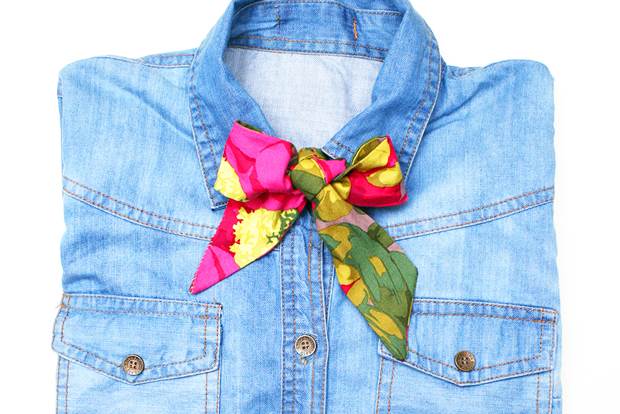
Now all there is to do is wear your bow tie with all your favourite outfits and enjoy!


.jpg&q=80&w=316&c=1&s=1)


