get fancy: blush and bronzer
Donning blush or bronzer is possible without looking like an extra from Dynasty, we promise.
Blush! Bronzer! Are you feeling overwhelmed already? We've broken down the steps for adding the faintest hint of rose to your cheeks or a touch of subtle gold to your glow (it is possible without looking like an extra from Dynasty, we promise).
TOOLS:
medium angled blush brush
large powder brush
bronzer
blush
(try to select products with a slight sheen, rather than a shimmery, glittery or sparkly finish)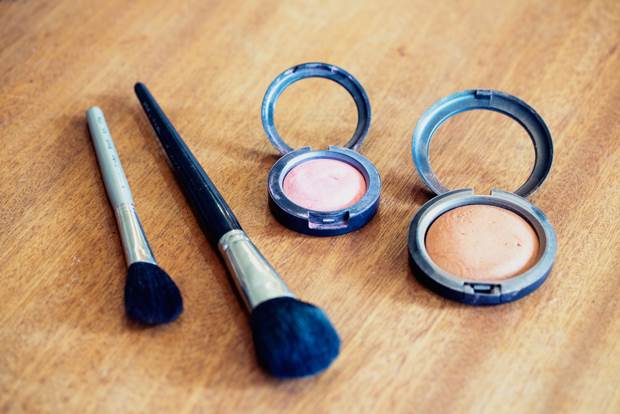
INSTRUCTIONS:
1. Apply your base and eye makeup. The best place to practice blush and bronzer is where your entire face is in full, natural light – where there are no shadows cast and you can stand back from the mirror to check your progress. We will start with blush, because blush adds quite a bit of colour to your face on its own, and it may reduce the amount of bronzer you think you need.
2. Sweep the longest end of the angled brush lightly over the blush. The brush will be used to apply the powder and blend it, too, so avoid loading it with product. Your aim is to build the colour onto your cheeks gradually. Faces come in many shapes, but the apple of the cheek is the place to begin. This can be found by following a vertical line down from the outside of the pupil of the eye, until it meets a point where a horizontal line would come from the nostril.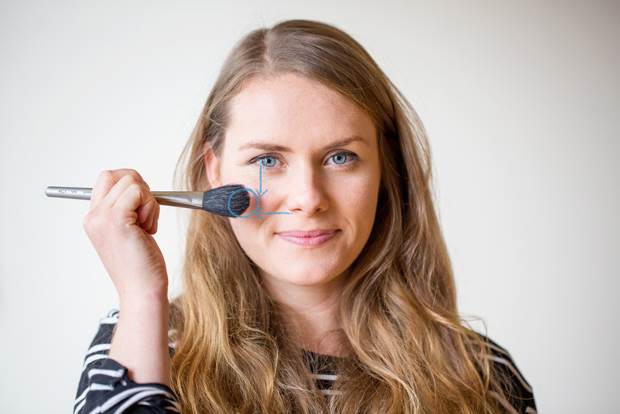
3. Another way to find the apple is to smile until you can point at the chubbiest part of your cheek. This is where you can use the top part of the brush to gently dab a little bit of colour in a small oval shape about the size of your eye, or a little bigger. Repeat on the other cheek symmetrically. Now use the brush to gently, with tiny strokes, blend the powder out from the oval – except in toward the nose.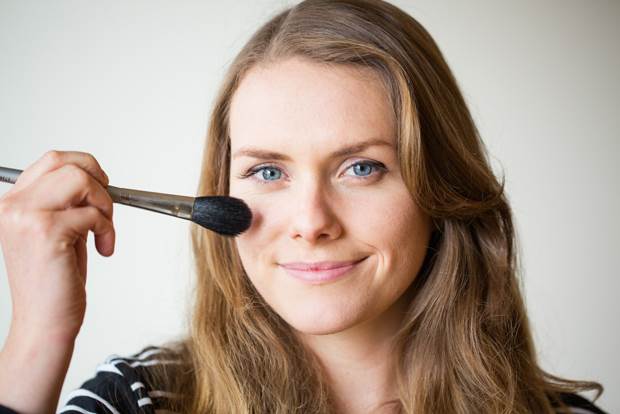
4. You can now very slightly sweep the blush up the cheekbones, or leave it just on the apples. Do you need a little more - or is that enough? If you add more, continue to be sparing! Keep standing back from the mirror to check. The above technique may be used for cream blush, using your fingers. Use one finger to apply and other clean fingers to blend. Also remember to use cream blush only on bare skin or liquid foundation – cream products applied over powder do not mix well and end up cakey on the surface of your skin. If you like a nice strong colour blush you can use cream first and then set it with powder blush.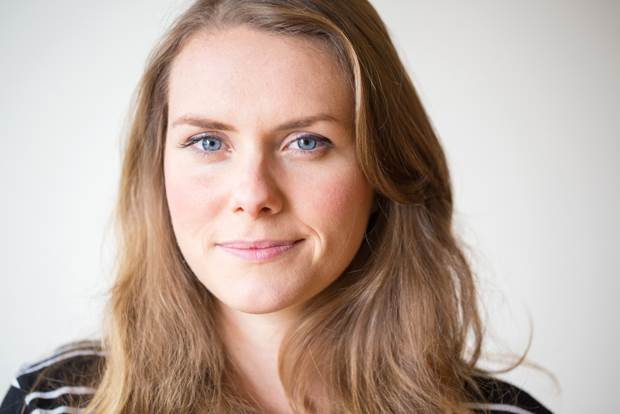
5. For a natural sun-kissed look, bronzer is best applied where the sunlight "kisses" your face. These are the places that protrude from your face the most, such as your temples, nose and chin.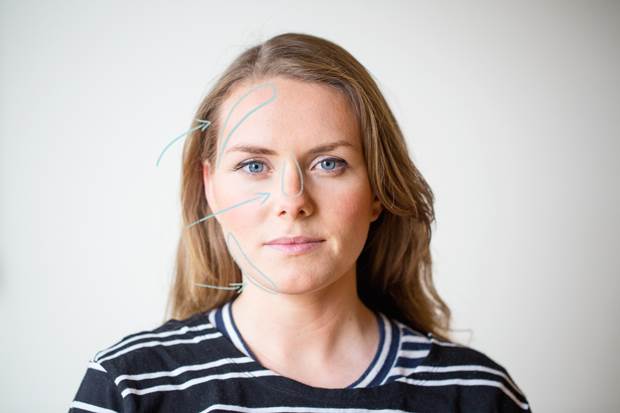
6. Take your powder brush and load it with a small amount of bronzer. Apply in very selected points with tiny, featherlight, C-shaped sweeps. Stand back from the mirror and check. Blend again before applying more product - but try not to spread the bronzer all over your face. Blush and bronzer can create a beautiful, fresh three-dimensional effect if it is applied only where it looks the most natural. At the temples, make sure it blends into the hairline. If you have a natural tan or freckly decolletage, you can also apply a little bronzer to your neck. 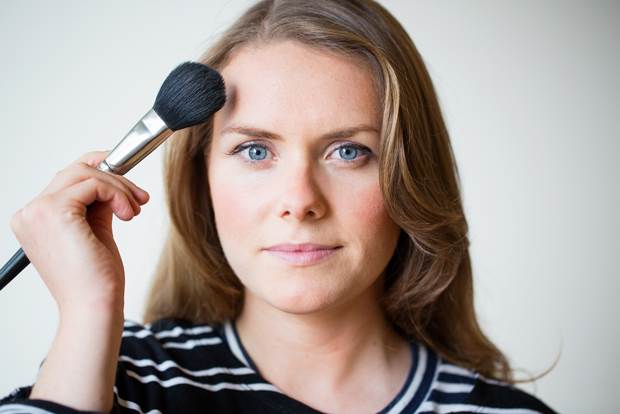
The pretty piccies of model Grace were snapped by Bekky Halls. Words are by Dana Leviston.


.jpg&q=80&w=316&c=1&s=1)


.jpg&q=80&w=316&c=1&s=1)