
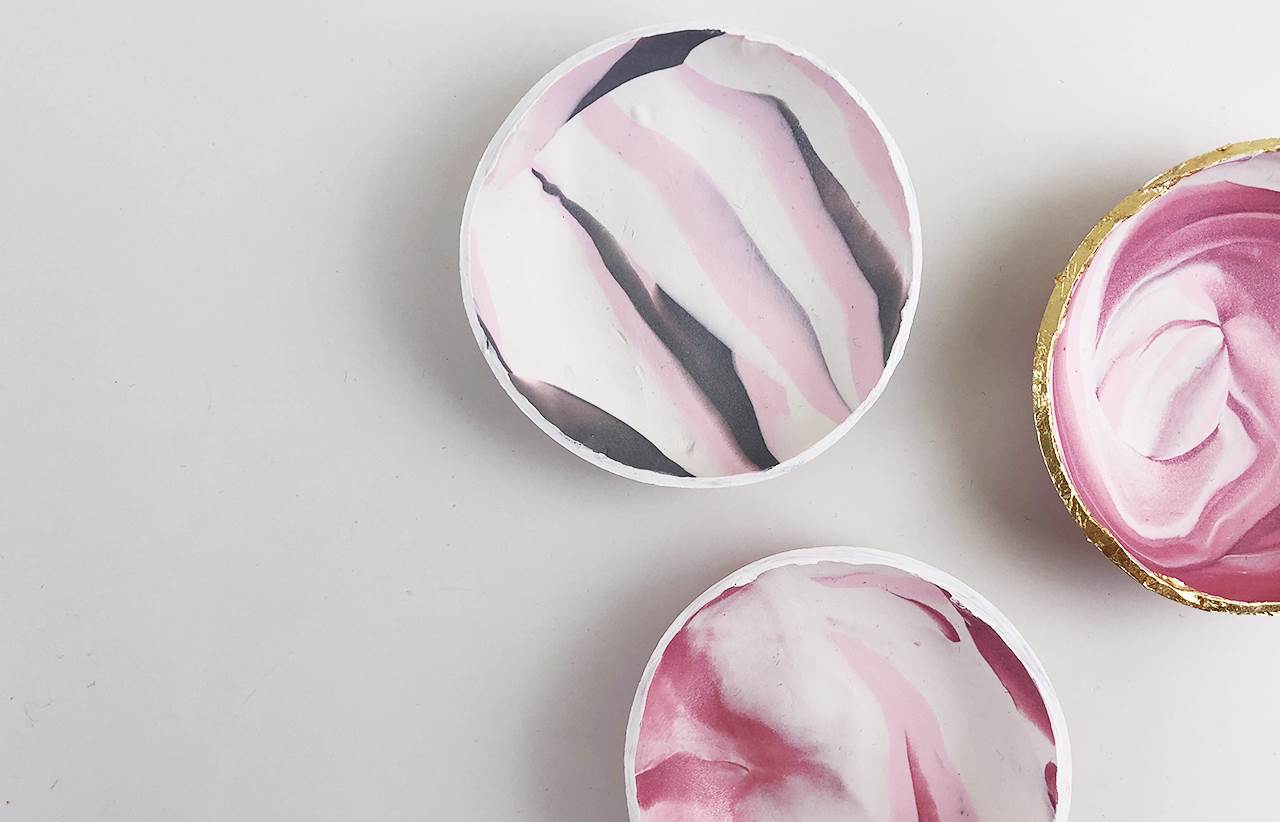
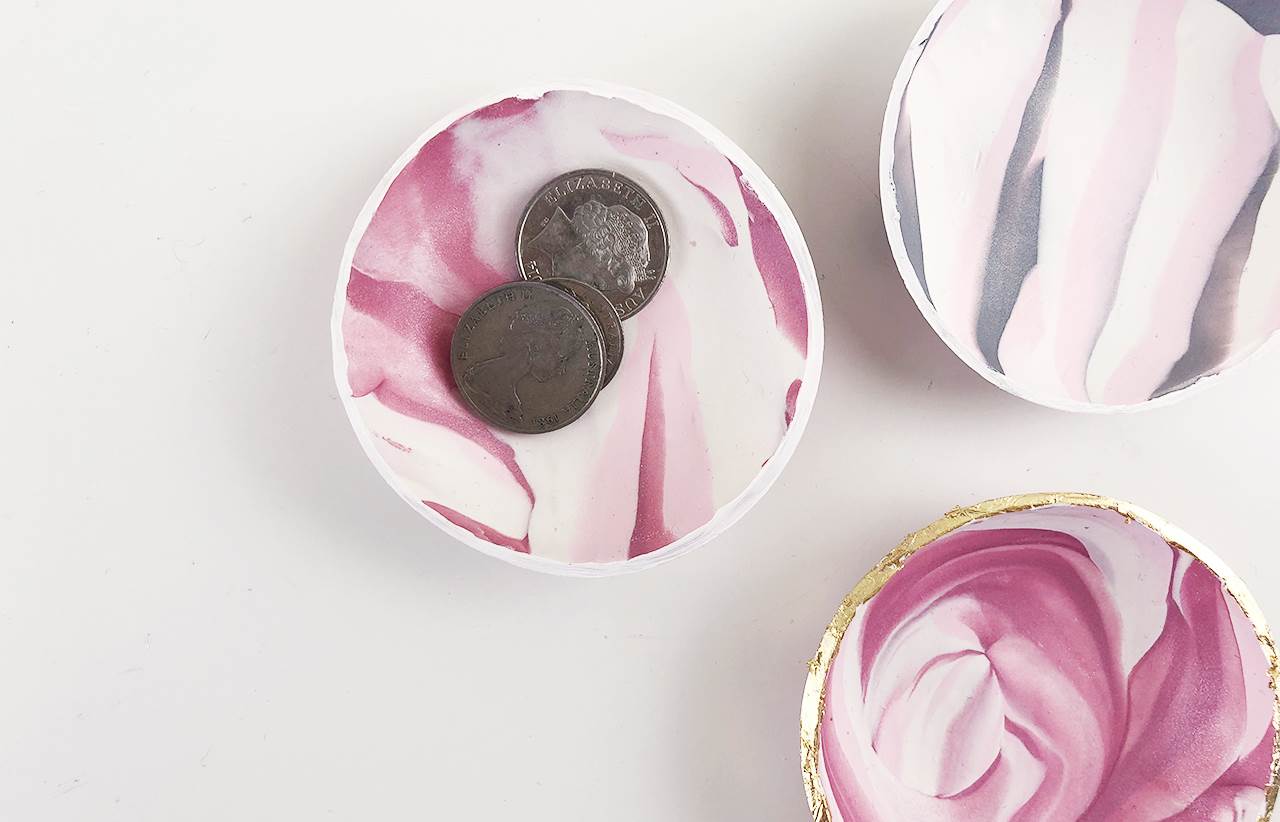
frankie exclusive diy: marbled trinket bowls
Smoosh some polymer clay together to make these very pretty trinket bowls. Hurrah for small-scale organisation!
Do you have an excess of whatsits and doodads cluttering your bedside table? Little dishes for coins and bobby pins won’t reduce the amount of clutter in your life, but they’ll hold onto it all so prettily, you probably won’t care.
The squishability of polymer clay makes it so pleasing to work with, and when smooshed in just the right way produces some very pretty marbled effects. Here’s how to use it to make these cute little trinket bowls.
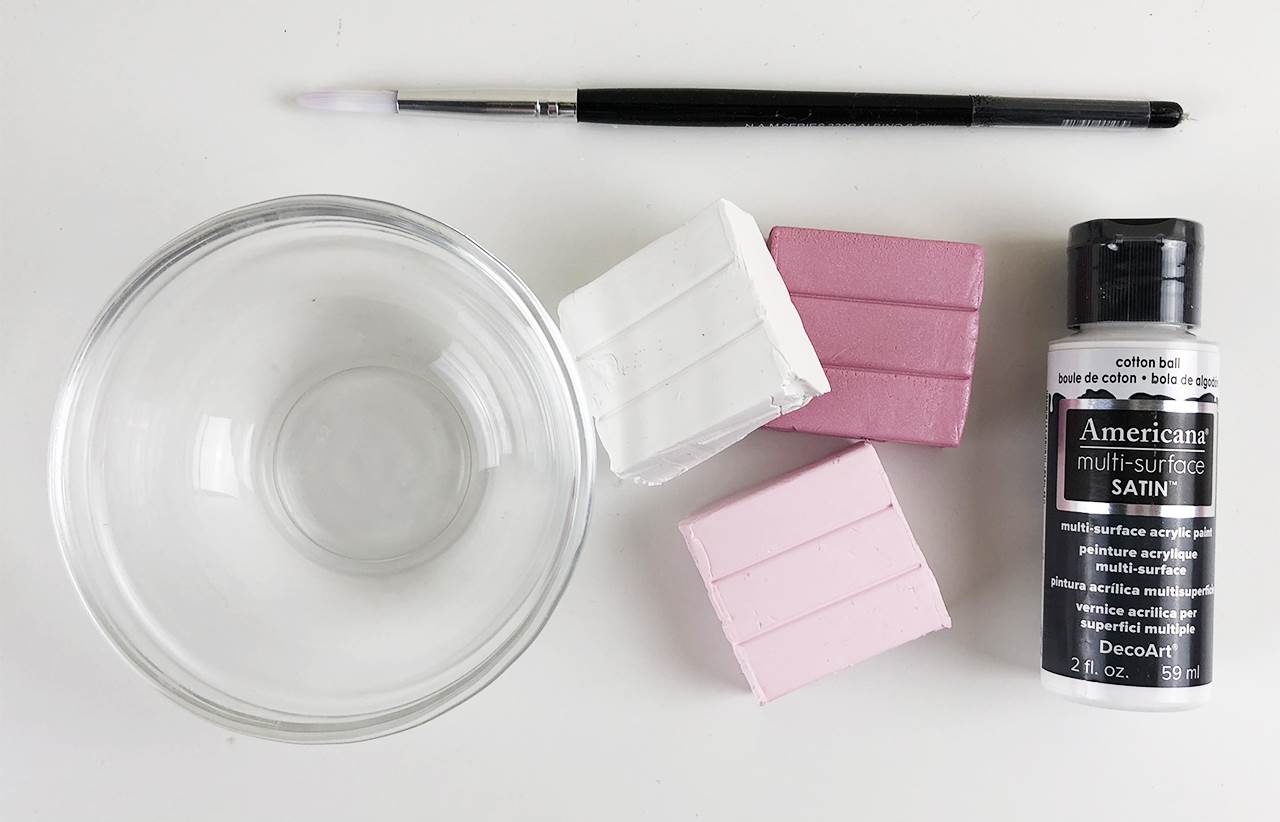
MATERIALS:
polymer clay in three coordinating colours
a small, oven-safe dish (we used the kind you put dipping sauce in)
a paint brush
acrylic paint
a rolling pin, wine bottle, or other tool for rolling clay
a knife
INSTRUCTIONS:
1. Preheat your oven to 130°C.
2. Cut a piece of clay of each colour. If it’s about two thirds of the size of your thumb, it should be about right (this is not an exact business).
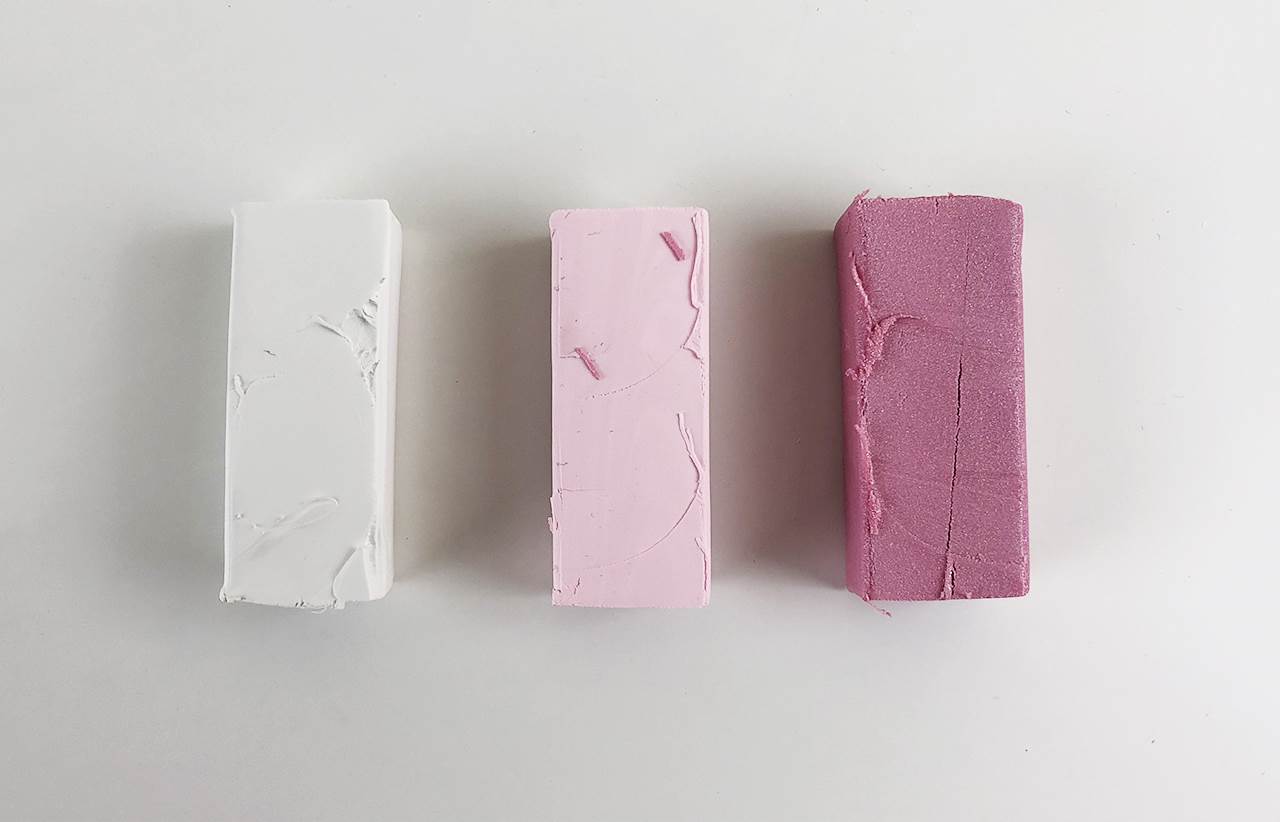
3. Knead each piece of clay between your fingers until it becomes soft and pliable.
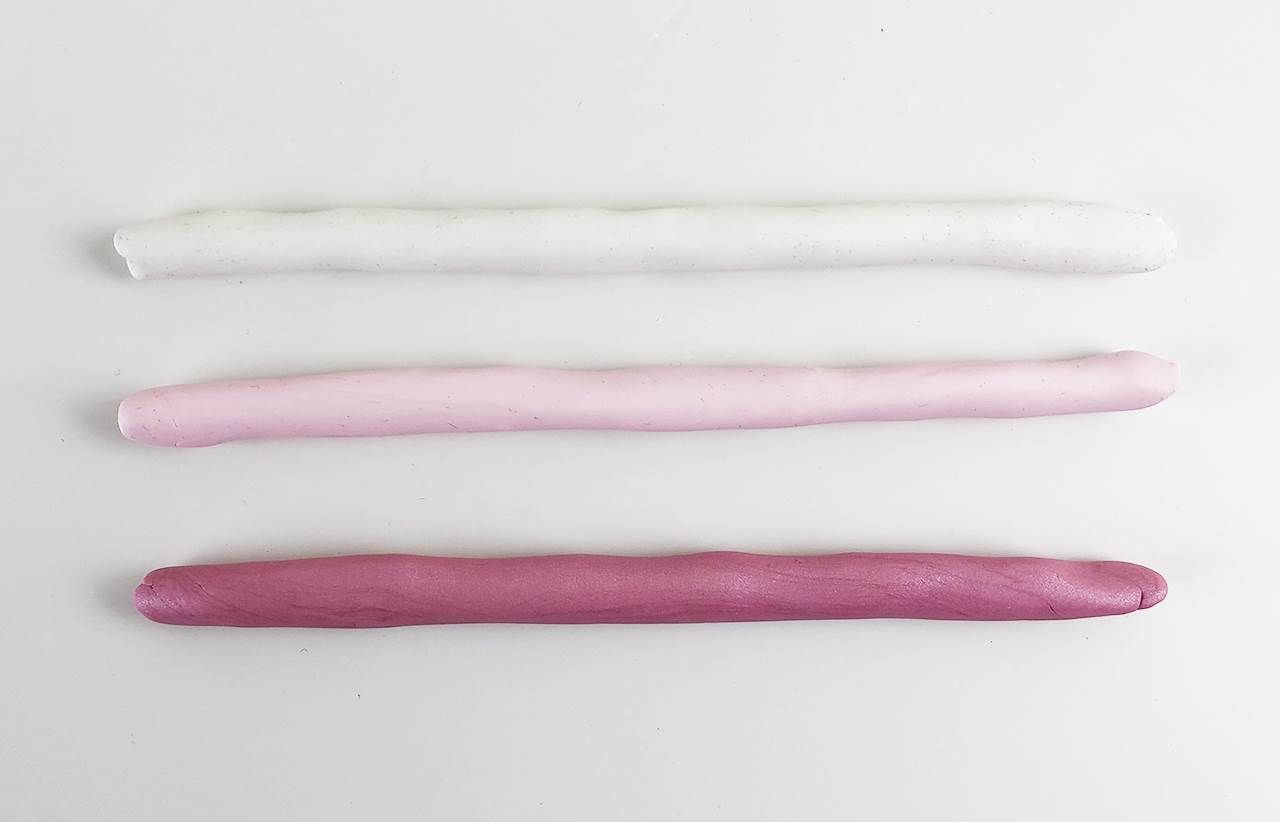
4. Roll each piece out into a skinny log.
5. Take all three pieces, and twist them up together. Once twisted, roll them into a single smooth log.
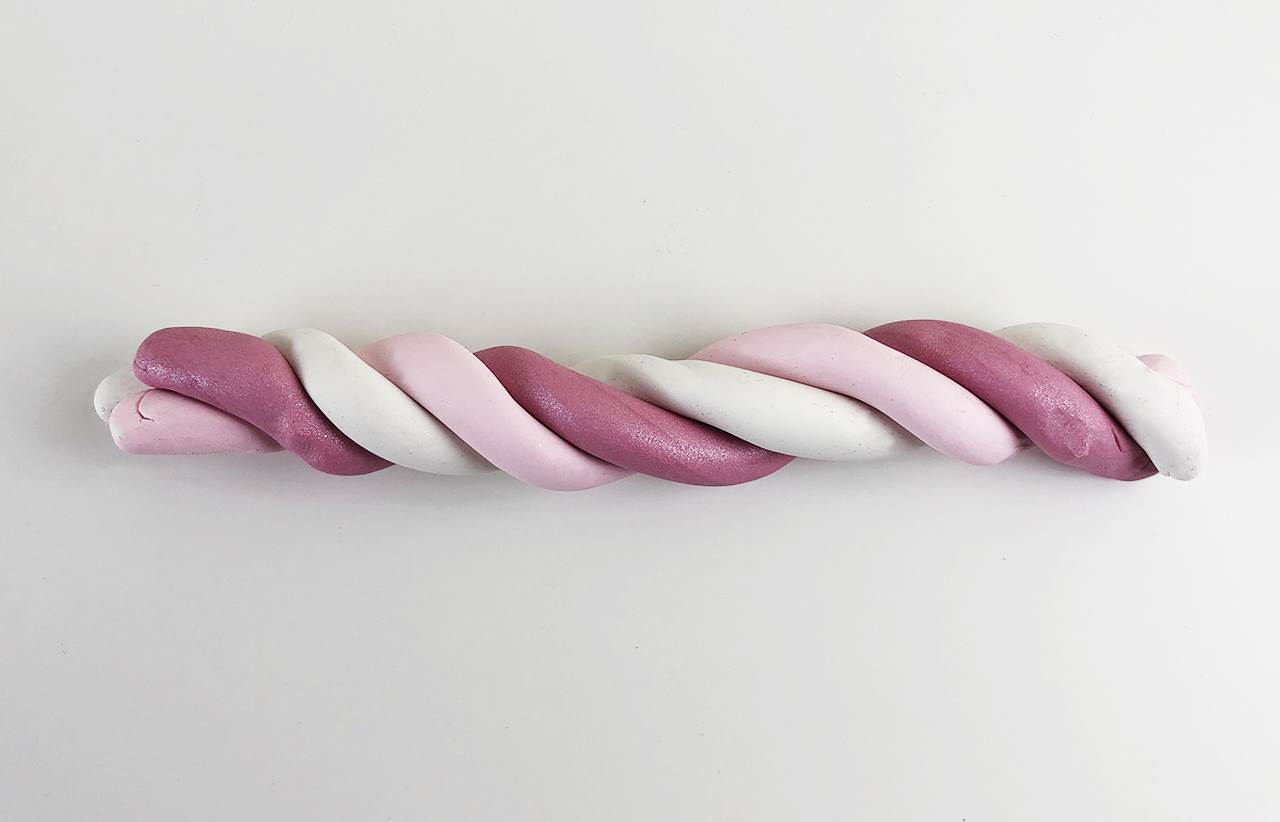
6. Cut this log into three roughly equal pieces.
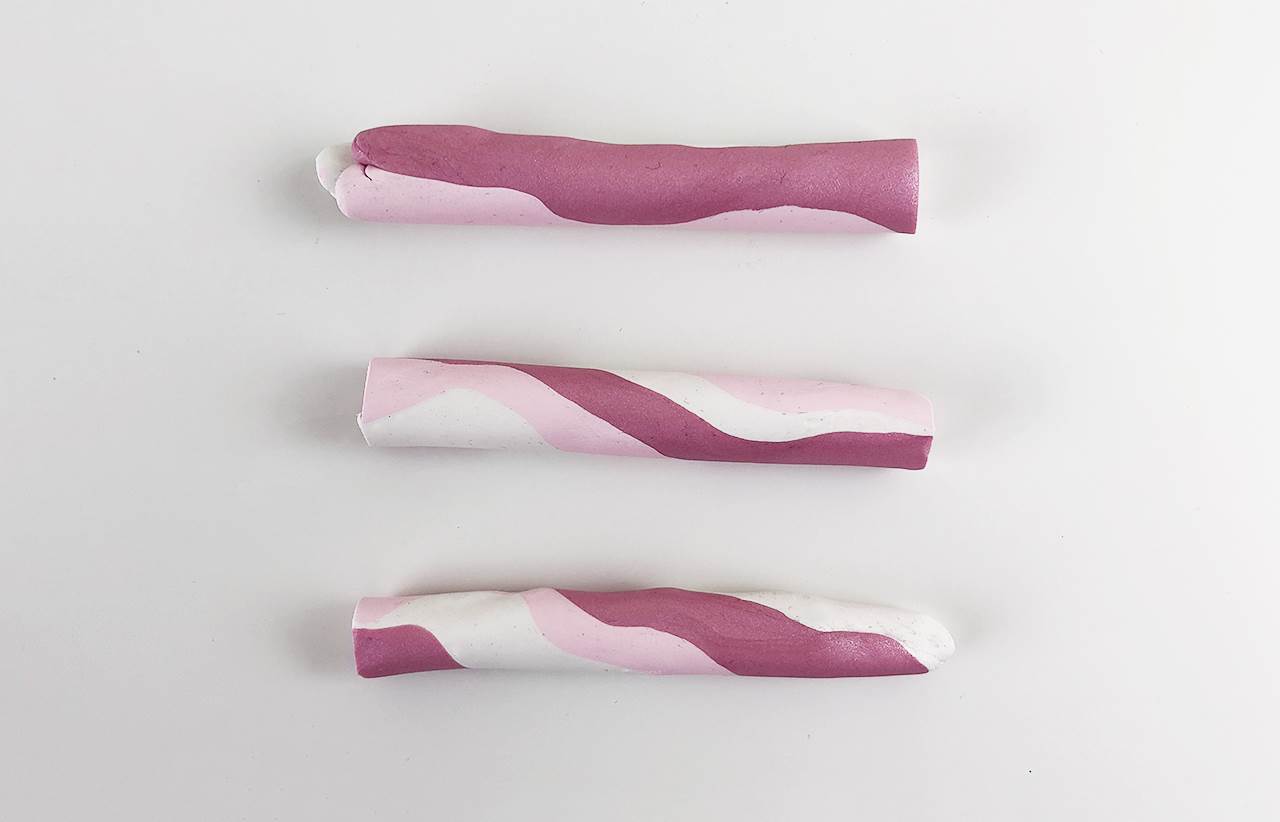
7. Roll them out into skinny logs again, and repeat the twisting and rolling process.
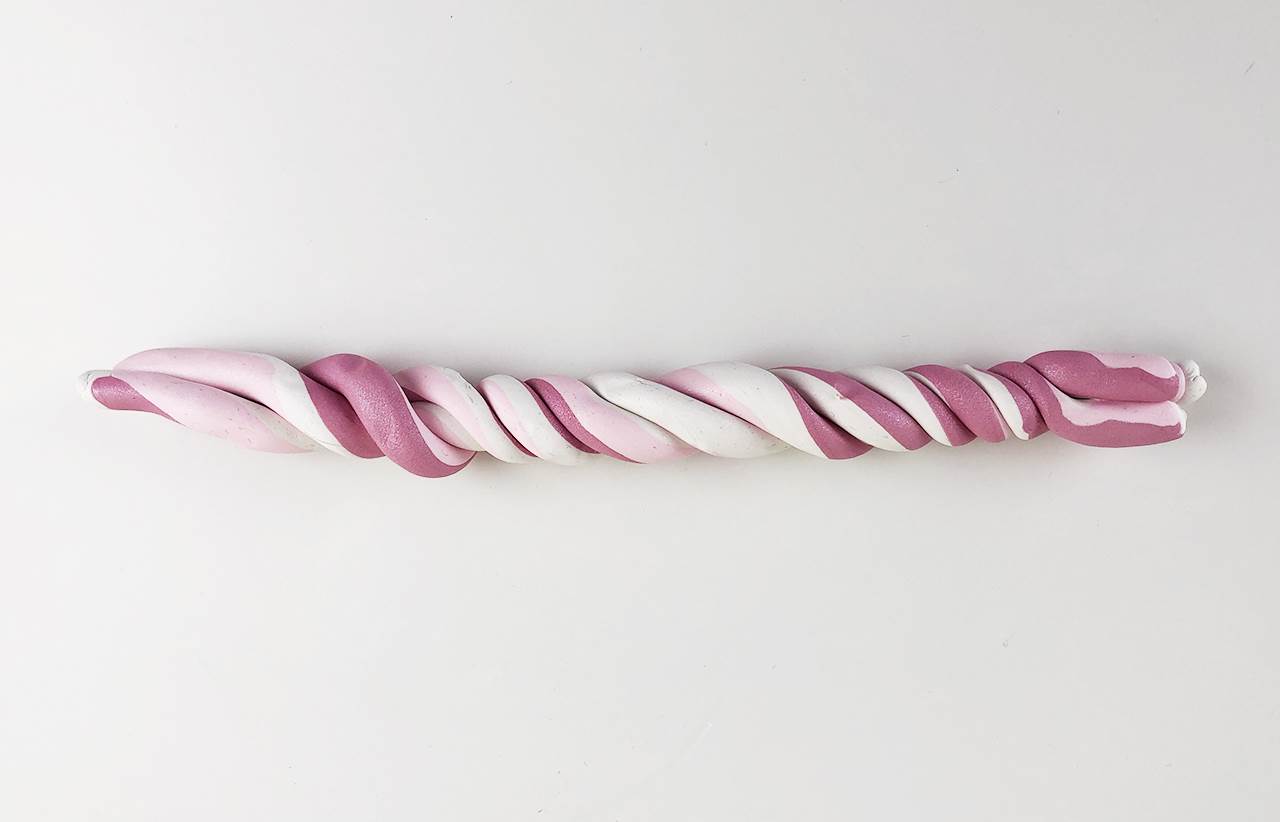
8. If you want a more detailed and twirly marble, repeat the cutting, rolling, and twisting process again. If you’d prefer wider swirls, stop here.
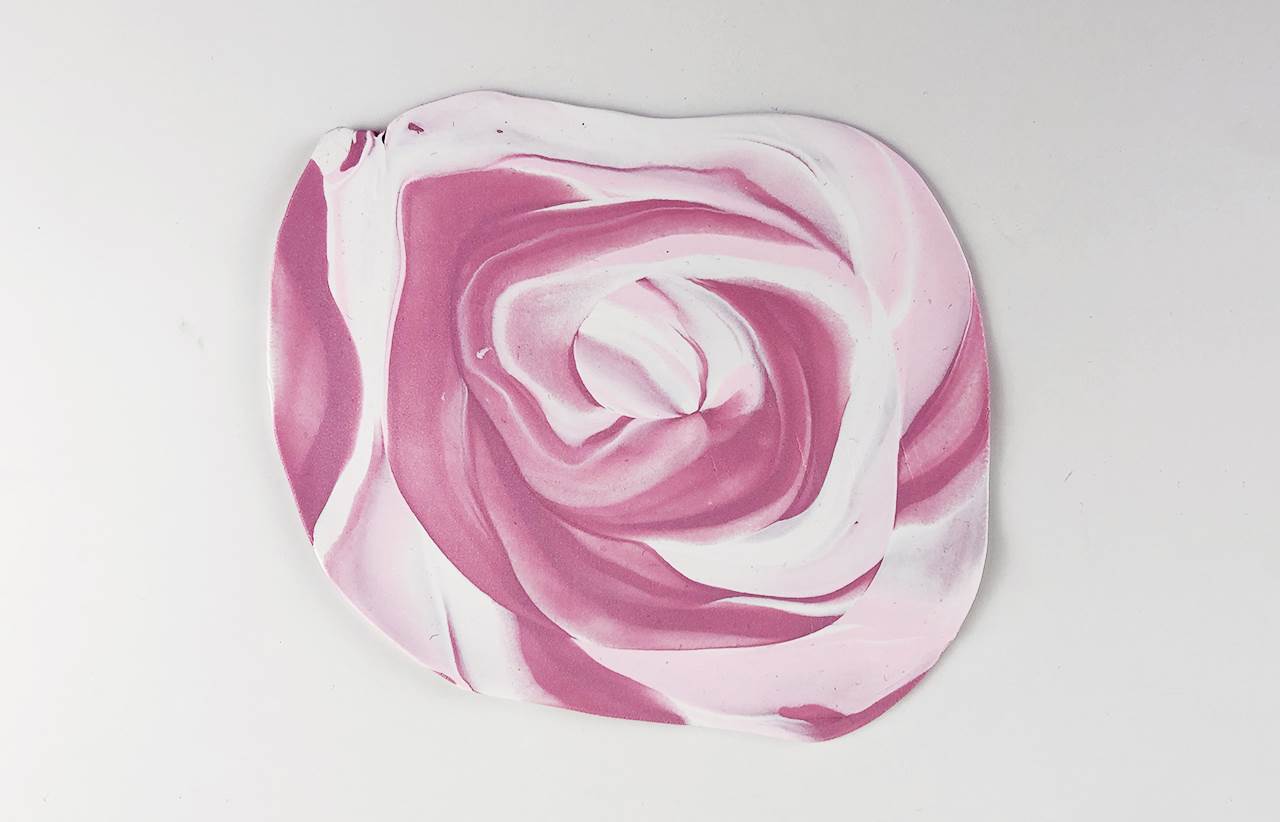
9. Coil your large log like so.
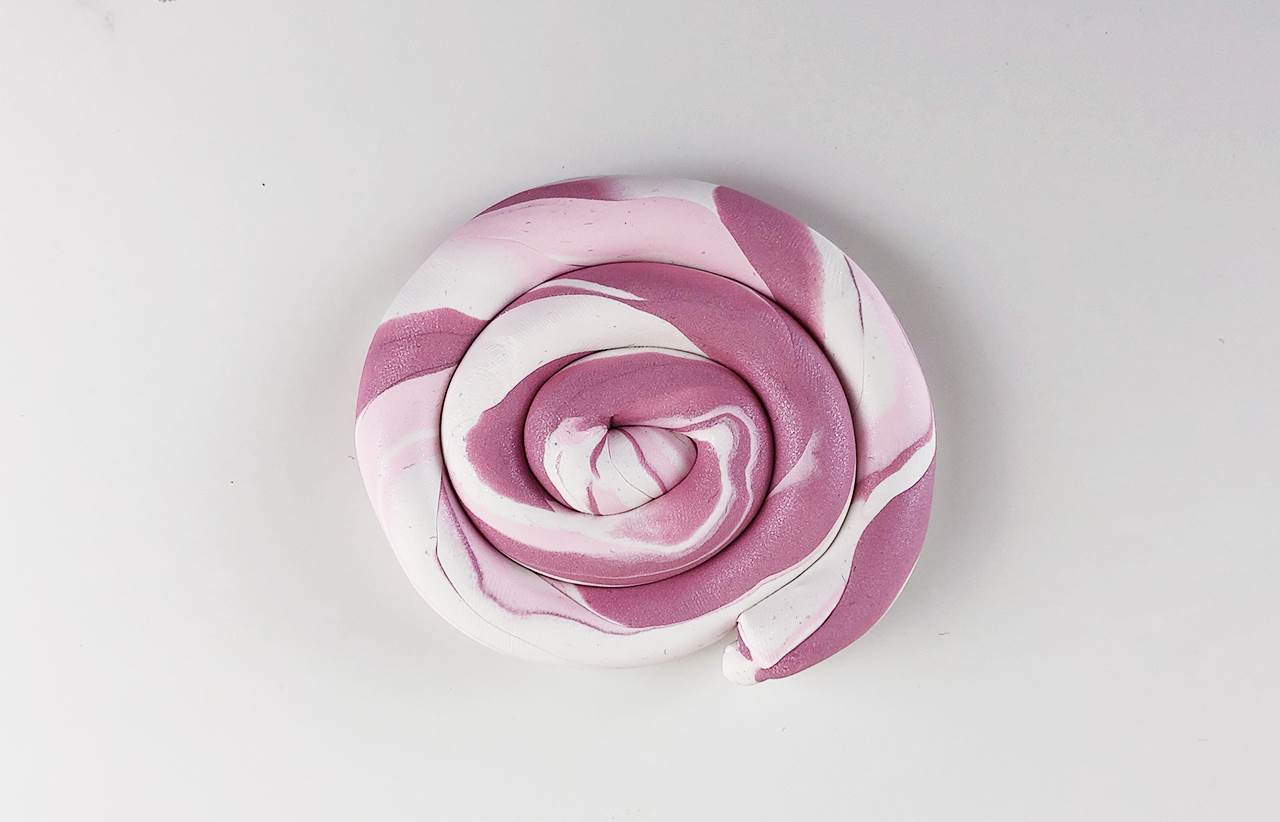
10. Roll it out to around three or four millimetres thick.
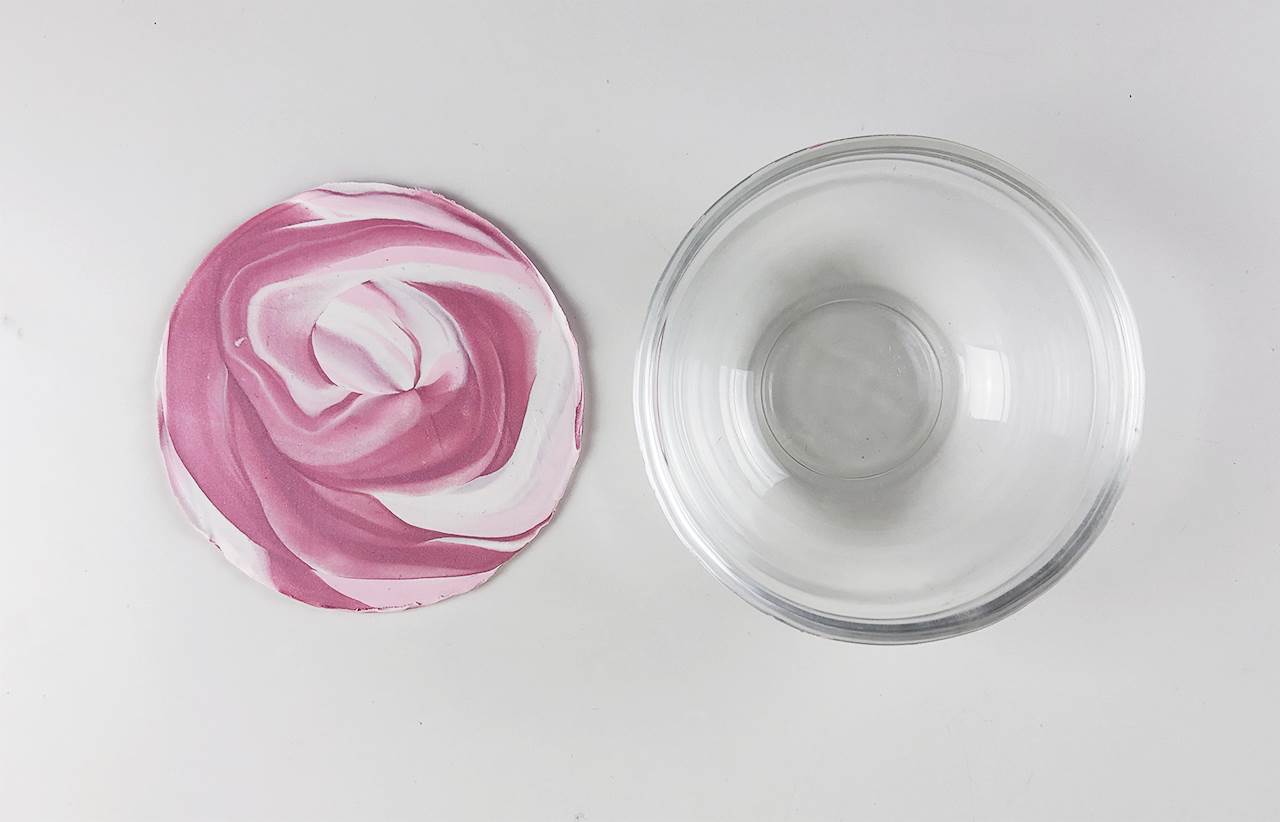
11. Place your dish upside down on the rolled out clay, and cut around it.
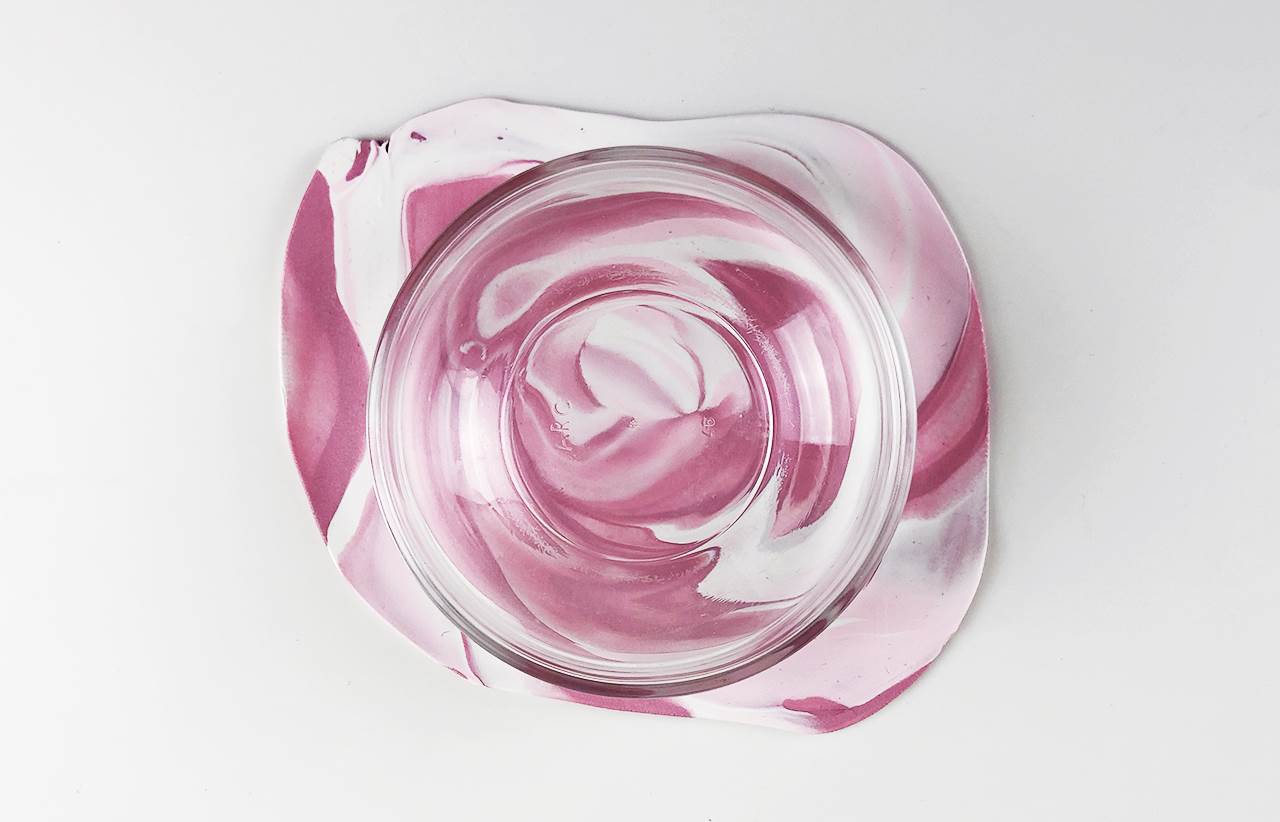
12. Take this round disc, and nestle it into your dish.
13. Bake for approximately 15 minutes. (The packaging on your clay will tell you exactly how you need to bake yours for.)
14. Remove from oven and allow to cool.
15. Make your bowl look more finished by painting around the rim with acrylic paint.
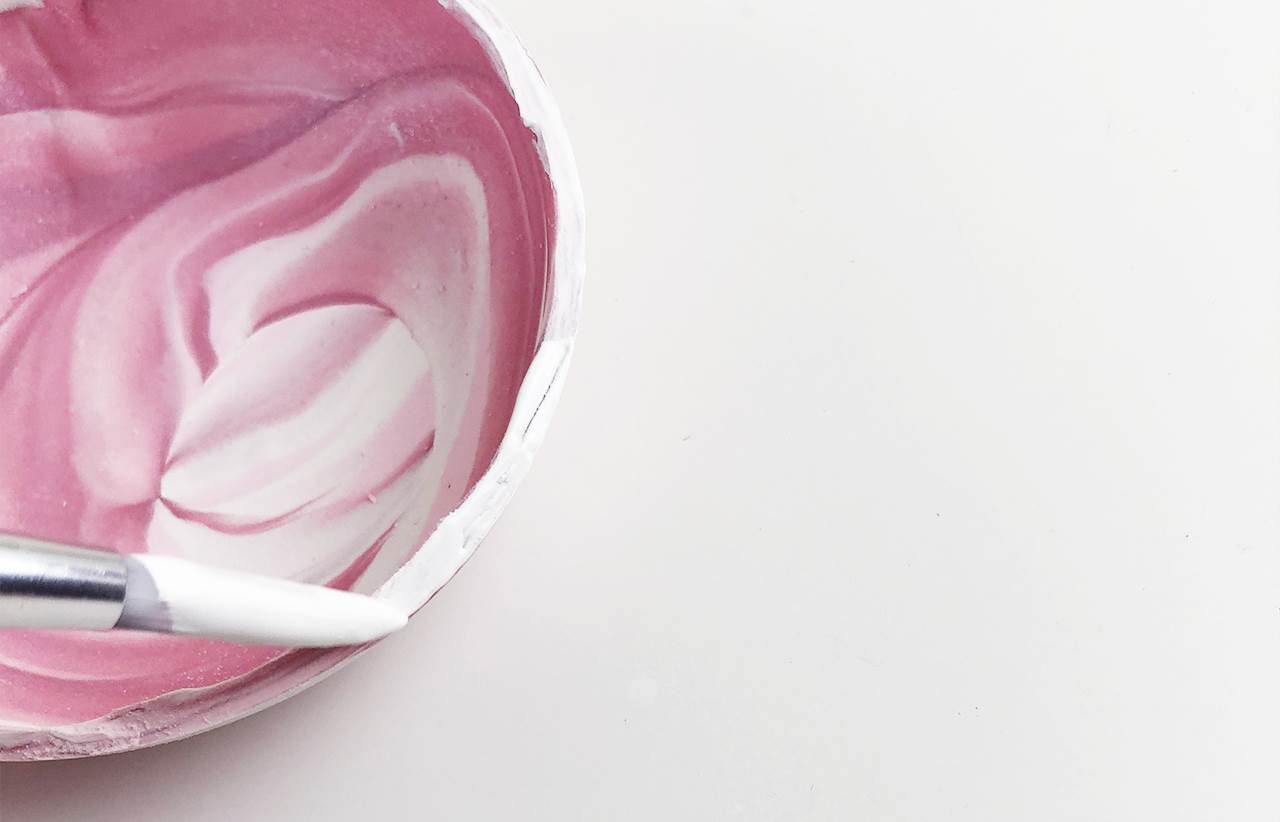
16. If you’re feeling really fancy, you can add gold leaf to the rim and make it shiny.
Now all that remains is to collect all your little thingamajigs and settle them into their new homes.
Pop over this-a-way to check out more cool stuff from Essie.