
how to create easy backdrops for your photos
Photographer Phoebe Powell shows us how to set up a stunning shot using a DIY backdrop and natural light.
If you’ve set up an online shop, you’ll know that making or sourcing your product is only one part of the equation. Getting an A+ bunch of images together is where it gets tricky. And unless you happen to be a professional photographer (or can afford to hire one), you probably don’t have a well-lit studio at your disposal.
Thankfully, photographer extraordinaire Phoebe Powell is here to show you how to snap some stellar shots, without the fancy equipment. Below are four of Phoebe's easy, DIY backdrop ideas, along with some tips on how to work with natural light. 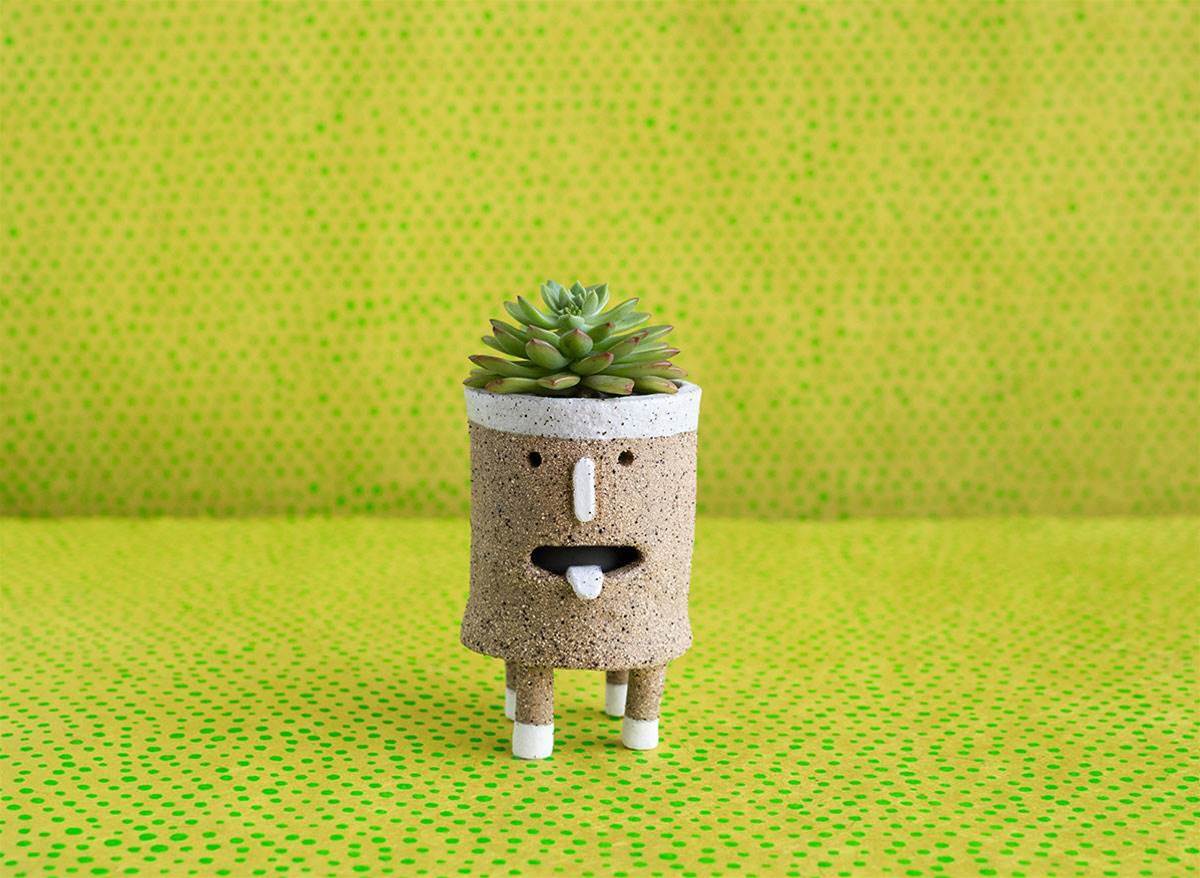
BACKDROP #1 – ART PAPER Drop into your local paper shop to scout patterns and textures that will make your product pop. Phoebe chose some lovely handmade paper from a specialist shop for this image, but she says the bigger stationery stores will serve you just as well. Once you land on a style, opt for the biggest size you can get, as that makes life easier when photographing. Don’t be afraid to buy a few sheets either, so you can stick them together for larger objects or portrait shoots. (Planter by Shuh)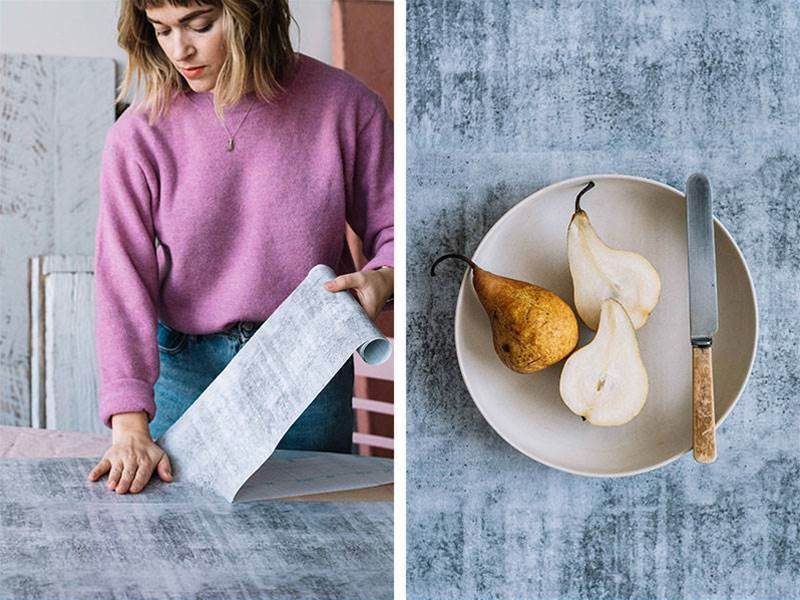
BACKDROP #2 – CONTACT PAPER Not just for covering school books – vinyl contact paper from places like Kmart will give you the look of a fancy schmancy surface, without breaking the bank. Grab yourself a roll, stick it onto a sturdy piece of cardboard or MDF board (available at Bunnings) and voila: you’ve got yourself a swish "table". As a rule of thumb, Phoebe recommends picking out a matte paper as the shiny stuff will reflect light and be harder to shoot.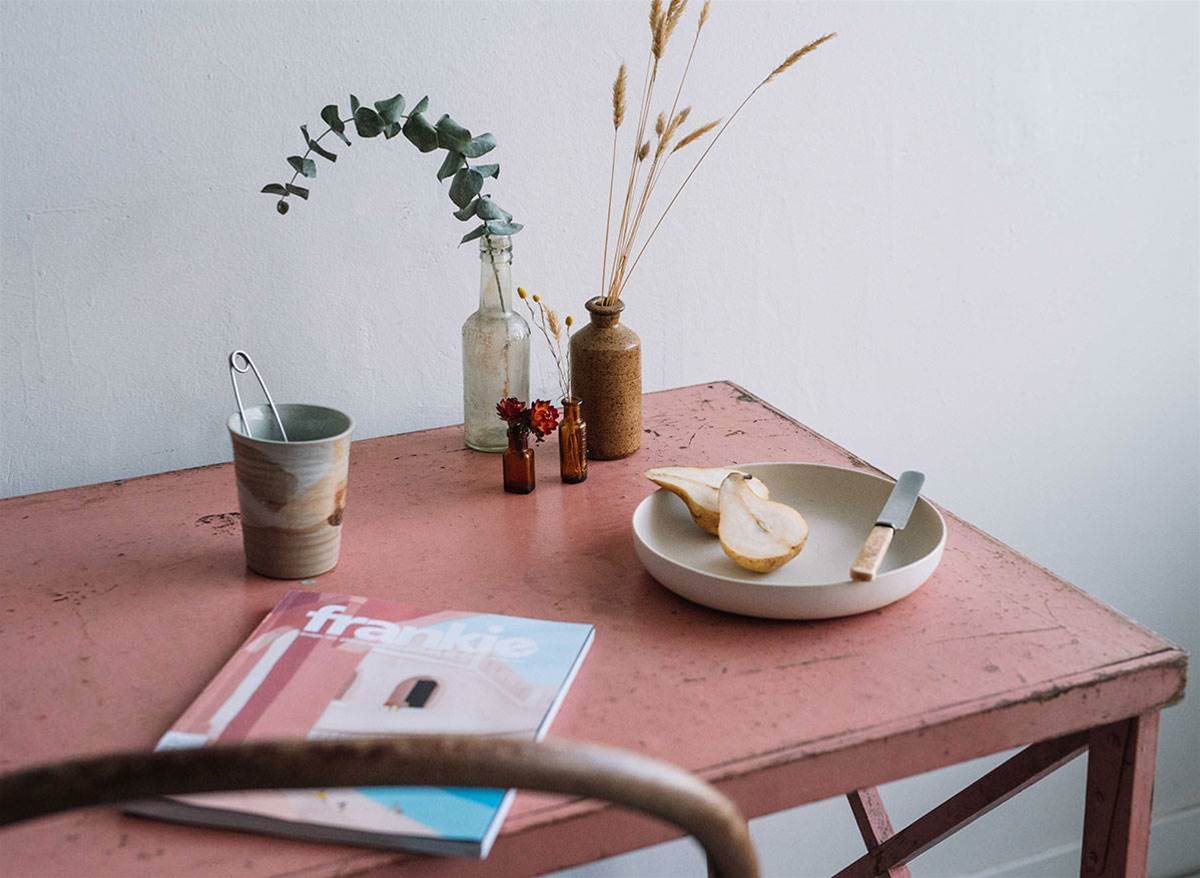 BACKDROP #3 – HARD RUBBISH The next time you go hunting for sidewalk treasures, keep an eye out for some interesting colours and textures. Phoebe's favourite finds include old doors, fence palings (which she nailed together to create a faux table top), bathroom tiles, rusted sheets of metal and old tables, which all add a rustic look to a backdrop. “Table tops are fantastic," Phoebe says. "And the longer they’ve been out in the weather, the more character they have. If it has a little coffee stain, for example, that adds a really lovely effect.” Visit your local council's website to see when the next hard rubbish day is and always check to make sure you’re not accidentally carting home someone’s beloved goods.
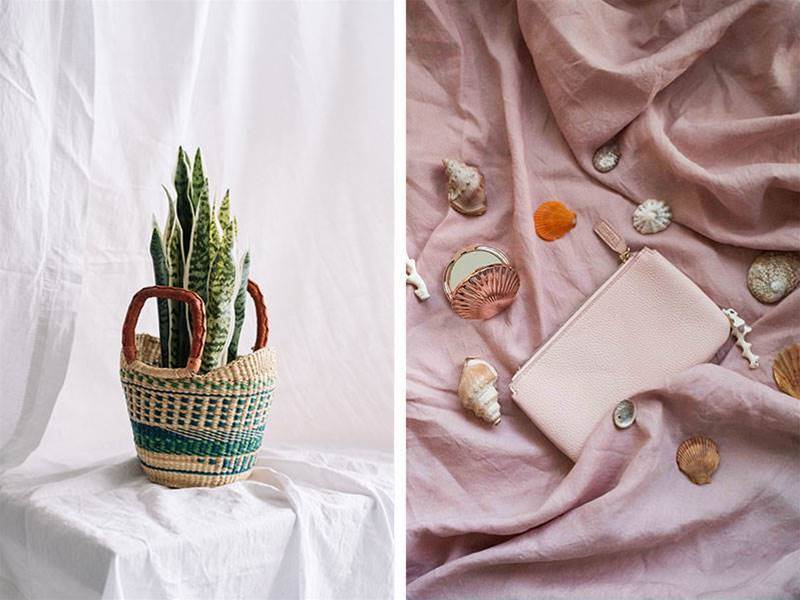 BACKDROP #4 – LINEN SHEET What can’t you do with a linen sheet? Hang it up for a portrait shoot, drape it over a table or scrunch it up to make a dynamic background for your products. Shadows are usually the enemy of product photos, but Phoebe’s artfully rumpled sheet shows how soft shadows can add movement and interest to a still image.
HOW TO SET UP A MINI HOME STUDIO
You’ll need:
a table
A3 foam core white reflector card (you’ll find this at Officeworks) or white card/white towel
tracing paper
tape
your DIY backdrop
- Push your table up against a big window in the house.
- Diffuse the light by taping a piece of tracing paper over the window. You can skip this step if you want stronger, direct light, which will create dramatic shadows.
- Set up your rad new backdrop so that the window light is coming from the right or left of your frame.
- Place your object against the backdrop. Place your white reflector card on the opposite side of the window, so that it bounces the shadow away from your object (you may need an extra pair of hands for this). The closer you hold your reflector to the object, the more light you’ll have filling the shadows.
- Play around with your object’s distance from the background. The further your product is away from the backdrop, the softer the backdrop will look (thereby making your product the main focus).
- Start shooting using either your DSLR or phone.
To get more DIYs and business content direct to your inbox, sign up to our Strictly Business newsletter over here.