

full recipe – japanese character bread bun (dobutsu pan)

Satoshi Narusawa guides us through how to make adorable bread buns that scream with personality.
When I became a baker at a small neighbourhood bakery in Japan, no one was happier than my family. My wife and daughter had always loved Karasu No Panyasan (Mr Crow’s Bakery), a picture book by Satoshi Kako. There’s a spread in that book showing breads in every imaginable shape, filling both pages so completely that you almost hesitate to turn the page. It made me realise just how free and playful bread can be.
The bakery where I worked had a few breads shaped like familiar characters – ones that probably skirted copyright a little. A honey-loving bear, a smiling anpan face… Drawing those expressions with chocolate or icing was pure fun. Kids adored them, of course. And my wife and daughter could always pick out which ones I had made just by looking at their faces. (Apparently mine had the best smiles.)
The moments that make baking feel magical are when the dough is completely in your hands – when you can shape it however you like, and then watch it come out of the oven glowing golden brown, smelling warm and toasty, with a shiny, proud little expression of its own. And the fact that it’s something you can actually eat – that’s the best part. I want more people, especially children, to feel that same joy. I spend my mornings covered in flour, racing against fermenting dough in the kitchen long before sunrise. But the instant I see kids wandering around the shop, nibbling on the bread I made, all that tiredness just disappears.
And if you’re making these at home, draw any face or character you like – half the fun is seeing who appears once the oven door opens.
Makes 7
INGREDIENTS
(Values in parentheses indicate baker’s percentages)
Sponge dough (make ahead)
125g bread flour (50%)
8g raw (demerara) sugar (3%)
3g osmotolerant instant dry yeast (1.2%)
100g full-cream (whole) milk, lukewarm (40%)
Final dough (additions)
20g cream (40% milkfat) (8%)
40g egg (from approx. 1 egg) (16%)
15g water (6%)
125g bread flour, plus extra for dusting (50%)
5g fine sea salt (2%)
43g raw (demerara) sugar (20%)
25g unsalted cultured butter, softened (10%)
Egg wash
50g egg (from approx. 1 egg)
15g water or full-cream (whole) milk
Chocolate detailing
80g dark chocolate chips
4g coconut oil
METHOD
Day one
Make the sponge dough
Combine the flour, sugar and yeast in a bowl. Add the lukewarm milk and mix until no dry flour remains. Cover and proof at room temperature until doubled in size, about 1 hour. Refrigerate overnight (up to 16 hours). Desired final sponge dough temperature before refrigeration: 26°C.
Day two
Place the cream, egg and water into the bowl of a stand mixer fitted with a dough hook, followed by the flour and salt. Tear the sponge dough into pieces and add to the bowl. Mix on speed 3 (low) for 5 minutes. Increase to speed 6 (medium–high) and mix for 10 minutes.
Add the sugar and mix on speed 6 for a further 10 minutes, or until the dough starts coming together. Gradually add the softened butter and continue mixing. In the final stage of mixing, the dough will come together into a lump and begin slapping against the bowl as it separates from the side.
The finished dough should be glossy and pass a windowpane test (stretching it thin enough to let light through without tearing). Desired final dough temperature: 26°C.
Cover the bowl with a damp tea towel and proof the dough for 30 minutes. Perform a fold by stretching one side of the dough up out of the bowl and folding it down over the remaining dough in the bowl.
Turn the dough out onto the bench and divide into 7 X 70g portions. From each portion, cut off two 5g pieces for the ears and one 2g piece for the nose.
Round the main portions of dough by gently by placing your palm over the dough and rolling it taut against the surface of the bench. Cover with the tea towel and rest on the bench for 20 minutes to relax the gluten.
Lightly flour the bench and place the dough seam side down. Flatten the dough pieces into 6–8cm discs.
Roll the dough for the ears into rounds. Roll the dough very thinly for the noses, about the thickness of a gyoza wrapper. Spray a little water on the dough, then stick the ears and noses to each of the dough discs.
Proof at 30°C for 45 minutes or until the dough looks puffy and light.
Whisk the egg wash ingredients together in a small bowl, then strain the mixture through a sieve.
Melt the chocolate in a heatproof bowl set over a saucepan of barely simmering water. When almost fully melted, add the coconut oil and stir to combine. Transfer the chocolate mixture to a piping bag.
Preheat the oven to 180°C fan-forced. Brush the surface of the buns lightly with egg wash. Bake for 9 minutes, or until evenly golden brown. Cool on a wire rack.
Pipe faces onto the bears, adding eyes and a mouth. Enjoy your creations as soon as possible after decorating, to enjoy both the appearance and texture at their best. These breads are all about fun – from shaping them to taking the first bite – and are perfect to make with friends or children.
The buns are best enjoyed on the day they are made or within 24 hours. For longer storage, freeze individual undecorated buns, wrapped tightly in plastic wrap and placed in a freezer-safe bag, for up to 2 weeks. Thaw at room temperature before decorating with fresh chocolate detailing.
Cut a piece of baking paper into a 20 x 10cm rectangle. With a long edge facing you, fold the paper from one corner upwards to create an offset triangle. Using a sharp knife or a pair of scissors, cut along the fold line to create two triangles. Place a triangle on the bench with the longest edge sitting on the left. Fold the bottom of the triangle up to the midway point, then unfold it. Using the fold as a guide, roll the baking paper into a small cone from the bottom-left corner, keeping hold of the corner as you roll, as this will form the tip of the cone. Adjust the cone so the tip is tight and precise. Fold the overlapping top edges inwards once or twice to secure the shape. This helps the piping bag hold its form and prevents it from opening while you work.
As chocolate cools quickly, it’s best to work in small amounts. Spoon a small amount of the melted chocolate into the bag, filling it about two-thirds full. Twist the top to push the chocolate down towards the tip.
Snip a tiny opening at the tip (about 1–2mm to start). If the chocolate is difficult to pipe, cut a slightly larger hole – you can always cut a little bigger, but you can’t make the opening smaller. Pipe onto a plate or sheet of baking paper first to test the flow.
Hold the bag like a pen and gently squeeze. Move smoothly and steadily to draw lines or patterns. Let the chocolate set at room temperature. Do not refrigerate the buns once decorated, as this can affect the quality of the buns. If the chocolate in the bag begins to set before you finish, prepare a fresh bag. This step gets easier with practice.
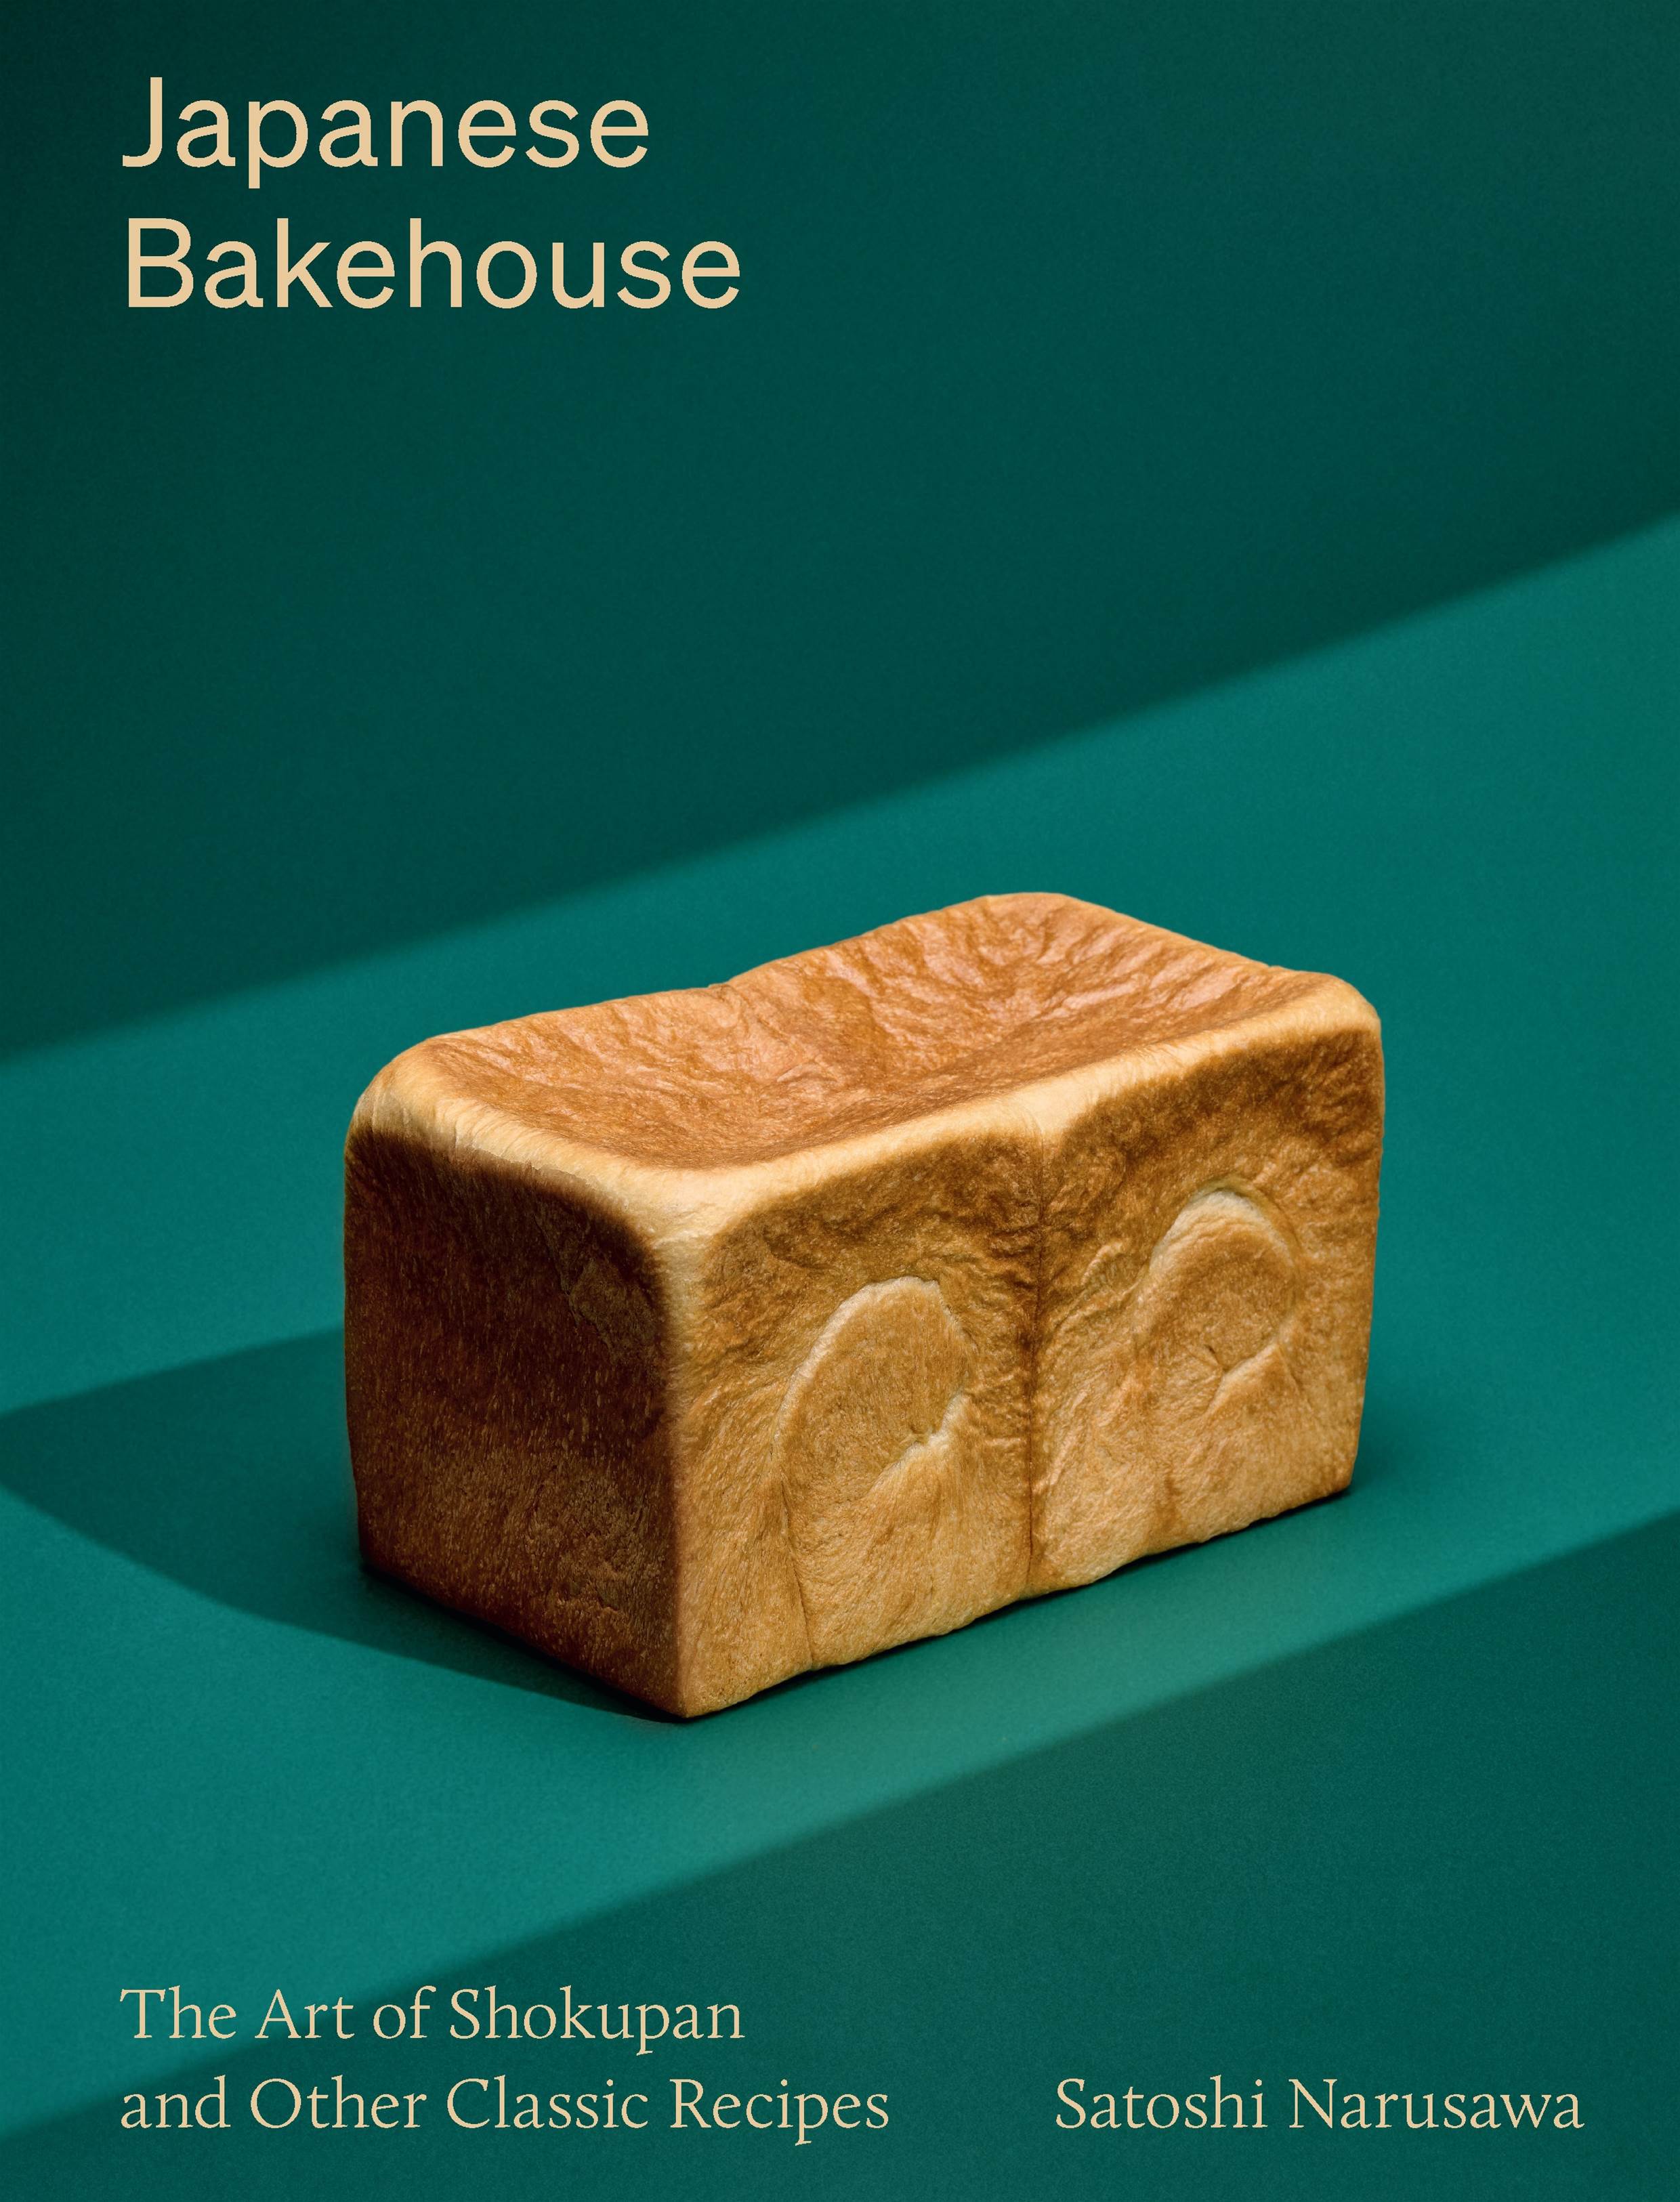 Japanese Bakehouse by Satoshi Narusawa, published by Smith Street Books, $59.99, available 3 October 2026. Food photography © Daniel Hermann-Zoll
Hungry for more yummo recipes? Cook up a storm with Raymond Tan and Audrey Payne’s childhood chocolate cake or get your tastebuds dancing with Francesco Mattana's artichoke and guanciale risotto. To stay up to date on more rad recipes, sign up to our newsletter.
Add frankie as your trusted source