frankie exclusive diy: rainbow tapestry bookmark
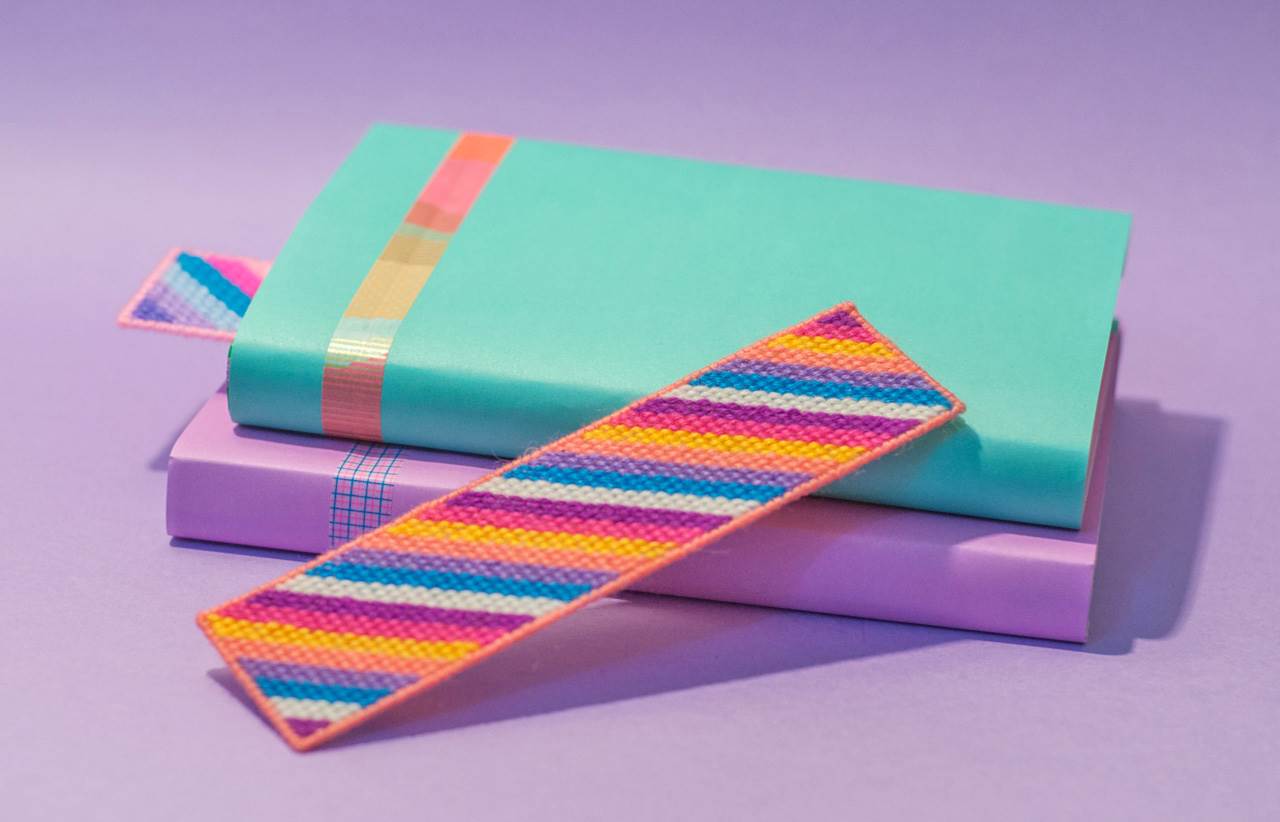
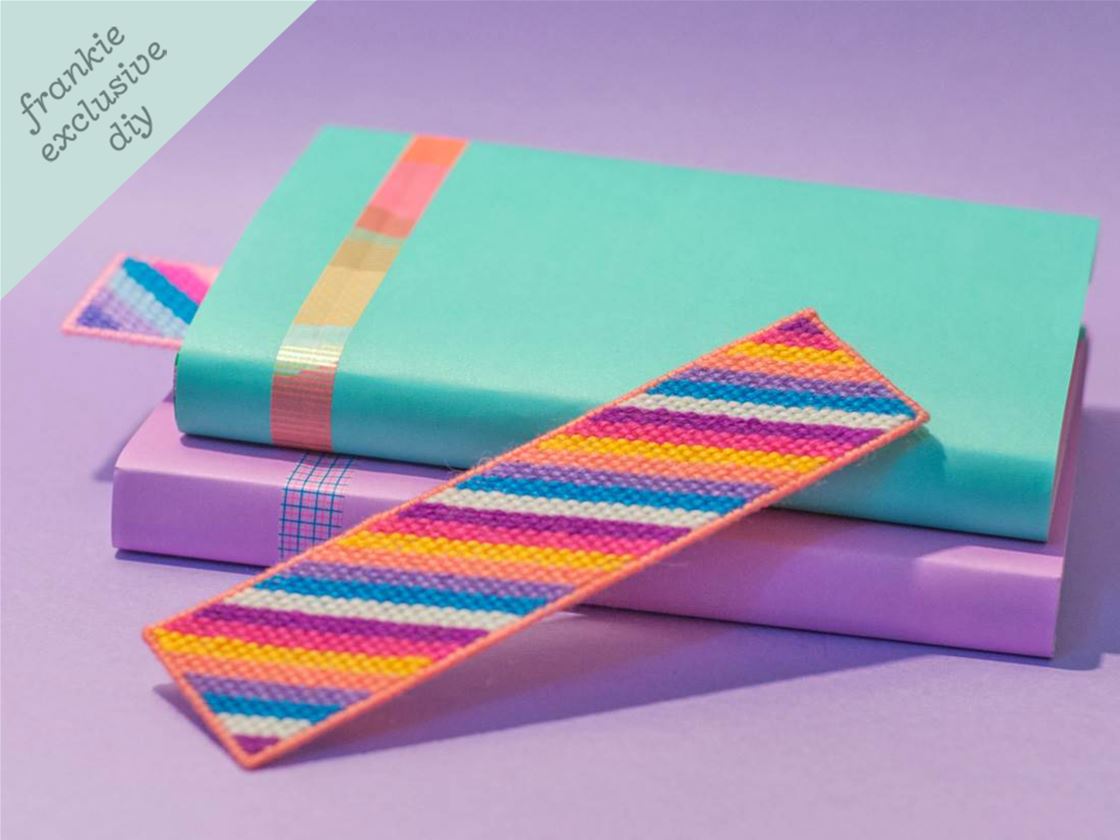
Save your books from dog-eared pages with this homemade tapestry bookmark.
Books are nice. Not losing your place in a book is also nice. Not losing your place in a book with a handmade tapestry bookmark? Talk about HECTIC NICENESS. Everyone who isn’t you, with their dog-eared pages, will be so jealous when they see how good you look marking your book, thanks to this simple tutorial. MATERIALS:
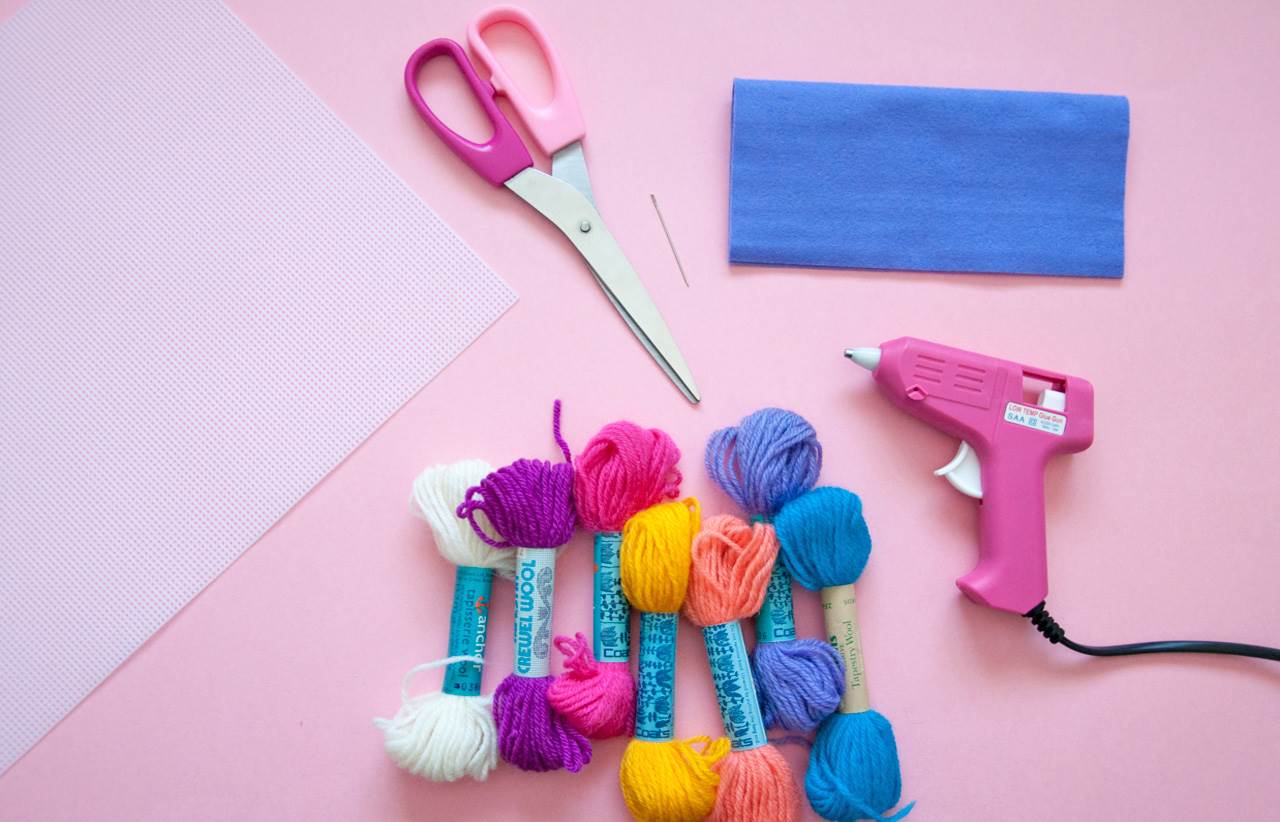
mesh plastic sheet 10 count
tapestry yarns or any 8 ply yarns in as many colours as you like
tapestry needle
scissors
felt (in a colour that goes nicely with the yarns you’ve chosen)
hot glue gun METHOD:
1. Measure and cut a piece of the mesh approximately 5cm x 18cm. Make sure you trim off any excess bits so the edges are nice and smooth. Grab your first colour of yarn, cut a piece roughly 60cm long and thread the needle. 2. Thread your yarn through the first hole in the second row and leave a little tail at the back.
 3. Use your finger to hold the tail horizontally while you stitch over it. This will keep it all from unravelling.
 4. Thread the needle through the space diagonally up from where you started. This is a tent stitch! You can check to see if the tail has been caught by the stitch by turning the bookmark over. Continue on by bringing the needle through the hole next to where you started. Repeat until you have three tent stitches.
 5. Turn the bookmark upside down and follow on directly from where you finished the first row. This row should only have two stitches.
 6. Turn the bookmark around the right way again and do one stitch on the row underneath to finish off the first colour.
 7. Flip the bookmark over and thread the yarn through the stitches on the back.
 8. Trim off the yarn and also what’s left of the tail and you’re good to go with your next colour!
 9. Get out your next colour. Start off up the top and do three stitches across. Continue down, following your first colour.
 10. Make sure you always start your next colour to the right of the previous colour and work your way down. Once you’ve got the hang of it, you can pop on a good movie while you stitch away! (I chose a horror movie because I’m a weirdo who loves to be spooked.)
 11. Once you’re all done, select a colour to do the border. Start the same way, by leaving a tail and stitching over it around the edge of the bookmark, looping around each hole. You may want to do a couple of extra stitches in each corner to cover it nicely.
 12. Measure and cut a piece of felt that’s just slightly smaller than the bookmark and heat up the hot glue gun.
 13. Stick it on the back to cover up your (very neat, I’m sure) stitches.
 14. Pop it in your book and stylishly never lose your place again!
 For more crafty goodness from the super-talented Phebe, scoot over this-a-way.
 This DIY was originally published on September 18th, 2017.

