
frankie exclusive diy: mini pinch pots
Remember that scene from The Little Mermaid where Ariel is singing about all of her amazing trinkets? We bet she had a tonne of these teeny pinch pots to store her collections.
Remember that scene from The Little Mermaid where Ariel is hanging out in her treasure cave, singing about all of her amazing trinkets? We bet she had a tonne of cute little under-the-sea-style containers to store her collections. Maybe they were made from magical corals, or hollowed-out shells, maybe they even looked a little bit like these teeny pinch pots. Whip these up in a flash from oven-bake clay to store all your own precious bits and bobs.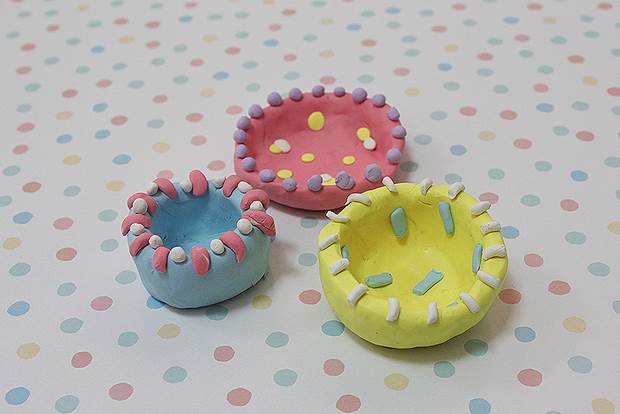
MATERIALS:
Oven-bake clay (Sculpey or Fimo)
Ruler
Baking paper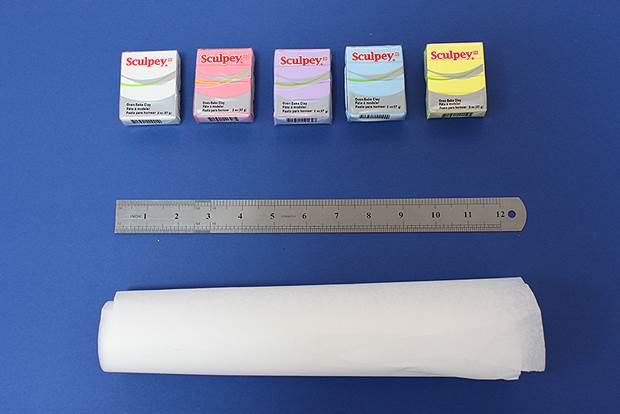
INSTRUCTIONS:
1. With clean hands, knead each colour of clay into balls.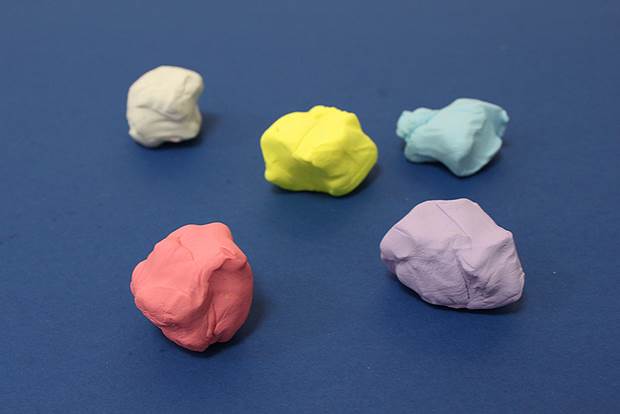
2. To make a pot, mould a gobstopper-sized piece of clay into a little dish shape. Don't worry about the surfaces being uneven, that's part of the charm! You could try making flat, shallow dishes, or mold the clay around your thumb to create a deeper bowl.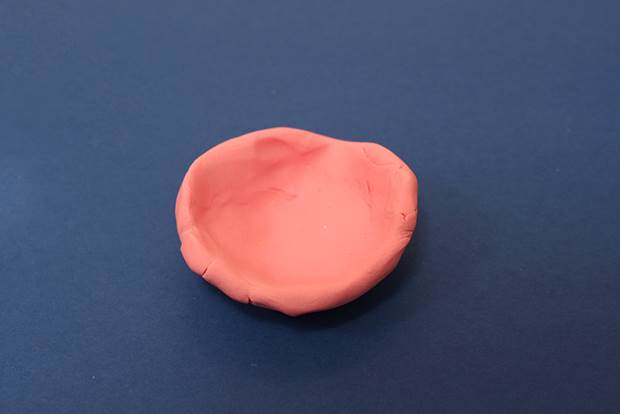
3. Using tiny bits of clay in different colours, make balls, rectangular flecks, stripes, and other shapes and decorate the bowl. The design and colours are up to you!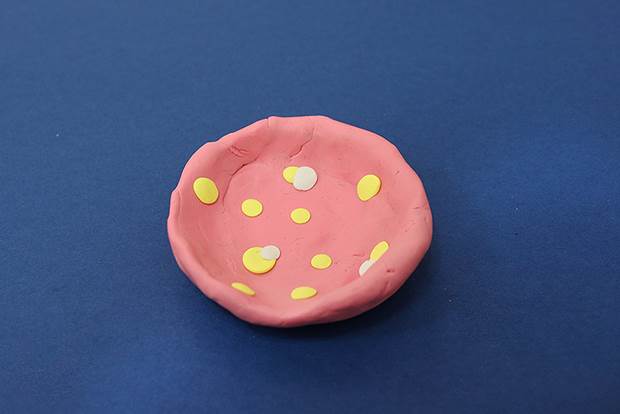
4. Try decorating the rim of the bowl with tiny clay balls, or little strips that curve over the rim.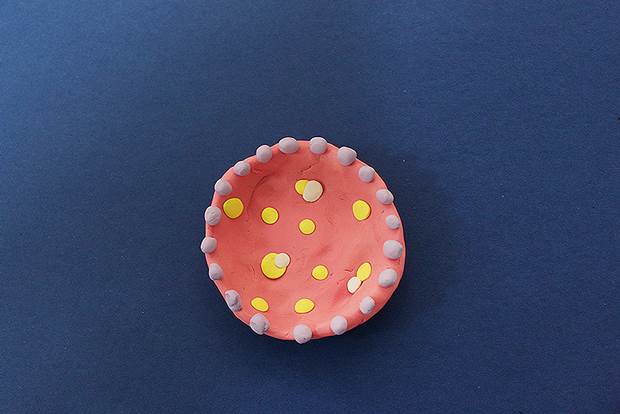
5. For a flat-edged rim to your bowls, use a ruler to gently flatten the bowl's edge. You can also use a ruler to create a more geometric shape to the bowl itself.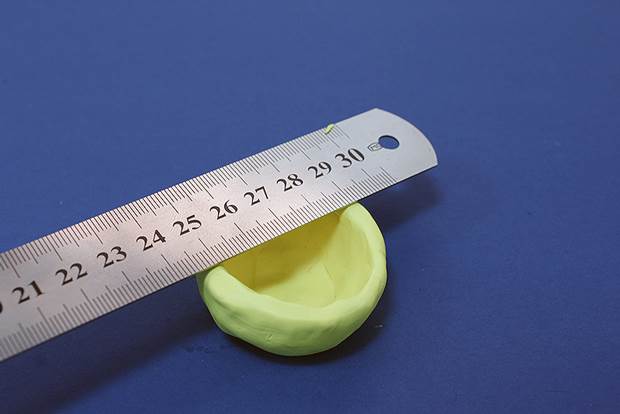
6. When the bowls are done, place them on a sheet of baking paper on a tray and bake them according to the instructions on your clay packet.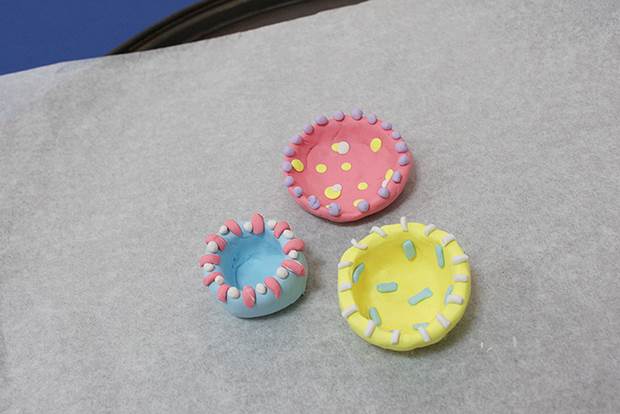
Once the bowls have baked and cooled, fill them with little bits and pieces like stationery, or even herbs and spices.