
frankie exclusive diy: mini desk planter
Give yourself a headstart on spring so every time you sit down to work you'll get a little green reminder of the goodness to come.
With spring just a hop, skip and jump away, we're getting mighty excited about the planting possibilities that warmer weather brings. Why not give yourself a headstart and whip up one of these little desktop planter pots? That way, every time you sit down to work you'll get a little green reminder of the goodness to come.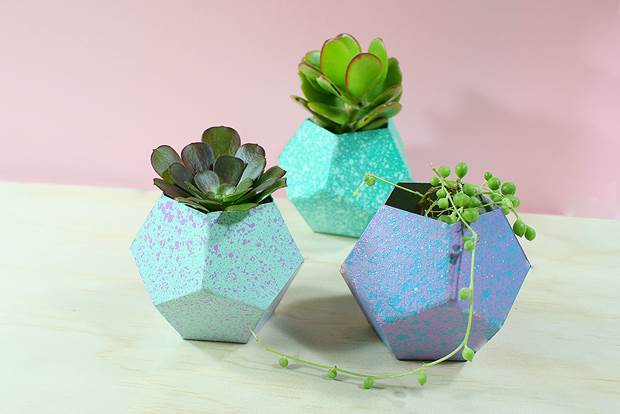
MATERIALS:
thick card stock
planter template
spray paint in assorted colours
sticky tape
strong double-sided tape
cutting knife
ruler
pencil
small vessel (a film cannister would be perfect!)
succulent cuttings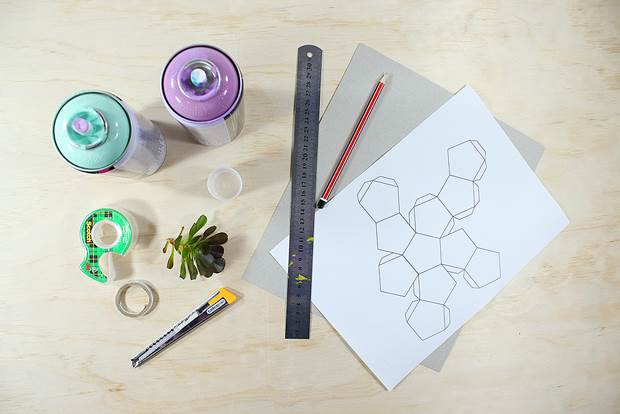
INSTRUCTIONS:
1. Print out the template and stick it onto the card stock.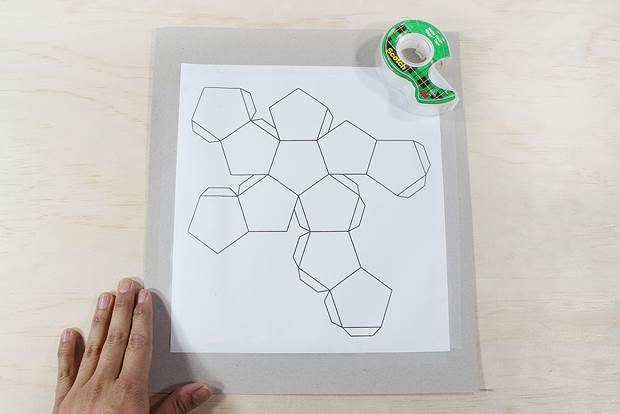
2. Using the ruler and knife, cut around the outside of the template, through the paper and card. Discard the excess card.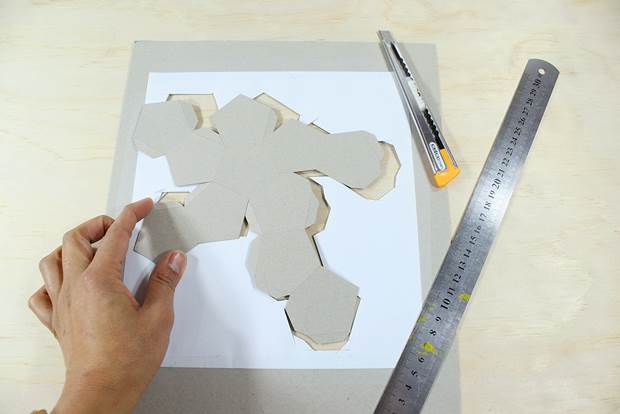
3. Score lightly with the knife along all the fold lines, using the template as a guide to where the folds should go. Fold along all the lines, pressing down firmly with your finger to make the folds as neat and sharp as possible. It’s worth noting that the planter is made up of 11 pentagonal-shaped faces, and a bunch of little tabs.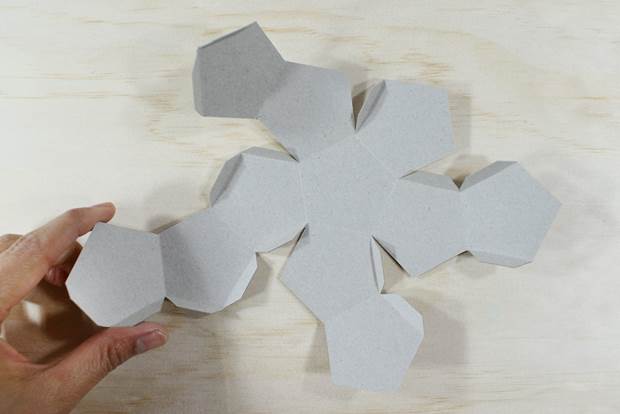
4. Using a piece of old newspaper to protect your work surface, spray one side of the planter shape with a single colour. Allow this to dry completely.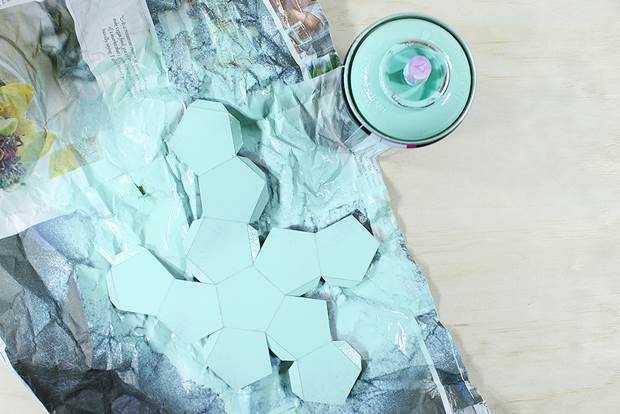
5. Create a speckled effect on top of the first sprayed colour by holding the can close to the card and pressing lightly down, so that the paint drizzles and splatters onto the surface.
6. Stick little pieces of double-sided tape on the painted side of each tab. Then, fold up and assemble by sticking the tabs onto the inside of the planter, until a little geometric bowl shape forms.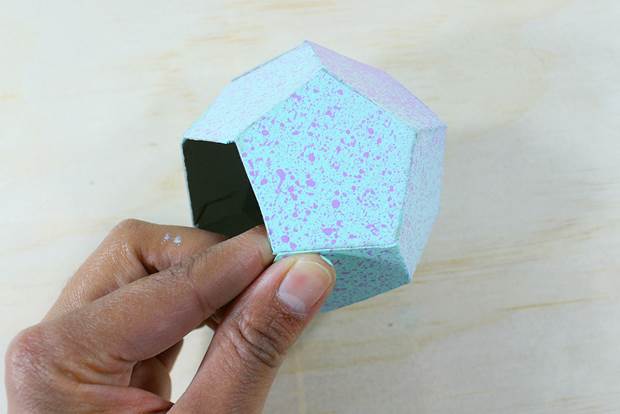
7. Fill the film cannister with water and place it gently inside the planter. Pop your succulent cutting inside the cannister and find somewhere cute on your desk to display your creation!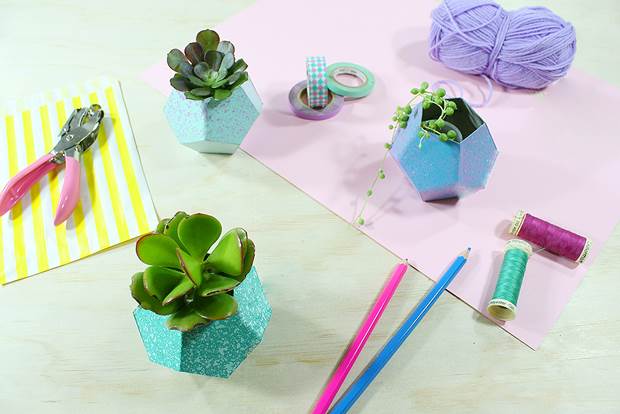
To see more of Kitiya's projects and bits and bobs, head here.