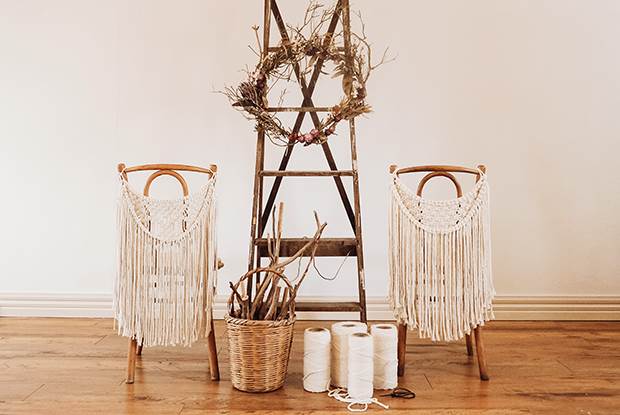
frankie exclusive diy: macramé chair hanging garland
Macramé isn’t so hard – just watch our step-by-step video to find out how to make your very own chair hanging garland in a jiffy!
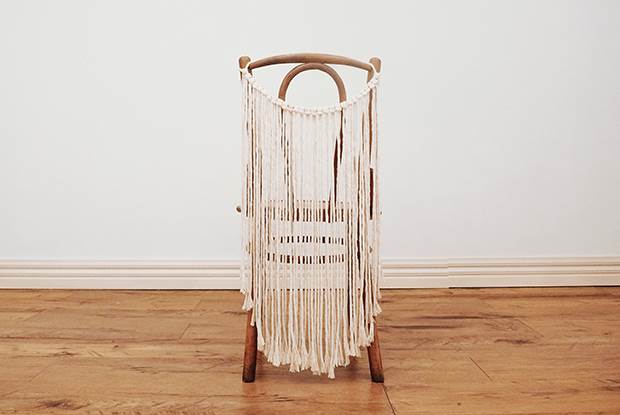
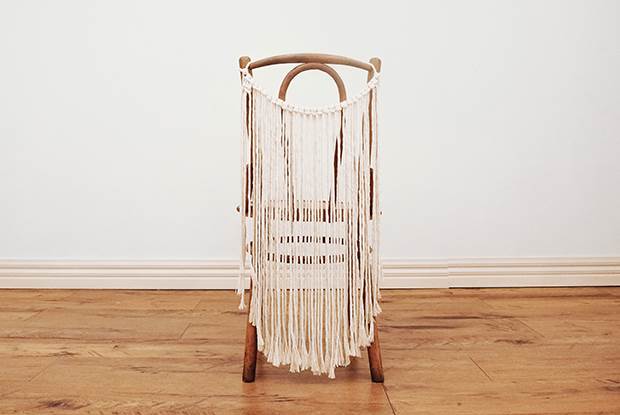
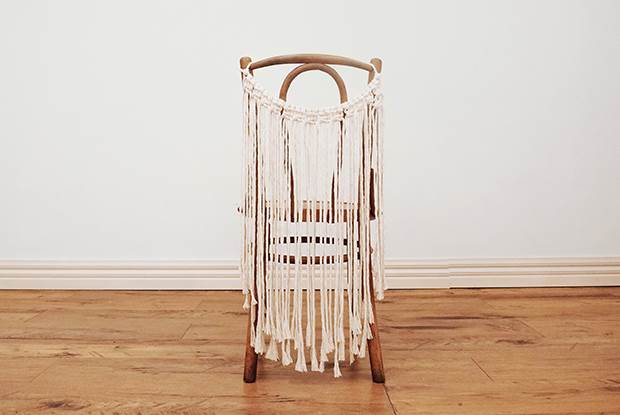
Macramé is a meditative and creative craft. It’s also a dead simple and quick way of adding a little bit of texture and personality to your favourite seat. Example: this here chair hanging garland! The project only requires a few materials and can be customised with your own ideas. (If you think about the macramé knots as little building blocks, you can really make anything!) Have a squiz at the video below to watch the tutorial in action, or scroll down to take a peek at the step-by-step instructions with handy accompanying pics.
MATERIALS:
scissors
rope (1kg of 5.5 or 7.5 thick twist Middle Aisle macramé cotton)
your favourite chair
measuring tape (optional)
Note: A thin rope (like a 2mm thick twist) will give you lots of detail, but will take a long time to make. A thicker rope (like a 7mm thick twist) will knot up really quickly and make you look like a macramé god!
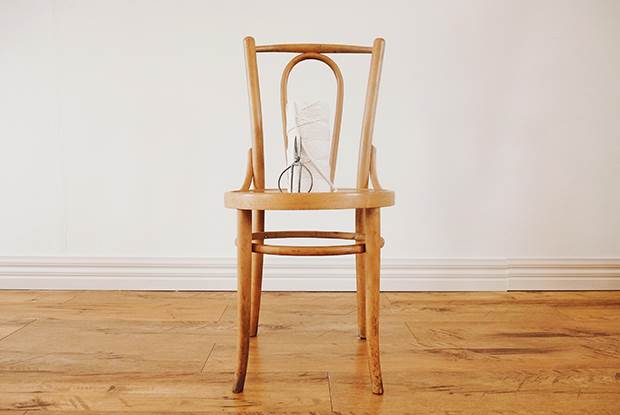
INSTRUCTIONS:
1. Set your chair up.
2. Cut your first piece of rope and tie it to the chair securely. It should be long enough to drape along the top and halfway down either side of your chair. This is what you’ll attach all your pieces of rope to. We’ll call this your anchor piece.
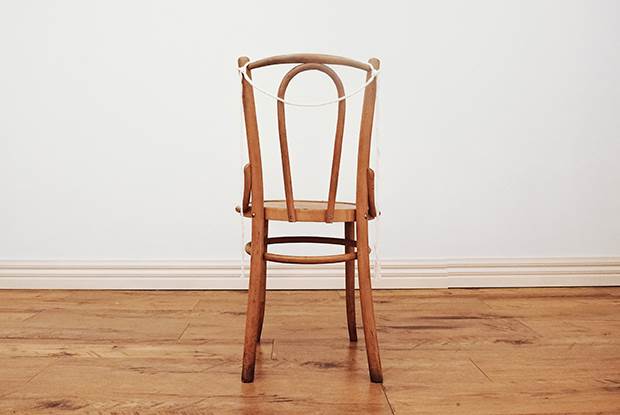
3. Measure a piece of rope from the centre point of your anchor till it’s just above the floor. Double it and cut it. Attach this new piece of rope to your anchor piece using a Lark’s Head knot. Fold the rope in half and place the loop over the anchor piece. Pull the tails through the loop and pull tightly to secure. Your bump should be facing forward.
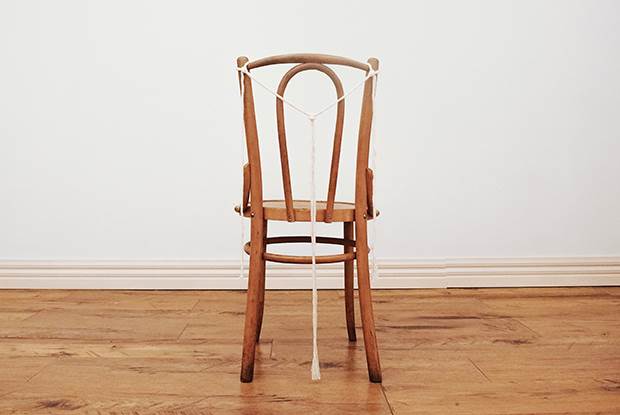
5. Cut more pieces of rope and attach them so you fill the length of your anchor piece. Make sure there are an even number of pieces, otherwise you’ll have one little rope left out without a partner in the next step.
6. Now that you have an even number of pretty pieces of rope attached to your anchor piece, pick a side to start from and make a row of square knots.
7. For the second row, ignoring the first two cords and the last two cords, tie square knots till you get to the end.
8. For the third row, ignoring the first four cords and the last four cords, tie square knots till you get to the end.

9. For your fourth row, ignoring the first six cords and the last six cords, tie square knots till you get to the end.
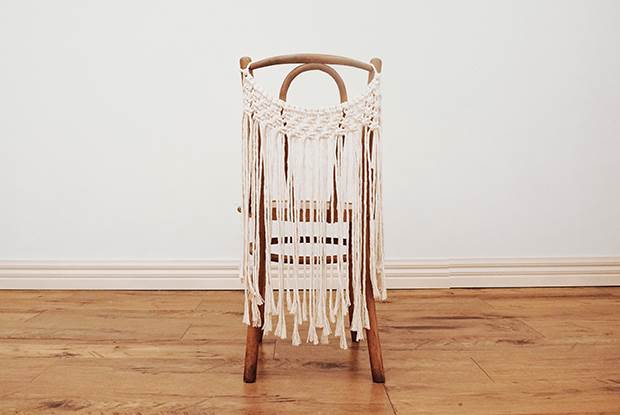
10. Yay! The back section is done. Cut a new anchor piece and tie it to the chair on top of the beautiful knot work you’ve done.
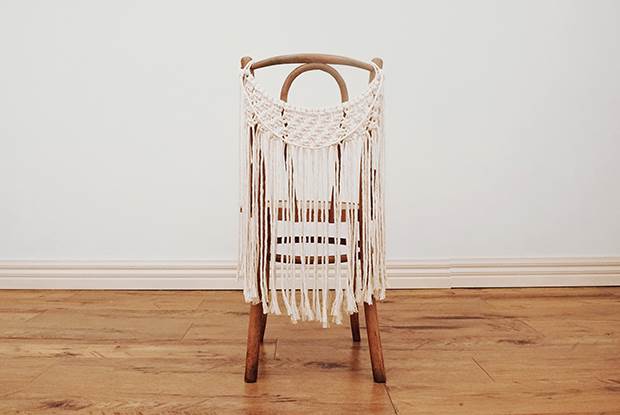
11. Cut and attach more rope to this new anchor piece using Lark’s Head knots to create the drapey layer.
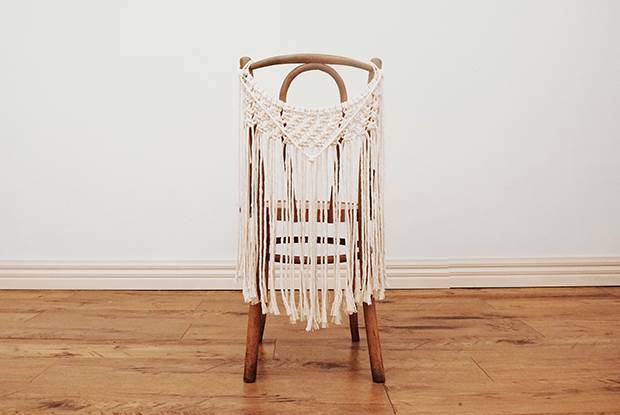
12. Give everything a trim so it looks neat (or don’t – I like to leave things a little imperfect sometimes).

To check out more from Maggie, pop over to The Middle Ailse.