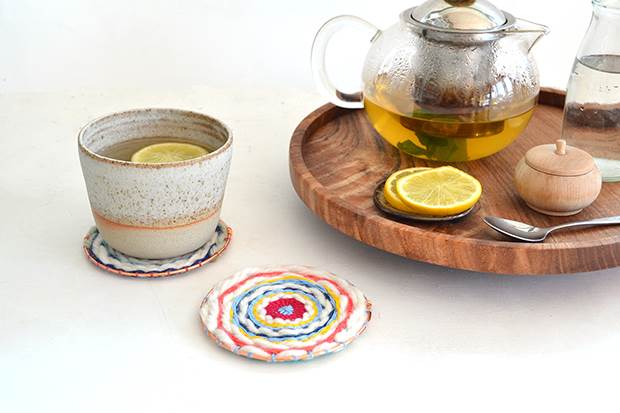
frankie exclusive diy: circle-woven coasters
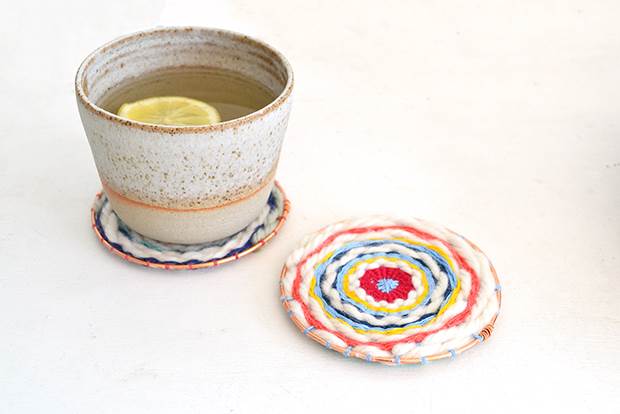
Give your cup a cosy spot to sit.
It’s fair to say many people find most crafting relaxing, but I find weaving, especially circular weaving, to be almost hypnotic. These little copper-edged beauties are a great way to try your hand at weaving, and if you fall in love with the calming effects, simply scale them up to make placemats or wall hangings. I’ve combined different materials here, from thick wool to fine, stranded cotton, to create some contrast between the textures, but feel free to experiment with whatever wool, yarn or thread you have knocking about.
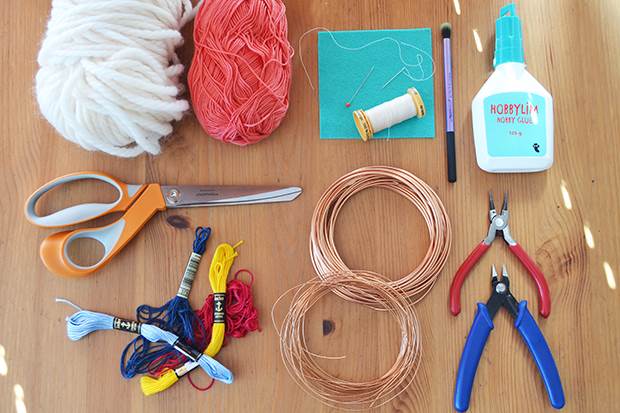
MATERIALS:
a variety of stranded cotton thread, fine crochet yarn and thick wool
thick copper wire (about 2mm thick)
fine copper wire
PVA craft glue
small brush for glue
sewing needle with a large eye
regular sewing needle
10cm x 10cm piece of felt
wire cutters
pliers
scissors
INSTRUCTIONS:
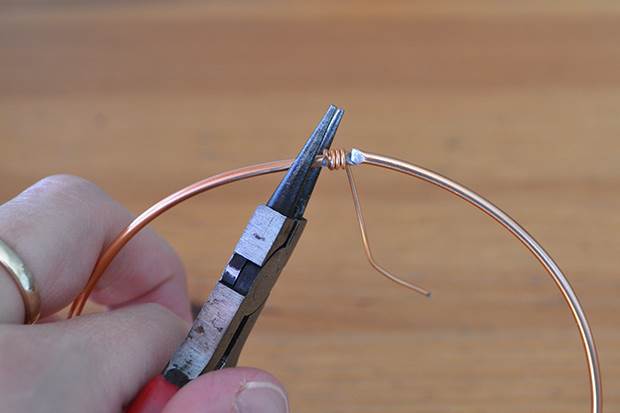
1. Bend your thick copper wire into a circle about 10cm wide and trim with your wire cutters. Cut a small piece of your fine wire, about 5cm long. Using your pliers to help you, begin wrapping your fine wire tightly around one end of your thick wire. Bring the ends of the thick wire loop to meet and continue to wrap the thin wire over the other end, so it holds the two ends together.
2. Cut a length of stranded cotton about 30cm long. Lay it out and place your wire ring on top, so the cotton goes across the centre of the ring. Bring the ends of the cotton together over the ring and tie in place so that the thread is taut. Trim the knot. Repeat this at 90 degrees to your first piece of thread, then again and again at evenly spaced angles, until you have used 11 pieces of thread (creating 22 “spokes”). You’ll need an odd number of threads to weave, so bunch together two of your spokes to treat as one. Even out the spaces between the spokes.
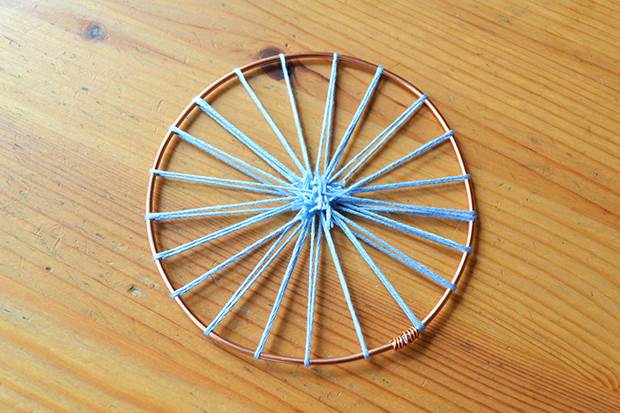
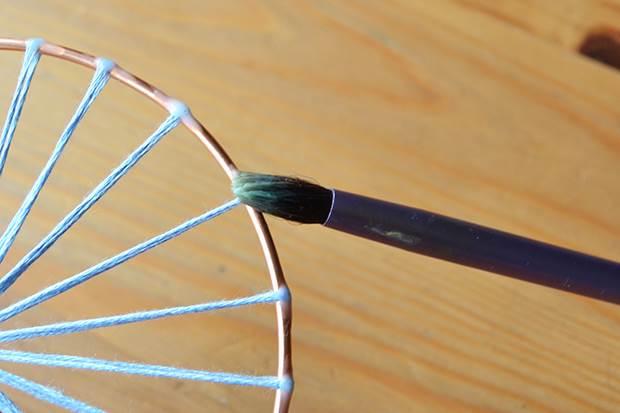
3. Dab a little glue on each thread where it meets the wire ring, to help keep them in place as you weave (they may come loose later, but it just helps keep things in place while you get started).
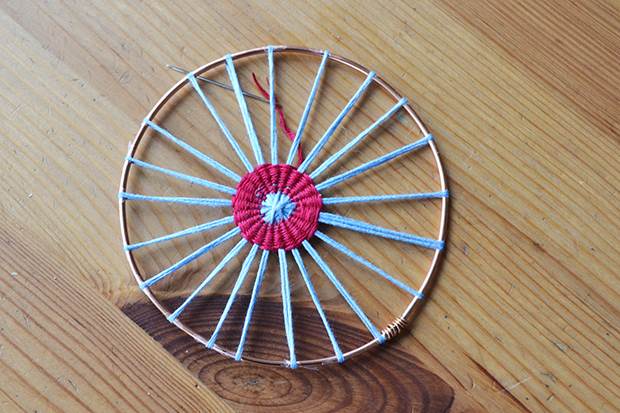
4. Choose your first colour of thread/yarn and cut a length around 40 to 50cm long. Thread this to your large needle. Tie the other end at the centre of your weaving (make sure the knot is at the back with the knots of your spokes). Use your needle to weave under and over alternating spokes. (With a thick wool or yarn you may need to thread it through each spoke by hand if you don’t have a large enough needle).
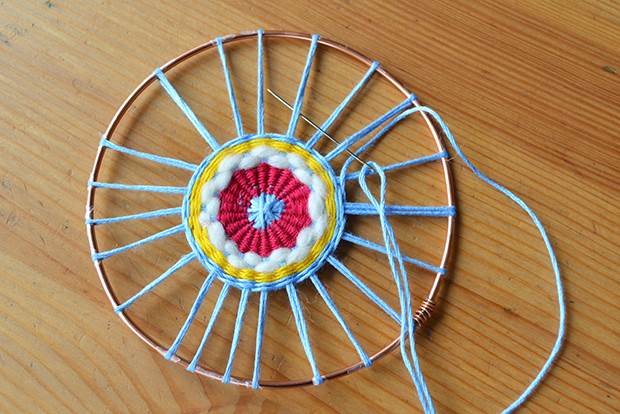
5. To change colour or thread, pass your needle back through a few rows on the back of your coaster to secure the end. Pass your new thread through a few rows in the same way and begin weaving where you left off. (With very thick wool you may need to tie the ends instead). Keep weaving until you’ve filled up your ring. Don’t worry if you’re a little “off-centre” (mine always are!) and you end up with some space left on one side – just fill this up by weaving backwards and forwards.
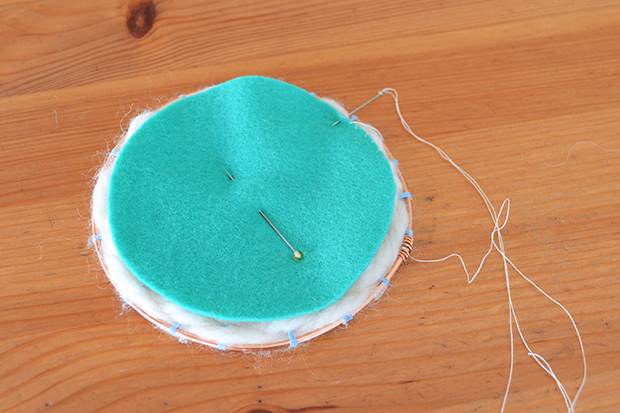
6. Cut a circle of felt about 8mm narrower than your coaster. Pin this to the back and hand-sew around the edge. Now put the kettle on and make yourself a nice cup of tea to sit on your beautiful coaster!
To see more cool stuff from Anna Alicia, head over this way.