
exclusive frankie diy - masking fluid card fun
With just a little masking fluid and a splash of watercolour you can make some pretty spiffy looking cards with minimal mess.

I am not much of an illustrator, but with a few simple supplies, I thought I could make some cute holiday cards. I used masking fluid for watercolours, which is a type of rubber that, when applied, will preserve the area underneath, leaving it paper-coloured even if a watercolour wash is applied over the top.
To make these cards, I used:
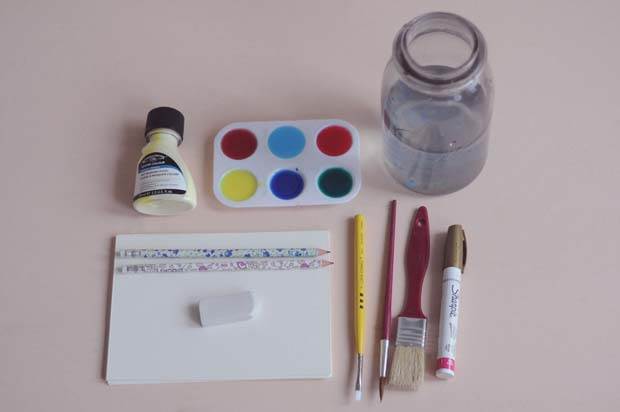
MATERIALS
Watercolour paints
Masking fluid
Watercolour paper or thick card stock with a nice 'tooth' to absorb the paint
A variety of brushes
A pencil
An eraser
Jar of water to clean off brushes
INSTRUCTIONS
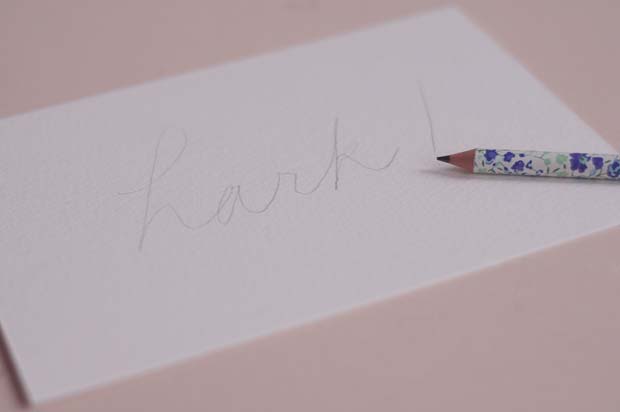
1. To begin, lightly draw your design with pencil onto the paper (or, if you're confident enough, freehand your design with masking fluid).
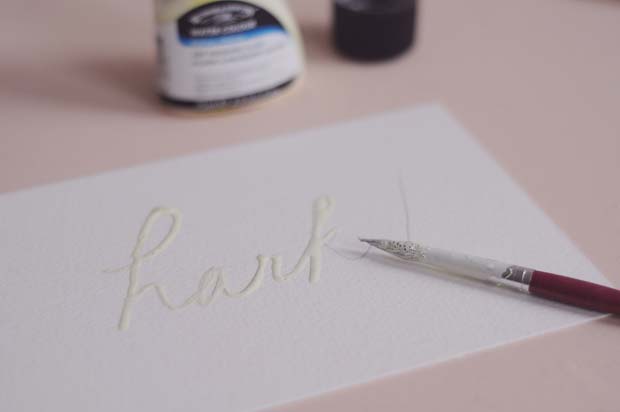
2. Carefully apply the masking fluid with a brush, making sure to rinse your brush thoroughly afterwards (the fluid can really gum up your brushes!)
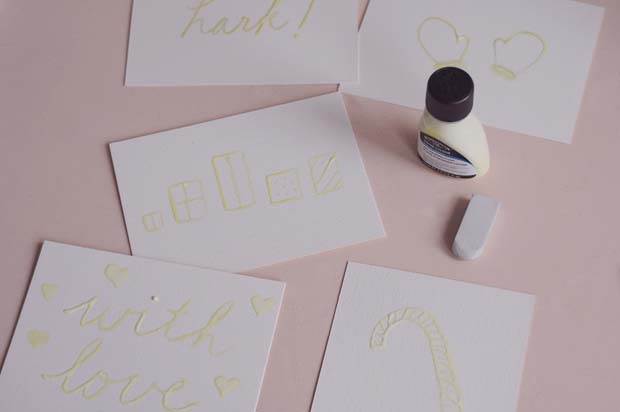
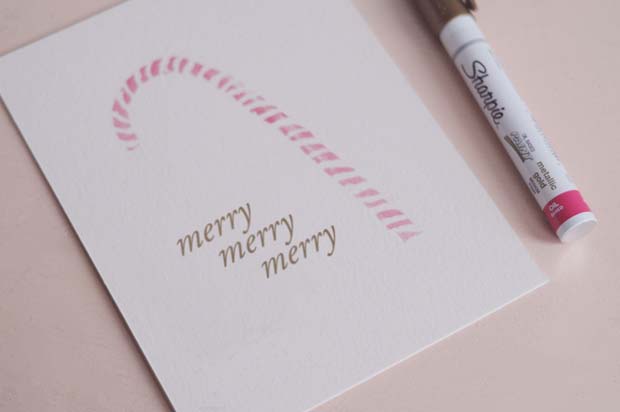
3. Allow it to dry completely. I made a few different designs, from cursive text to square gift boxes with patterns on them.
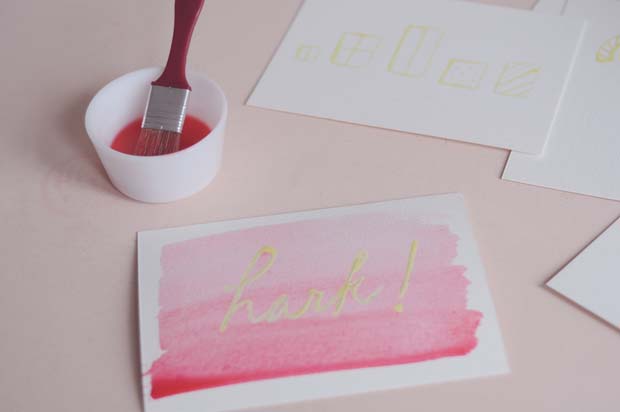
4. Once the masking fluid is dry, apply a watercolour wash over the top. This is my favourite part of the process. I really love applying gradient washes, which is done by starting with a layer of colour and then diluting the paint with water before the next couple of applications.
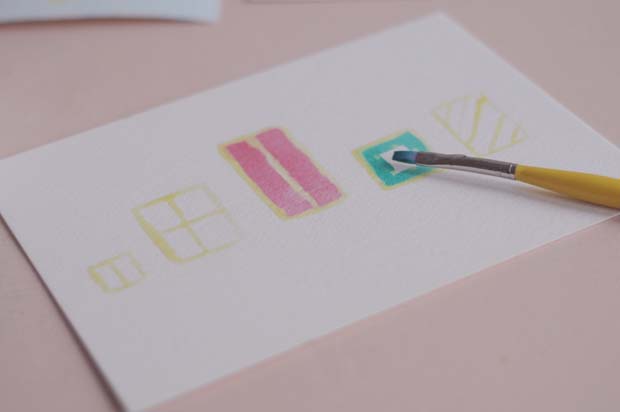
5. For some of the other designs, the masking fluid helped me keep the design limited to a particular area; for example, I was able to paint square gift boxes without making a big mess. Then allow the watercolour to dry completely.
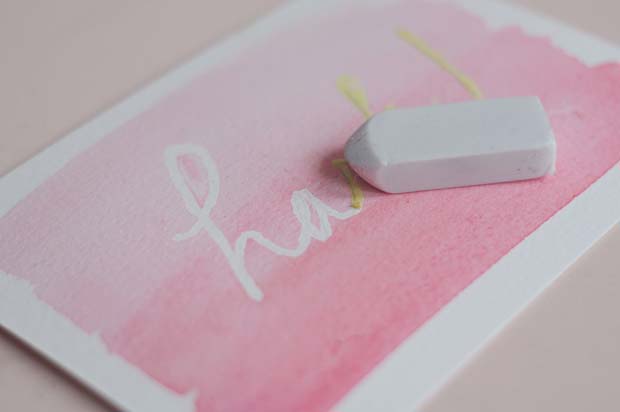
6. Once the paint is completely dry, take your eraser and use it to "pick up" the fluid.
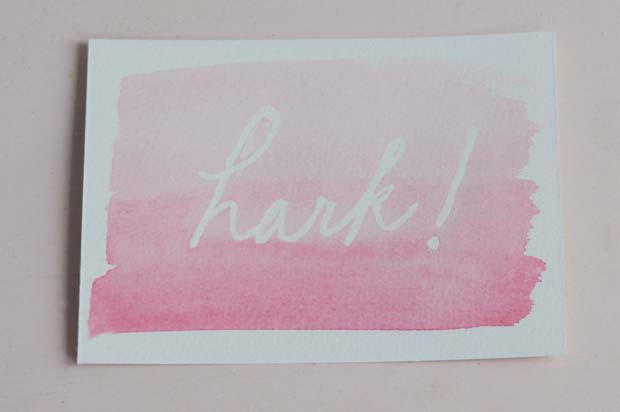
7. You can either erase the fluid very carefully and gently, or you can use the eraser to pull the rubber off your paper to reveal your completed design.
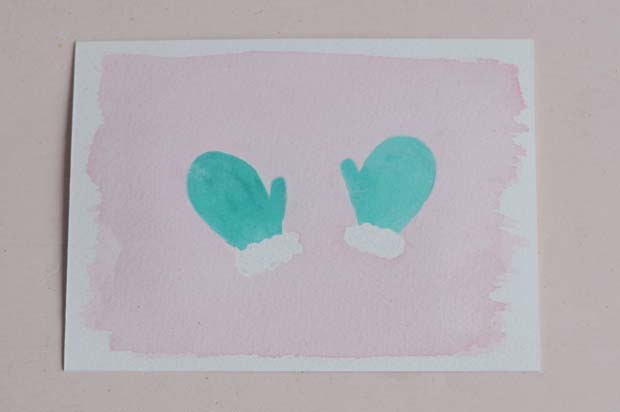
8. Just for fun, I expanded my mini line of holiday cards with a few other simple supplies. Have a play around!