exclusive frankie diy - hanging plant holders
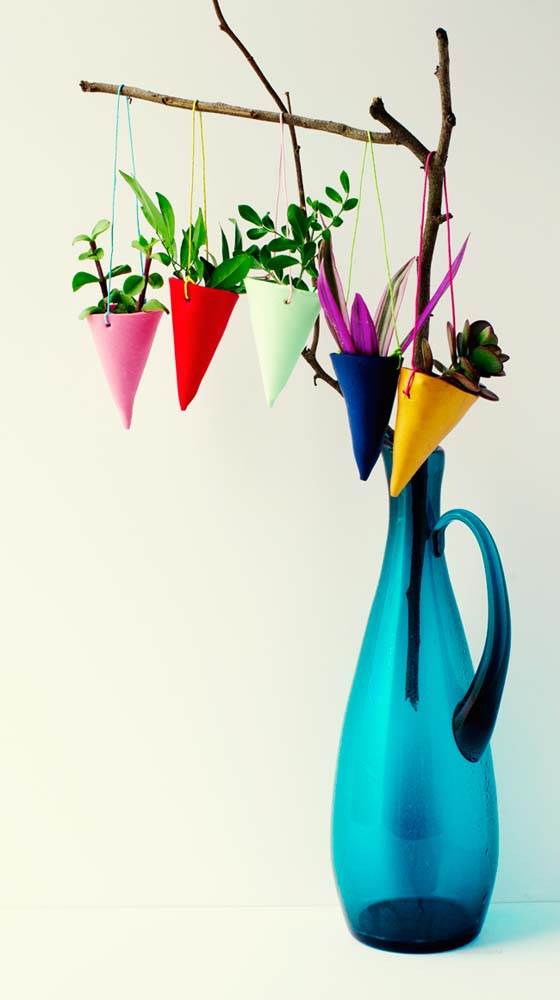
This fortnight's DIY comes in the form of prettiness to hang in your abode! These hanging plant holders are surprisingly simple to make and they're super cheap material-wise too. Click here for the steps.
I love brightening up my studio space with little pops of colour, so this cute project definitely fits the bill. Plus, little plants provide a ton of happiness when deadlines are getting you down.
You could also make this as an alternative Christmas tree and fill the little cones with all sorts of goodies (I'm mostly thinking lollies, but that's just me).
Let's get started with materials:
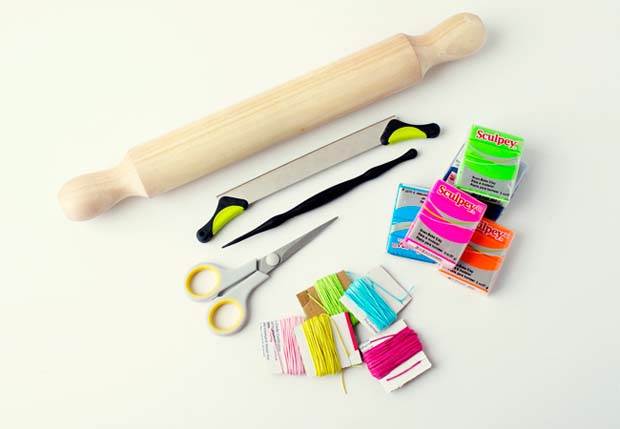
MATERIALS
Polymer clay in assorted colours (I even found gold!)
Coloured string
Cutting blade (it's easier to create the cone shape if it's long and flexible)
Skewer or something else to poke little holes with
Assorted air growing plants
Scissors
Baking tray
Rolling pin
Baking paper
That looks like a lot of stuff to collect before you start, but apart from the plants and the clay, you'll find everything else in your pantry cupboard - it makes this a super budget-friendly project too.
Now the fun part: creating your little garden!
INSTRUCTIONS
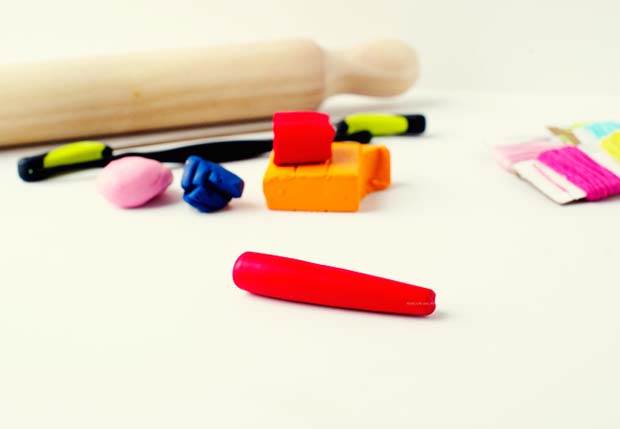
1. Condition your clay by rolling it around in your hands or on a bench. You'll need your clay to be nice and soft for rolling out.
Make sure you have some paper down on your bench as the clay can stain unsealed surfaces.
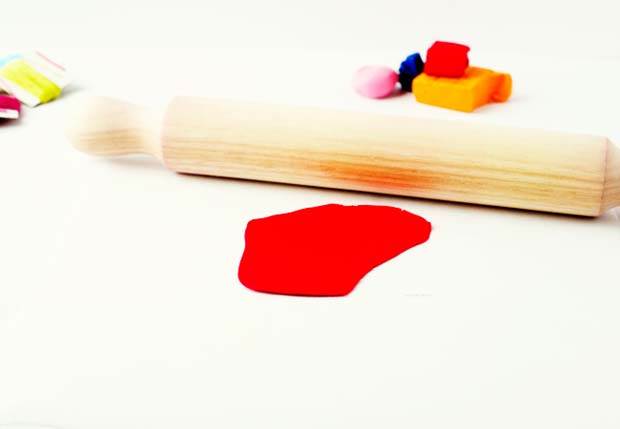
2. Roll out your clay large enough to cut a small cone shape. It's easiest to roll the clay between two pieces of baking paper.
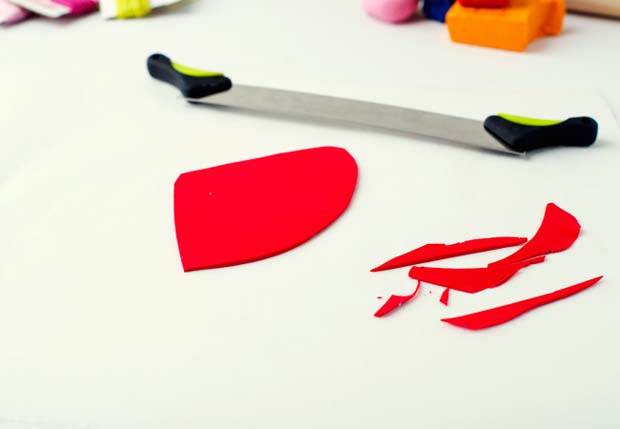
3. Cut a cone shape in your clay. If you want to get the shape perfect then you could have a snoop around the interwebs for a template, if you'd like.
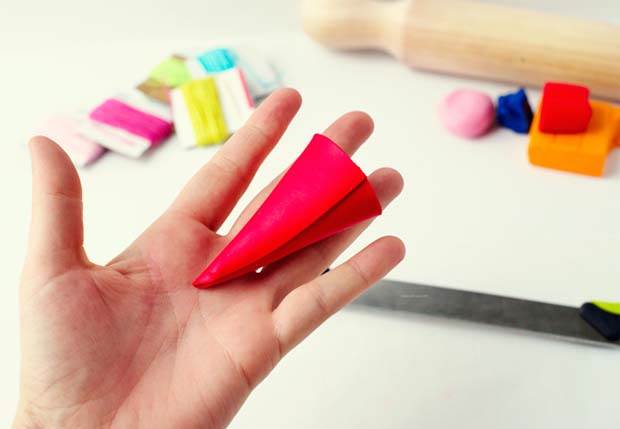
4. Roll your cone and press the back edges down lightly to make sure the cone sides are connected.
You can always pop your clay into the fridge for 10 minutes if you are finding it a bit on the floppy side.
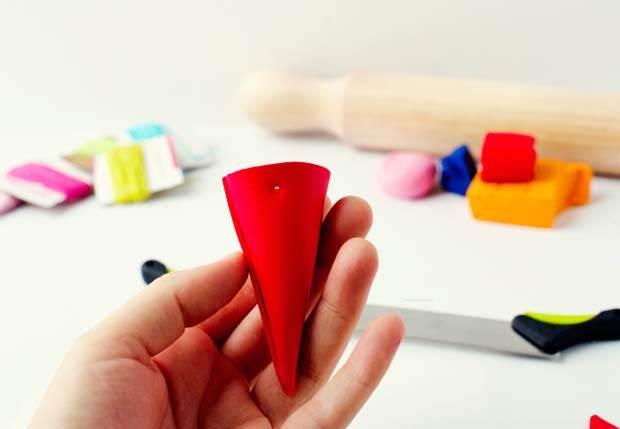
5. Poke a hole through each side for your string to loop through.
Be gentle as the clay can break if you push too hard.
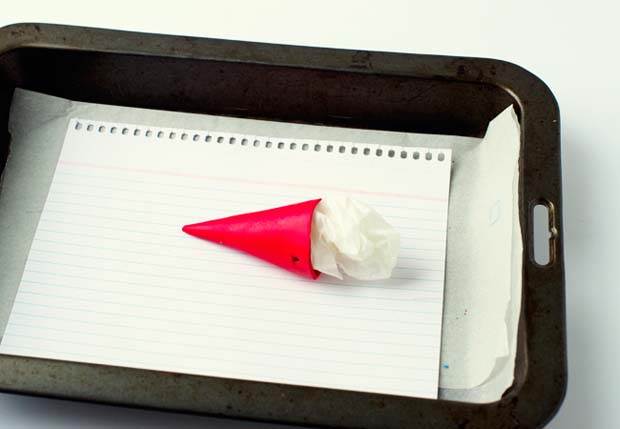
6. Place some baking paper on your oven tray for your cone to cook on. I popped a bit of scrunched up baking paper in the cone too so it kept its shape while in the oven.
Follow the instructions on your clay packaging to make sure you don't over-bake your clay.
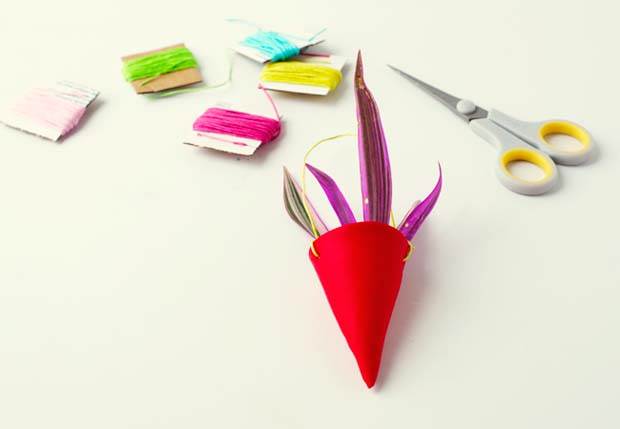
7. Once your cone is baked, leave it to cool down.
Then you are ready to attach your string by looping and tying a strand through the holes.
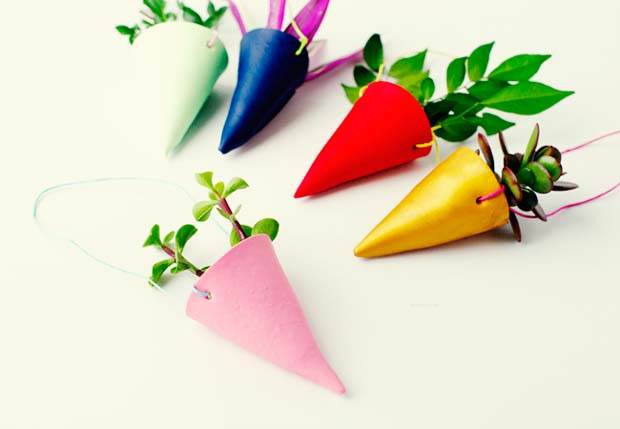
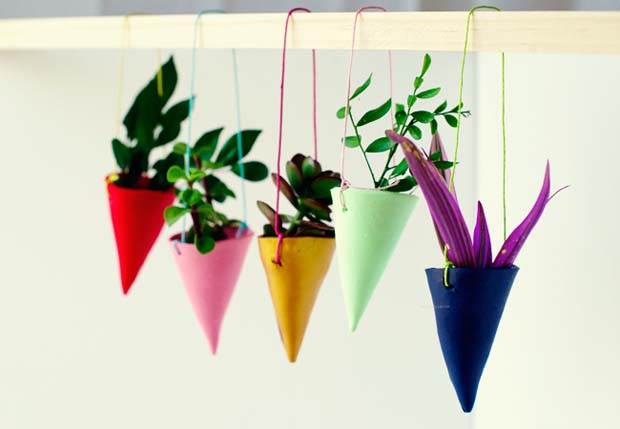
8. Make a collection of cute coloured cones with contrasting strings to create your garden. Choose a plant that highlights the colour of your clay and its string if you really want to make it pop.
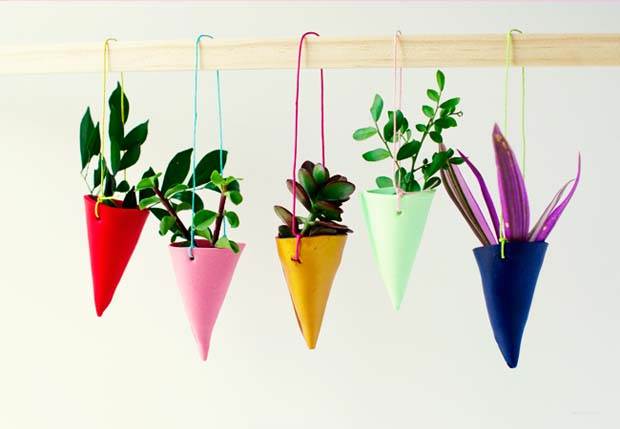
And you're done! You can hang your little garden from just about anywhere! Everything is so much cuter in miniature don't you think?