
a little bit crafty: just saying hi hanging
Hello - is it me you're looking for?
Ahoy there, fellow frankites. Did we mention that our first craft book, A Little Bit Crafty, is back in stores? Here's a looksee at one more project you'll find inside its pages. Hello - is it us you're looking for?
MATERIALS:
large sheets of coloured cardboard
dowel rod, around 1m long
coloured twine or string
double-sided tape
ruler
cutting knife
cutting mat
scissors
pencil
scrap A4 paper
Optional
coloured paint and brushes
INSTRUCTIONS:
1. On pieces of A4 scrap paper, draw some block letters to spell H-E-L-L-O. Use the entire length and width of the paper as a size guide. The letters don’t need to be perfect, but do use a ruler to ensure the edges are straight. Carefully snip around these letters, then use them as templates: place them on the coloured card and trace each one. Neatly cut out the cardboard letters and set aside.
2. Cut out long strips of coloured cardboard, measuring about 6cm x 60cm. You’ll need two or three in each colour.
3. Measure and mark out a line along one long edge of each strip, 1cm in from the edge. Use a ruler and the blade of the scissors to gently score along this line. Fold along the score line. The strips should now have one thin segment and one thicker segment, separated by the fold line. Use scissors to cut 1cm tabs all the way along the edge, up to the fold, on the thin side only.
4. Affix double-sided tape to the back side of each letter, running the tape flush against the edges. Now it’s time to attach the side strips! Beginning at the top of each letter (and on a corner if there is one), begin sticking the tab section to the double-sided tape, lining up the fold with the edge of the letter. Whenever you get to a corner, place the strip against the cutting mat and make a gentle score line where the strip will fold. This helps the corners be crisp and neat.
5. When you’ve attached the strip all the way around, overlap it slightly on the inside so the sides are seamless. If you run out of strip and need to attach another one, just overlap it on the inside and continue the process from there. For the O, you’ll need to stick a separate strip around the inside.
6. Use a knife to make two little slits in the top of each letter, approximately 3cm apart. For the H, you can put one slit in the top of each side of the letter. Also cut a length of twine or string for each letter – at whatever length you’d like each one to hang.
7. To attach your letters, drape the string over the rod and tie in a tight double knot around the rod. Thread the ends of each piece of string into the slits and tie in a double knot on the inside of the letter. Tie a long piece of string onto either end of the rod for hanging, then pop it up on your wall.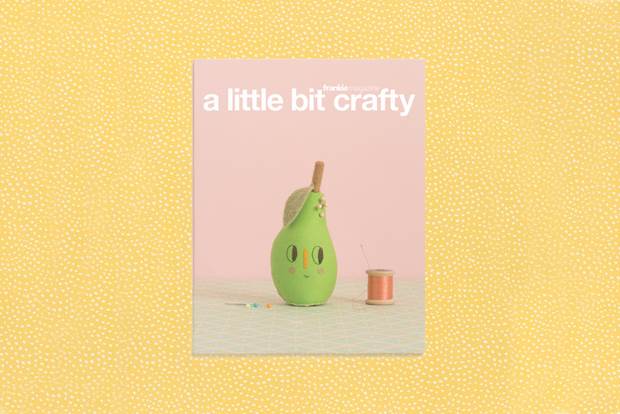
Find this, and 38 other easy-peasy projects in frankie's very first craft book, A Little Bit Crafty. Have a hunt for your nearest stockist, or you could nab a copy online.
---
Kit Palaskas is a craft-based designer. When she’s not cutting, pasting or sewing you can find her on a quest to create the world’s most perfectly rounded pom pom. kitiyapalaskas.com